That annoying wobble in your Kwikset smart lock isn’t just irritating—it’s compromising your home security. When your smart lock handle shakes or the faceplate feels loose, it’s almost always caused by mounting screws that have gradually worked themselves free. The good news? Learning how to tighten Kwikset smart lock components takes just 15 minutes with basic tools you likely already own. No professional locksmith required, and you won’t void your warranty if done correctly.
Loose Kwikset smart locks happen to nearly every homeowner eventually. Door movement, temperature changes, and regular use all contribute to screws gradually loosening over time. This guide gives you the exact steps to secure your specific Kwikset model—whether you have a lever handle, deadbolt, or keypad system—without damaging your lock’s finish or electronics.
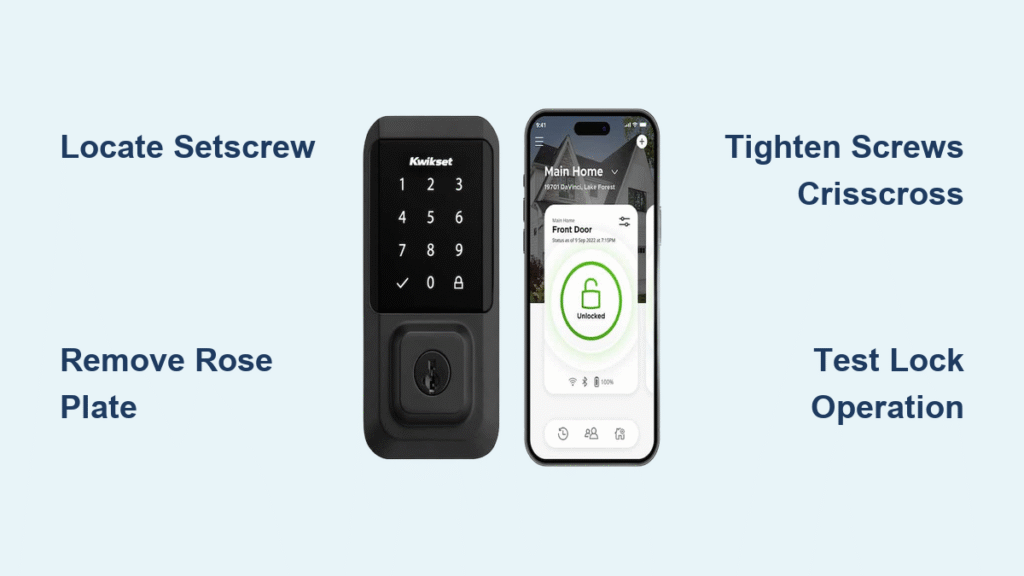
Locate and Release Your Kwikset Handle Setscrew
Before you grab any tools, identify your Kwikset lock’s specific access method. Most interior lever handles feature a small hexagonal hole on the side—this is your setscrew access point. Insert a 3/32″ Allen wrench (the most common size for Kwikset models) and turn counterclockwise. You’ll typically need 2-4 full rotations before the handle releases from the square spindle.
Critical warning: Stop immediately if you encounter unusual resistance. Forcing a stuck setscrew can strip the head, making removal much harder. If the handle won’t budge after moderate pressure:
– Try the smaller 1/16″ Allen wrench (some newer models use this size)
– Check for hidden decorative caps covering the setscrew—gently pry with a fingernail
– Apply a drop of penetrating oil and wait 10 minutes before retrying
Handle Removal Troubleshooting
Stuck handles are common with older installations. If your setscrew resists turning, the threads may be corroded from humidity exposure. Apply a tiny drop of penetrating oil directly into the setscrew hole and wait 10 minutes for it to work its way in. For painted-over setscrews, carefully score around the cap with a utility knife before attempting removal. Never use excessive force—Kwikset handles contain delicate internal components that can break if mishandled.
Remove Rose Plate to Access Mounting Screws

With the handle removed, you’ll see a decorative rose plate against your door surface. This plate conceals the critical mounting screws that secure your entire lock mechanism. To release it:
- Insert a flat plastic tool (or your wrapped flathead screwdriver) between the rose plate and door
- Apply gentle, even pressure around the entire circumference
- Work your way around the plate until all retention tabs release
Avoid this common mistake: Many homeowners pry aggressively at one spot, snapping the plastic retention tabs. Instead, move your tool around the plate’s edge in small increments. If paint sealing prevents removal, score the perimeter with a utility knife first. The plate should release with a soft “pop” sound when properly disengaged.
What to Look for Under the Rose Plate
Once the rose plate is free, you’ll see 2-3 Phillips head mounting screws securing the lock chassis to your door. These are the screws causing your wobble problem. Notice their positioning—some Kwikset models use different length screws in specific locations. Before tightening, check for these warning signs:
– Stripped screw heads (indicating previous over-tightening)
– Gaps between the lock chassis and door surface
– Paint chips or corrosion around screw holes
Tighten Mounting Screws Using Proper Technique

The correct tightening sequence prevents warping your lock mechanism. Follow this crisscross pattern:
1. Tighten the top-left screw one full rotation
2. Move to the bottom-right screw and tighten one rotation
3. Repeat with top-right, then bottom-left screws
4. Continue this alternating pattern until all screws feel snug
Stop immediately when you feel firm resistance—over-tightening strips threads or binds the locking mechanism. Test your lock after each full cycle of tightening by operating the handle. If you notice increased resistance or sticking, back off slightly. Most Kwikset locks require just enough pressure to eliminate play while maintaining smooth operation.
Fixing Stripped Screw Holes
If screws won’t grip properly, you have two options:
– Temporary fix: Remove the screw and insert wooden toothpicks dipped in wood glue into the hole. Let dry 30 minutes before reinstalling
– Permanent solution: Replace with screws 1/4″ longer to reach fresh wood behind the stripped area
Never force screws into stripped holes—that only makes the problem worse and requires professional repair.
Access Deadbolt Mounting Screws Through Faceplate
For Kwikset deadbolt models, you’ll need to remove the interior faceplate instead of the handle. Locate the small rectangular tab at the bottom edge of the faceplate. Insert a flathead screwdriver into this slot and press inward while simultaneously pulling the faceplate toward you. You should hear a distinct “click” as the retention mechanism releases.
Critical technique: Apply pressure straight back—not downward—when pulling the faceplate. Angled force can break the plastic retention tabs. If the faceplate resists removal:
– Score around the edges with a utility knife if paint-sealed
– Apply penetrating oil to the edges and wait 5 minutes
– Try tapping the top edge gently with a rubber mallet to loosen
Tightening Deadbolt Mounting Screws
With the faceplate removed, you’ll see two vertical mounting screws securing the deadbolt chassis. These typically require a Phillips screwdriver, though some models use Allen keys. Tighten incrementally while testing the deadbolt operation. Turn the thumb-turn through its full range of motion after each adjustment to ensure smooth operation.
Warning: Deadbolts are particularly sensitive to over-tightening. Even slight misalignment can prevent full bolt extension, creating a false sense of security. If the bolt sticks at any point in its travel, back off the screws slightly.
Reassemble Components Without Causing New Problems
Proper reassembly prevents immediate re-loosening. When reinstalling the rose plate, align it carefully and press firmly around the entire perimeter until you hear multiple distinct clicks. The plate should sit perfectly flush against your door with no visible gaps.
For handle reattachment:
1. Slide the handle fully onto the square spindle
2. Insert the setscrew and turn clockwise until snug
3. Test handle operation before final tightening
4. Complete tightening only after confirming smooth movement
Common reassembly error: Many homeowners fully tighten the setscrew before testing handle operation, causing binding. Always test with partial tightening first, then complete the final 1-2 rotations after verifying smooth movement.
Solve Recurring Looseness with Advanced Fixes

If your Kwikset smart lock keeps loosening despite proper tightening, you likely have underlying issues:
Door frame settling creates stress points that work screws loose. Check alignment by closing your door and observing if the latch engages smoothly. Misalignment requires professional adjustment.
Weather stripping interference adds resistance that gradually works screws loose. If your door requires extra force to close, adjust or replace the weather stripping.
For permanent solutions:
– Install metal reinforcement plates behind mounting screws
– Replace original screws with 3″ versions that penetrate the door frame
– Shim gaps between lock chassis and door using plastic shims
Prevent Future Loosening with Smart Maintenance
Implement this simple maintenance routine to avoid recurring problems:
Monthly: Visually inspect for handle play or faceplate movement
Quarterly: Operate the lock while checking for unusual resistance
Annually: Apply thread-locking compound to mounting screws during deep maintenance
Lubrication tips that actually help:
– Use graphite lubricant (not WD-40) on smart lock mechanisms to prevent battery drain
– Apply lubricant sparingly—excess attracts dust causing future binding
– Clean battery contacts quarterly with rubbing alcohol and cotton swabs
Strike plate adjustment often gets overlooked. If your deadbolt sticks during operation, loosen the strike plate screws and reposition it for smoother engagement. Seasonal humidity changes affect door fit, so check alignment twice yearly.
Protect Smart Lock Electronics During Tightening
Mechanical misalignment significantly increases battery consumption in smart locks. After tightening, test operation with your door open to isolate mechanical issues from alignment problems. If the lock operates smoothly with the door open but sticks when closed, your strike plate needs adjustment—not additional tightening.
Critical electronic protection steps:
– Ensure faceplates seal completely to protect against moisture damage
– Never lubricate electronic components—only mechanical parts
– Check for error codes after reassembly that might indicate electronic interference
If you notice unusual battery drain after tightening, double-check that your mechanical components move freely. Binding mechanisms force the motor to work harder, draining batteries 3-5 times faster than normal operation.
Quick Summary: Fixing a loose Kwikset smart lock takes just 15 minutes when you know the exact steps for your specific model. Identify whether you have a lever handle or deadbolt system, carefully access the mounting screws, and tighten using the proper crisscross pattern. Avoid over-tightening at all costs—snug is sufficient. Implement quarterly maintenance checks and use graphite lubricant on mechanical components to prevent future loosening. Most importantly, test both mechanical operation and electronic functionality after every adjustment to ensure your smart lock provides reliable security without draining batteries unnecessarily. With these techniques, you’ll keep your Kwikset smart lock secure and functioning properly for years to come.