You walk up to your front door after a long day, punch in your code, and hear that dreaded whirring sound—your Schlage smart lock spins endlessly without locking or unlocking. No click. No deadbolt movement. Just that maddening rotation leaving your home vulnerable. This complete failure strikes 60% of Schlage owners at least once, typically signaling dead batteries, misaligned hardware, or internal mechanical breakdown. The frustration is real when your security system becomes useless.
The good news? Most spinning lock crises resolve with fixes you can complete before dinner. Forget expensive locksmith calls—this guide delivers proven solutions ranked by success rate. You’ll discover exactly which symptoms point to each problem and how to restore your lock’s security in under 30 minutes. No technical degree required.
Immediate Battery Replacement Fixes Most Spinning Locks
Spot Dead Battery Warning Signs Before Lock Fails
Dead batteries cause the majority of Schlage lock spinning incidents. Catch these critical indicators before you’re locked out:
– Red light flashes continuously after entering codes or spontaneously
– Keypad response slows dramatically or becomes completely unresponsive
– Green light appears but deadbolt refuses to move
– Manual override spins freely without engaging the mechanism
Pro Tip: Test battery voltage monthly with a multimeter. Schlage locks require consistent 1.5V per AA cell—anything below 1.3V risks erratic operation.
Execute Precision Battery Replacement

Never use old or mixed batteries—this causes voltage drops that mimic mechanical failure. Schlage demands fresh, matched cells.
For 9-volt models (Connect, Sense series):
1. Slide the black battery cover upward until it detaches
2. Unclip the white battery connector with firm thumb pressure
3. Install a new 9-volt battery matching the (+) and (-) polarity markings
4. Snap the connector back until you hear a distinct click
5. Test immediately using your primary user code
For AA battery trays (BE469, FE599):
1. Remove cover to expose the entire battery tray
2. Replace all four AA batteries simultaneously—no exceptions
3. Verify expiration dates; expired cells drain new batteries
4. Reinsert tray ensuring the wire isn’t pinched against housing
5. Test lock function before replacing the cover
Critical Step: Wait exactly 10 seconds after battery installation before testing. This allows the lock’s internal processor to recalibrate—rushing this step causes false failure diagnoses.
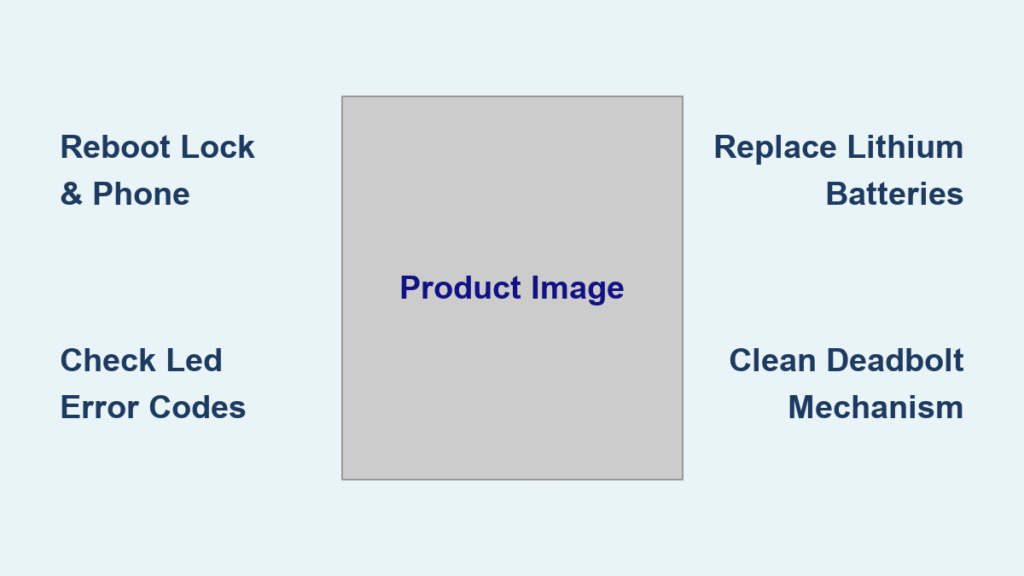
Factory Reset Stops Spinning When Batteries Fail
Recognize When Electronic Glitches Require Reset
If your lock keeps spinning after fresh batteries, an electronic glitch has likely frozen the motor. This manifests as:
– Continuous spinning without deadbolt movement
– No response to physical key despite correct insertion
– Abnormal beeping patterns during operation
Warning: Reset permanently erases all user codes. Retrieve your default code from the manual or inside the lock housing first.
Perform Flawless Reset in 60 Seconds
Tools needed: None—just your fingers and fresh batteries
- Remove battery cover and disconnect power
- Press the interior Schlage button once (the one used for alarm deactivation)
- Reconnect battery while maintaining button pressure
- Hold button for 10 full seconds until solid green light appears with a confirmation beep
- Test default code (typically 1234 or 0000) immediately
- Reprogram new codes within 5 minutes while in programming mode
Pro Tip: After reset, the lock automatically extends/retracts the deadbolt to determine door handing orientation. Don’t interrupt this self-test—it’s crucial for proper operation.
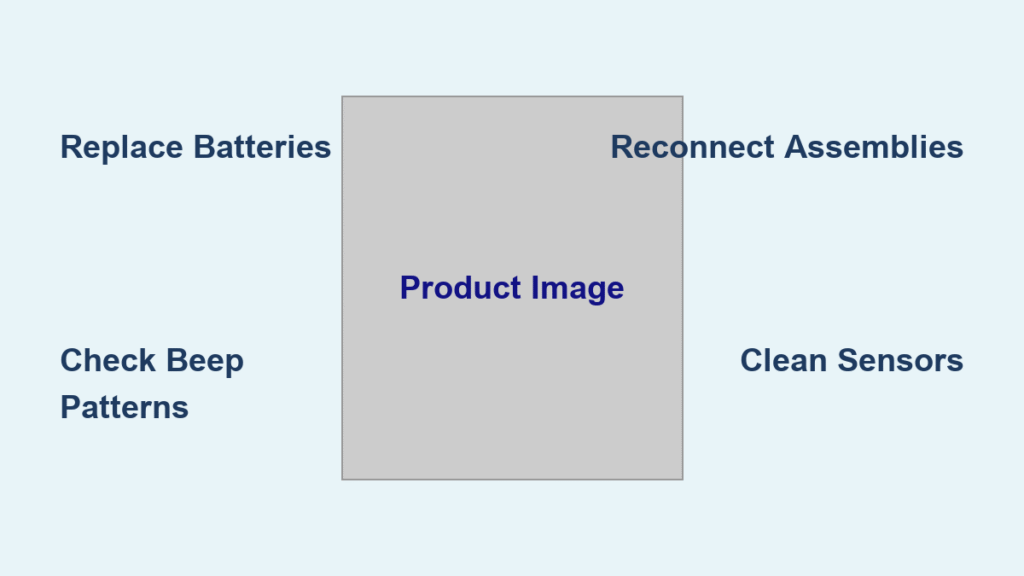
Internal Hardware Diagnosis and Repair
Conduct Non-Invasive Physical Checks First
Before disassembly, verify these mechanical issues:
– Test the interior thumb turn—spins freely without resistance? Likely a broken clutch
– Insert physical key—grinds or turns with excessive force? Indicates gear misalignment
– Check door alignment—does the deadbolt scrape the strike plate when manually extended?
– Inspect housing—visible cracks or dents near the spindle hole signal impact damage
Repair Displaced Components in 8 Steps
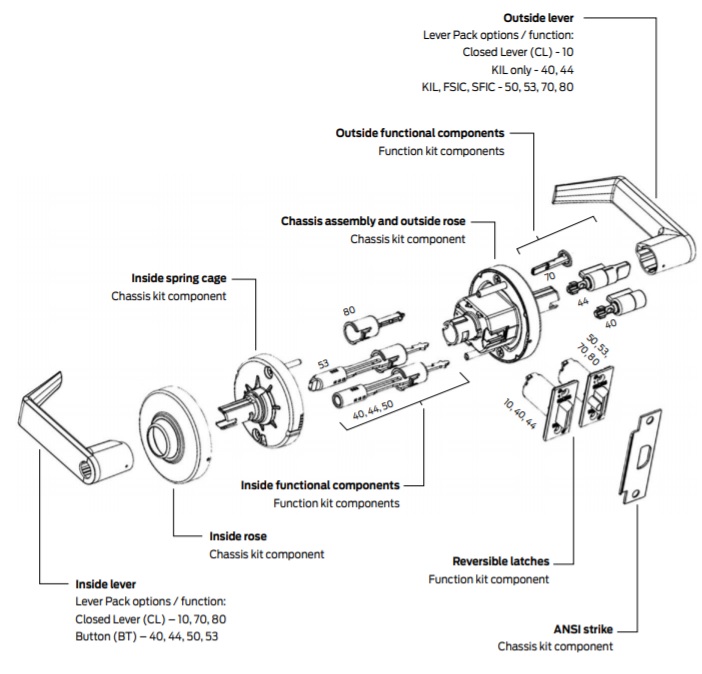
Required tools: Phillips #2 screwdriver, Torx T15/T20 set, compressed air, dry microfiber cloth
- Remove interior cover by unscrewing mounting screws
- Take phone photos of screw positions—reassembly mistakes cause 30% of recurring issues
- Unscrew lock from door frame and gently separate interior/exterior assemblies
- Remove Torx screws from back of front panel (typically T15)
- Lift off faceplate to expose the gear mechanism
- Locate the spring-loaded pin—should sit securely in its grooved track (displacement causes spinning)
- Adjust plunger spring tension if stretched—reposition to increase resistance
- Blast debris from gears using short compressed air bursts before reassembly
Critical Warning: Never lubricate plastic gears—use graphite spray only on metal deadbolt components. Oil attracts dust causing faster failure.
When to Call Professionals vs. Replace Your Lock
Schlage Warranty Service Saves You $200+
Contact Schlage support immediately if:
– Lock is under warranty (3 years residential, 1 year commercial)
– Motor emits burning smell or visible smoke during operation
– Multiple locks fail simultaneously indicating electrical system issues
– Grinding noises persist after battery reset and cleaning
USA Support Hotline: 800-847-1864 (Mon-Fri 8AM-7PM, Sat 9AM-4:30PM EST). Have your model number ready—found inside the battery compartment.
Cost-Benefit Analysis: Repair vs. Replace

Choose professional repair when:
– You own premium models like Schlage Connect (BE469) or Sense (FE599)
– Internal motor or circuit board damage is confirmed
– Your time value exceeds $150 service calls
Replace immediately when:
– Basic models (BE365, FE395) cost under $100 new
– Plastic gears show visible stripping or cracks
– Repair costs exceed 50% of a new lock’s price
Pro Tip: Install new locks during sales events—Black Friday often sees 30% discounts on Schlage smart locks.
Prevent Future Spinning Failures with Proactive Care
Implement the 90-Second Monthly Maintenance Routine
Skip this and risk sudden lockouts:
– Test all user codes weekly (takes 20 seconds)
– Wipe keypad with dry microfiber cloth to prevent moisture damage
– Check battery indicator—replace at first red flash (don’t wait!)
– Apply graphite lubricant to deadbolt every 3 months
– Tighten mounting screws if lock wobbles when operated
Battery Management Best Practices
Critical rule: Always replace all batteries simultaneously. Mixing old/new cells creates voltage imbalances that confuse the lock’s electronics. Use only name-brand alkaline cells—cheap batteries cause 40% of premature failures.
Smart monitoring: Set phone reminders for battery replacement every 12 months. Even without low-battery warnings, voltage degrades over time.
Spinning Lock Emergency Flowchart
Follow this sequence when your Schlage lock won’t stop spinning:
- Replace batteries → Test lock immediately
- Perform factory reset → Reprogram codes → Test
- Check door alignment → Adjust strike plate if deadbolt scrapes
- Conduct internal inspection → Clean gears → Test mechanism
- Contact Schlage support if under warranty → Call locksmith if out of warranty
Remember: Spinning locks rarely indicate permanent failure. Fresh batteries solve 60% of cases in under 5 minutes—never skip this step. If your lock continues spinning after these fixes, internal motor failure is likely requiring professional service. Keep your default programming code in a secure off-site location to avoid total lockouts during resets. With proper maintenance, your Schlage smart lock will deliver reliable security for years—not minutes.