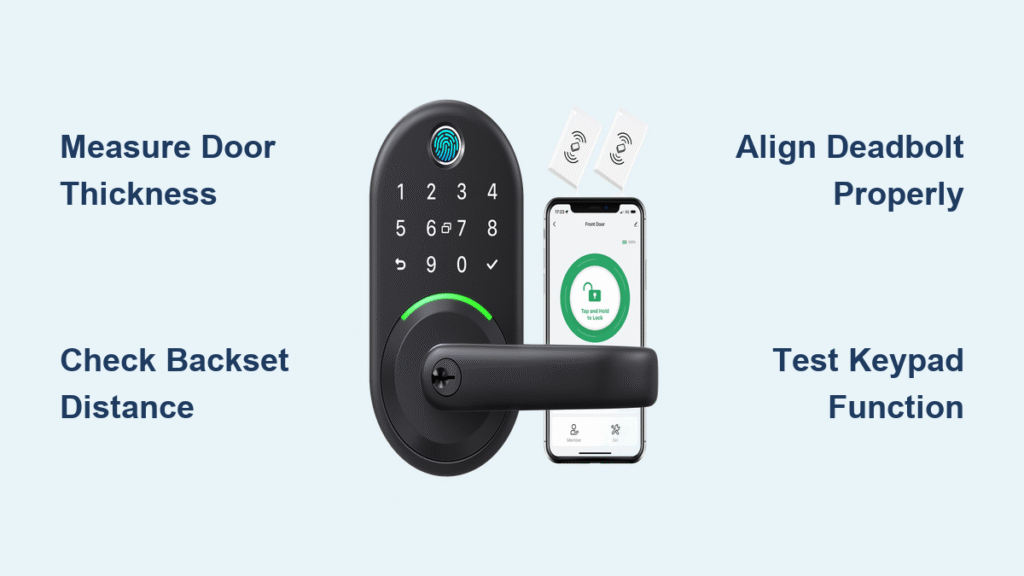
Fumbling for keys with arms full of groceries ends the moment you install your Yamiry smart lock. This intuitive keyless entry system transforms your front door with a straightforward installation process that most homeowners complete in under 30 minutes. Whether you’re replacing an outdated deadbolt or upgrading your first door, the Yamiry smart lock installation requires minimal tools and delivers maximum convenience. This guide provides the exact steps professionals use, ensuring your lock operates smoothly for years without costly installation fees.
Many homeowners assume smart locks require complex wiring or professional help, but the Yamiry model proves otherwise. Its clever design works with standard door configurations while offering advanced security features like customizable access codes and auto-lock functionality. By following these precise instructions, you’ll avoid common pitfalls that lead to misalignment, battery drain, or programming failures. Let’s get your keyless entry system operational with confidence.
Pre-Installation Door Compatibility Verification

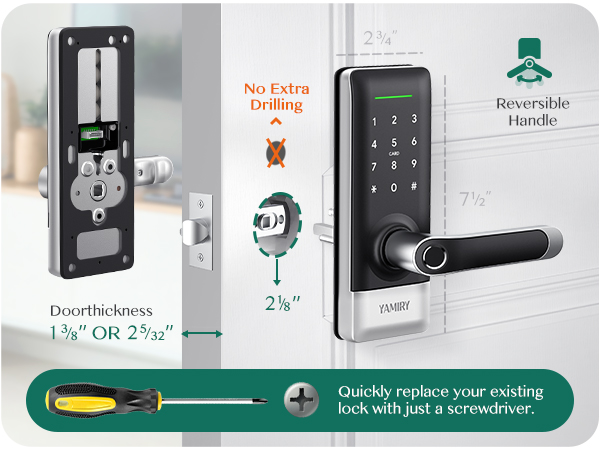
Before touching a single screw, confirm your door meets Yamiry’s specific dimensional requirements. Many installation failures stem from skipping this critical step—your door’s measurements determine whether the lock will function properly without modifications.
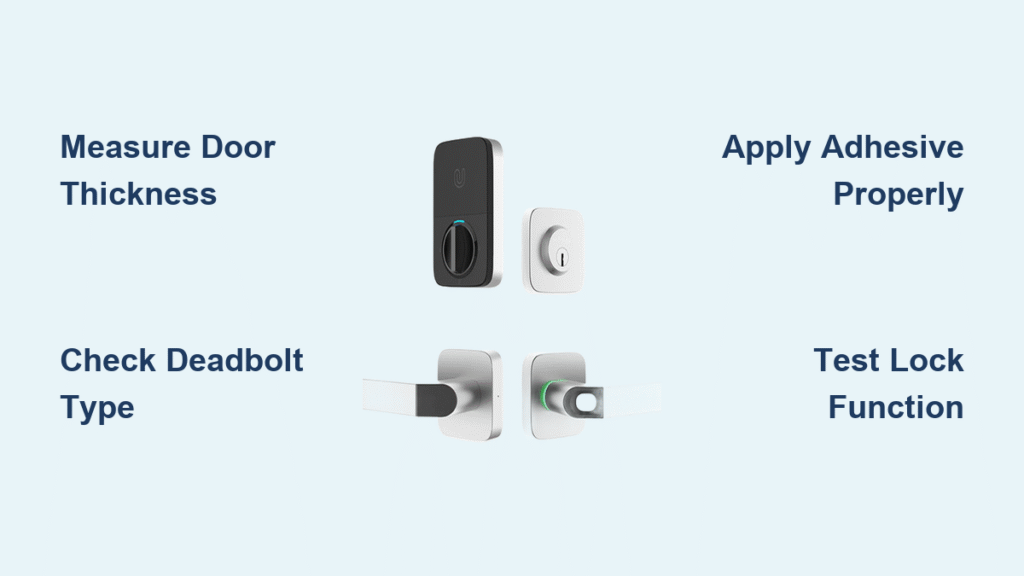
Measure Door Thickness Accurately
Your door must measure between 1-3/8″ and 2″ thick for proper Yamiry smart lock installation. Take measurements at three points—top, middle, and bottom—as doors can warp over time. If your measurements fall outside this range, the mounting plates won’t align correctly, causing handle wobble or bolt misalignment. Never force installation on incompatible doors, as this leads to premature failure and potential security vulnerabilities.
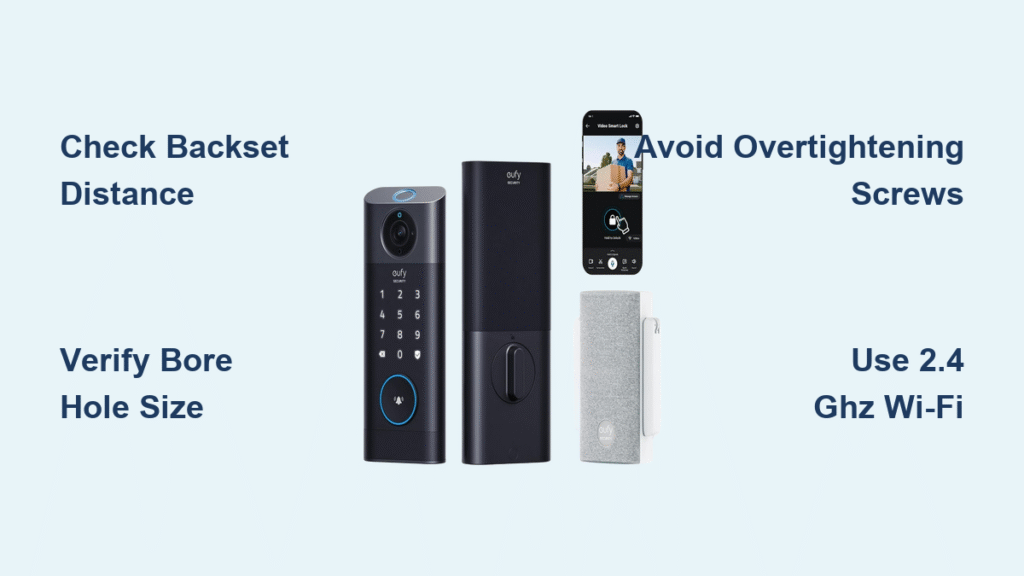
Determine Correct Backset Distance
Check whether your existing lock uses the standard 2-3/8″ backset or the less common 2-3/4″ configuration. Measure from the edge of your door to the center of the current keyhole—this dimension must match Yamiry’s settings exactly. Most homes built after 1980 use 2-3/8″, while older properties often feature the longer backset. Attempting to install with the wrong setting creates handle misalignment that strains internal components.
Verify Existing Cutout Dimensions
The center hole in your door must measure precisely 2-1/8″ in diameter to accommodate the Yamiry mechanism. Older homes sometimes have smaller 1-1/2″ holes that require professional enlargement. Similarly, check the edge mortise where the deadbolt sits—it needs to be 1″ in diameter with a 1/2″ deep pocket. Inadequate mortising causes binding that wears out the motor and drains batteries rapidly.
Essential Tools and Components Checklist
Gather these specific items before beginning your Yamiry smart lock installation to prevent mid-process delays. Having everything ready streamlines the process and reduces the risk of losing small parts.
Yamiry Package Contents:
– Exterior keypad assembly with handle
– Interior mounting plate and control board
– Deadbolt mechanism and strike plate
– Battery pack housing (requires 4 AA batteries)
– Installation template and mounting hardware
– Two physical emergency keys
Additional Tools Required:
– Phillips #2 screwdriver (precision tip recommended)
– Flathead screwdriver for prying cover plates
– Tape measure for verifying dimensions
– Pencil for marking drill points
– Small hammer for strike plate adjustment
– Chisel (only if mortise modification needed)
Pro Tip: Lay all components on a light-colored towel before starting. This prevents small screws from rolling away and provides immediate visual confirmation that you have all necessary parts. Missing even one component can halt your Yamiry smart lock installation progress.
Remove Existing Lock Mechanism Safely
Begin your Yamiry smart lock installation by completely removing the old lockset. This clean-slate approach ensures proper fitment and prevents interference with the new mechanism.
Extract Interior Handle Assembly
Locate and remove the two screws securing the interior handle, typically hidden beneath a decorative cover plate. Gently pry the cover with a flathead screwdriver, being careful not to scratch your door finish. Once exposed, unscrew the mounting screws counterclockwise while supporting the handle to prevent dropping it. The interior assembly should slide off smoothly once the screws are removed—avoid forcing it if resistance occurs.
Remove Exterior Components Carefully
From outside the door, pull the handle and key cylinder assembly straight out. If paint buildup creates resistance, wiggle gently while applying steady pressure—never use excessive force that could damage the door. Keep these parts aside temporarily; you’ll need the strike plate screws for mounting the Yamiry components. Never discard old strike plate screws immediately, as Yamiry often uses the same size for their installation.
Clear Deadbolt Mechanism Completely
Unscrew the two screws securing the deadbolt mechanism along the door’s edge. Once loose, pull the entire deadbolt assembly straight out. Inspect the mortise (the pocket where the bolt sits) for paint buildup, debris, or previous modifications that could interfere with the new lock. Clean this area thoroughly with a small brush before proceeding with your Yamiry smart lock installation.
Install Yamiry Deadbolt Mechanism First

The deadbolt forms the foundation of your keyless entry system—proper installation here prevents 90% of common operational issues.
Position Deadbolt with Correct Orientation
Insert the Yamiry deadbolt with the “UP” arrow clearly visible and facing upward. The bolt should slide smoothly into the existing mortise without resistance. If binding occurs, check for paint buildup or misaligned holes—forcing it can bend the bolt. The tailpiece (flat metal bar extending into the door) must extend exactly 1-1/4″ into the door cavity for proper handle alignment.
Secure Deadbolt with Proper Tightening Technique
Use the provided long screws to secure the mechanism, tightening them alternately in quarter-turn increments. This even pressure prevents warping the mounting plate. Test bolt movement by turning the tailpiece with a screwdriver—smooth operation is critical. The bolt should extend and retract without catching or requiring excessive force. If resistance remains, slightly loosen the screws and reposition before final tightening.
Verify Frame Alignment Before Proceeding
Close the door and check if the bolt aligns perfectly with the strike plate hole. Misalignment causes binding that wears out the motor. If needed, adjust the strike plate position using the new Yamiry strike plate as a template. A properly aligned bolt should slide into the strike plate with minimal resistance—if you hear scraping, realignment is necessary.
Mount Exterior Keypad Assembly Correctly
The exterior keypad serves as your primary interface with the Yamiry smart lock system—proper installation ensures years of reliable use.
Feed Wiring Harness Through Door Safely
Carefully thread the delicate wire harness through the door’s center hole, avoiding sharp bends or kinks. These wires carry power and signals between components—damaged wiring requires complete replacement. Leave about 2 inches of slack on both sides to prevent tension when mounting the assemblies. Never force wires through tight spaces, as this can sever internal connections.
Align Keypad for Optimal Functionality
Position the keypad so the handle faces the correct direction (typically pointing down when unlocked). The assembly should sit flush against the door without gaps—any space indicates misalignment. Check handle operation before final tightening; it should turn smoothly through its full range of motion. Proper alignment prevents premature wear on the internal gears.
Program Your Yamiry Smart Lock System
With hardware installed, configure your access preferences through the intuitive keypad interface.
Set Master Code for Administrative Access
Press and hold the “Program” button for 3 seconds until the keypad beeps. Enter your desired 4-8 digit master code, then press “#”. The lock confirms with two beeps—this code provides full administrative control. Choose a code that’s memorable but not obvious (avoid birthdays or simple sequences). Write it down and store it securely until memorized.
Add Multiple User Access Codes
From the unlocked position, press “Program” twice, enter your master code, then press “1” to add a user. Input the new 4-8 digit code and press “#”. Yamiry stores up to 20 individual codes—ideal for family members, cleaning services, or trusted neighbors. Each user can have unique access schedules if your model supports scheduling features.
Troubleshoot Common Installation Issues
Even careful Yamiry smart lock installations sometimes encounter problems—these solutions address the most frequent issues.
Resolve Keypad Power Problems
If the keypad won’t light up, replace all four AA batteries simultaneously—mixing old and new batteries causes power fluctuations. If new batteries don’t help, check the wire harness connection between keypad and interior assembly. Loose connections are the second most common cause of unresponsive keypads after dead batteries.
Fix Bolt Alignment Issues
When the door won’t lock completely, check strike plate alignment first. The bolt should slide smoothly into the strike plate’s hole—scraping indicates misalignment. File the strike plate’s edges with a metal file if needed, or adjust its position slightly. A properly aligned bolt requires minimal force to engage fully.
Maintain Peak Performance Long-Term
Regular maintenance extends your Yamiry smart lock’s lifespan and prevents unexpected failures.
Implement Smart Battery Management
Replace batteries every 6-8 months regardless of low-battery indicators—waiting until failure causes lockouts. Use only high-quality alkaline batteries for optimal performance in extreme temperatures. Keep spare batteries in a convenient location for quick replacement during emergencies.
Clean Keypad to Prevent Malfunctions
Use a slightly damp microfiber cloth to clean the keypad weekly. Avoid harsh chemicals that can damage button graphics—moisture infiltration causes electronic failures. For stubborn grime, use mild soap solution, then dry thoroughly with a soft cloth. Never spray liquids directly onto the keypad.
Your Yamiry smart lock installation is complete when all tests pass and the system responds reliably. The convenience of keyless entry begins immediately—no more fumbling for keys with arms full of groceries. With proper maintenance, your Yamiry smart lock provides years of secure, reliable access to your home, making this straightforward installation one of the most valuable home upgrades you’ll ever complete.