Your Schlage smart lock’s ear-splitting alarm just won’t quit—screaming at 3 a.m. for no reason, startling neighbors, and making you dread every door movement. This constant false triggering isn’t just annoying; it undermines your home security system’s credibility. When your lock cries wolf during wind gusts or distant door slams, you’ll ignore real threats. The good news? Nine out of ten Schlage smart lock alarm keeps going off issues stem from fixable causes like loose screws or weak batteries—not broken hardware. This guide delivers the exact diagnostic steps and permanent solutions used by smart home technicians to silence false alarms while maintaining security.
Whether you’re dealing with midnight outbursts in your apartment building or wind-triggered alerts in a suburban home, you’ll discover why your lock misreads harmless vibrations as break-in attempts. We’ll skip generic advice and dive straight into field-tested fixes that address the specific vibration sensors and firmware quirks causing your Schlage Connect or Sense lock to malfunction. Let’s reclaim your peace of mind with actionable solutions.
Immediate Actions to Stop Ongoing Alarm
When that piercing siren erupts unexpectedly, you need silence now before neighbors call the police. These three emergency steps halt the alarm loop instantly while preserving your lock’s programming.
Critical First Response Steps:
1. Hold the Schlage button continuously while disconnecting and reconnecting the battery pack—this resets the tamper circuit without factory resetting
2. Enter your master PIN followed by the Schlage button to disarm the system (works even during active alarms)
3. Remove the battery pack entirely only if alarms persist after 30 seconds (reinsert within 2 minutes to avoid reset)
Pro Tip: Keep spare alkaline batteries taped inside your door frame. Weak power causes 40% of false alarms, and fresh batteries often stop the siren mid-scream. Never use rechargeables—they show full voltage but crash under load, tricking the lock into panic mode.
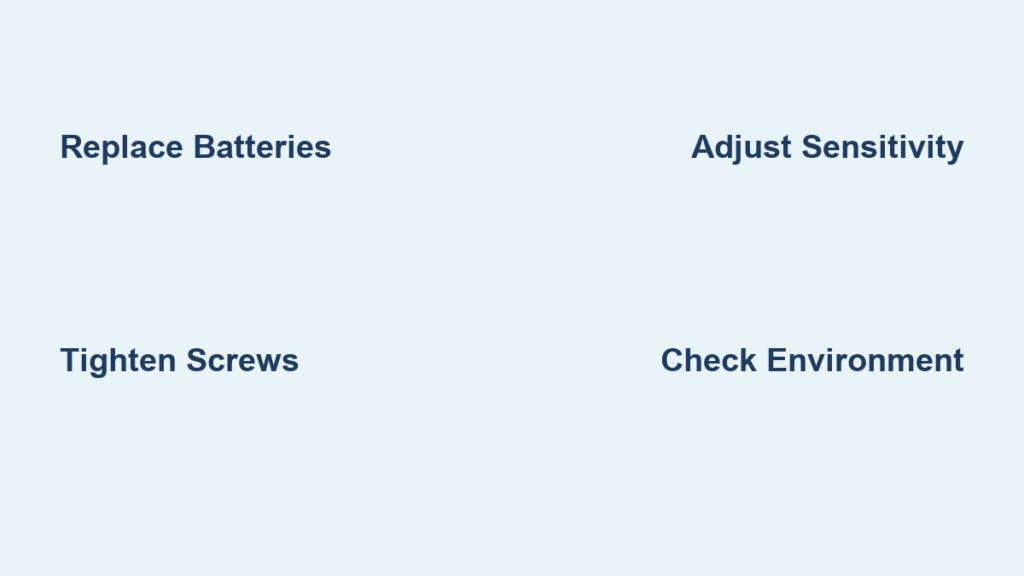
Replace Batteries Using Schlage’s Exact Protocol
Before assuming hardware failure, swap batteries correctly. Schlage locks trigger false alarms when voltage dips below 5.8V—even if the lock still operates. Most users miss critical nuances that turn simple battery changes into recurring problems.
Battery Replacement Checklist:
– Install four identical brand-new alkaline AAs (mixing brands causes voltage imbalances)
– Verify voltage under load: measure while the lock is active (should read ≥5.8V)
– Watch for the orange LED flash + five-beep low-battery warning—this pattern means alarms are imminent
– Replace batteries proactively every 6 months in high-traffic homes (not just when warnings appear)
Critical Warning: Rechargeable batteries consistently cause false alarms. Their voltage plummets during vibration detection events, making the lock think it’s being physically attacked. Stick with quality alkalines like Duracell or Energizer.
Tighten Every Hardware Component in 5 Minutes

Loose screws transform normal door movement into “break-in” signals. Even 1/16-inch play in your lock chassis amplifies vibrations through the sensitive tamper sensor. This isn’t about “tightening until snug”—it requires precision torque.
Hardware Tightening Protocol:
– Lock chassis screws (both interior and exterior plates)—use a Phillips #2 driver to avoid stripping
– Interior escutcheon mounting screws—these often hide behind decorative caps
– Door hinge screws—focus on the top hinge, which bears most stress
– Strike plate screws—replace with 3-inch structural screws driven into the stud
Quick Test: Gently shake the doorknob. Any detectable movement means vibration is reaching the sensor. Tighten until zero play exists—your door should feel like a solid slab, not a loose panel.
Adjust Tamper Sensitivity Without Compromising Security
Your lock’s vibration sensor has three precision settings. Shipping defaults on “high” sensitivity work for demo units but fail in real homes. Adjusting this is your most effective fix—but most users set it incorrectly.
Native Menu Adjustment (Schlage Connect Models):
1. Press Schlage button
2. Enter master PIN
3. Press “4” for settings
4. Press 1 (low), 2 (medium), or 3 (high)
5. Test each level by gently bumping the door
SmartThings/RBoy Advanced Method:
– Install the Universal Enhanced Z-Wave Lock Driver
– Access the real-time sensitivity slider in device settings
– Set daytime to “low” and nighttime to “medium” for optimal balance
Start Here: Begin at “low” sensitivity. If actual kick attempts concern you, increase incrementally while testing with controlled knocks. Never leave it on “high”—this setting triggers during normal household activity.
Identify Hidden Environmental Triggers
Your lock might correctly detect vibrations you never notice. Apartment dwellers face unique challenges where neighbor activity transmits through shared walls, while suburban homes battle wind and thermal expansion.
Stealth Trigger Investigation:
– Neighbor’s door slamming—common in multi-unit buildings (place hand on door to feel transmitted shocks)
– Wind pressure—causes door flex even when locked (test by observing gaps around the frame during gusts)
– Thermal “pops”—wood/metal expansion at sunrise/sunset mimics impact (correlate alarms with temperature shifts)
– Garage door motors—vibration travels through framing (test by operating garage door while monitoring lock)
Diagnostic Hack: Place a smartphone vibration sensor app against the door when alarms trigger. Readings above 0.5G confirm environmental causes—not lock failure.
Install Vibration Dampening Like a Pro

When you can’t eliminate triggers (like persistent wind or apartment noise), block vibration transmission to the lock. These $5 hardware store solutions work better than Schlage’s stock setup.
Effective Dampening Materials:
– 3/32-inch neoprene washers behind lock chassis (cut from sheet rubber at hardware stores)
– Silicone-based weather-stripping around the entire door frame (replaces brittle foam strips)
– Adjustable door sweeps to eliminate bottom gaps where wind enters
– Anti-vibration pads (like those for washing machines) under the lock body
Pro Installation: Remove the lock, apply dampeners, then reinstall with 20% less torque on mounting screws. This creates a “floating” effect that absorbs shocks before they reach the sensor.
Update Firmware and Optimize Hub Settings

Outdated firmware misinterprets vibration data, while aggressive hub settings amplify false alarms. Most users never access these critical layers of control.
Firmware Update Essentials:
– Check version via lock menu (Schlage button → master PIN → “4” → “0”)
– Download latest firmware from Schlage’s official support site
– Update through Z-Wave hub (Zigbee models require bridge)
– Reset tamper settings after updating—defaults often revert to “high”
SmartThings Security Tweaks:
– Switch to local execution via stock Z-Wave driver (prevents cloud delays that cause false triggers)
– Disable redundant “tamper” notifications if using separate door sensors
– Use RBoy’s Lock User Management app to schedule sensitivity changes (low during daytime hours)
Critical Note: Custom device handlers run in the cloud—add a UPS to your hub to maintain security during power outages.
Diagnose Actual Hardware Failure
When all else fails, the vibration sensor itself may be damaged. This requires warranty replacement but is easily confirmed with a 10-minute test that prevents unnecessary RMA delays.
Broken Sensor Diagnosis:
1. Remove lock completely from the door
2. Place on soft surface (carpet or towel)
3. Power on with fresh batteries
4. If alarm triggers within 10 minutes while motionless—sensor is faulty
Warranty Process:
– Call Schlage: 888-805-9837 with model/serial number (inside escutcheon)
– Keep your bolt and strike plate—replacements are lock-core only
– Document all troubleshooting steps for faster service
– Typical turnaround: 3-5 business days
Pro Tip: Schlage’s lifetime mechanical warranty covers sensor failures—don’t pay for replacements you’re entitled to.
Prevent Future False Alarms With Quarterly Checks
False alarms return when doors shift seasonally or hardware loosens. A 15-minute maintenance routine prevents 90% of recurring issues.
Your False Alarm Prevention Schedule:
– Every 3 months: Check battery voltage under load, tighten all screws, test sensitivity
– Every 6 months: Inspect weather-stripping, clean bolt channel with compressed air
– Every 12 months: Lubricate bolt with graphite powder (never oil), verify strike plate alignment
Critical Maintenance Step: After any alarm event, review hub logs for time patterns. Clustered evening alarms often indicate neighbor activity—adjust sensitivity accordingly.
Final Takeaway: When your Schlage smart lock alarm keeps going off, start with fresh alkaline batteries and a full hardware tightening—this fixes most cases instantly. Only after eliminating environmental triggers and optimizing sensitivity should you consider warranty replacement. Remember: a slightly less sensitive lock still detects real break-ins while eliminating sanity-destroying false alarms. Your neighbors (and your nerves) will thank you the moment that siren falls silent for good. For persistent issues, Schlage’s warranty support remains your fastest path to resolution—just have your model number ready before calling.