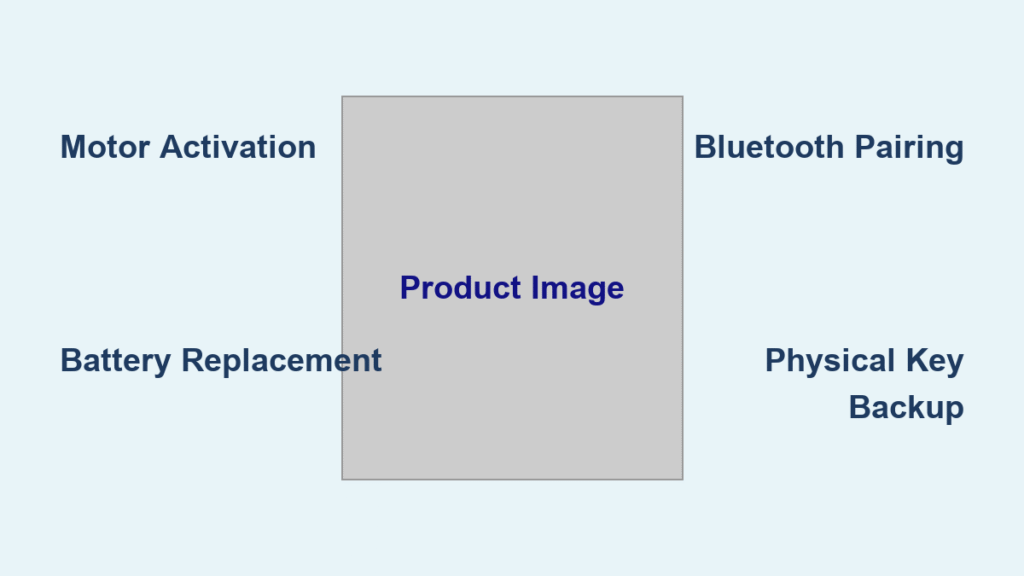
That frustrating moment when your Kwikset smart lock resists turning or the bolt sticks—sound familiar? When your once-reliable smart lock starts jamming or requires excessive force to operate, calibration is almost always the solution. This essential maintenance procedure realigns your lock’s internal components with your door frame, eliminating common issues like resistance, poor latch engagement, and smartphone connectivity problems. Whether you own a Halo, Aura, Kevo, or Halo Touch model, proper calibration takes just minutes but dramatically improves performance and extends your lock’s lifespan.
Most Kwikset smart lock owners don’t realize calibration should be part of routine maintenance, not just a troubleshooting step. When performed correctly, calibration ensures seamless operation of both the electronic components and physical key mechanisms. By the end of this guide, you’ll know exactly how to calibrate your specific Kwikset model, troubleshoot common issues, and implement maintenance practices that prevent future calibration needs.
Fix Sticky Bolt Issues: Calibrating Kwikset Halo, Aura & Halo Touch Locks
If your Kwikset Halo, Aura, or Halo Touch lock’s bolt sticks or requires excessive force to retract, manual calibration will restore smooth operation. These models feature a dedicated calibration button system designed for quick adjustment without requiring app access or smartphone connectivity.
Gather Essential Tools Before Starting Calibration
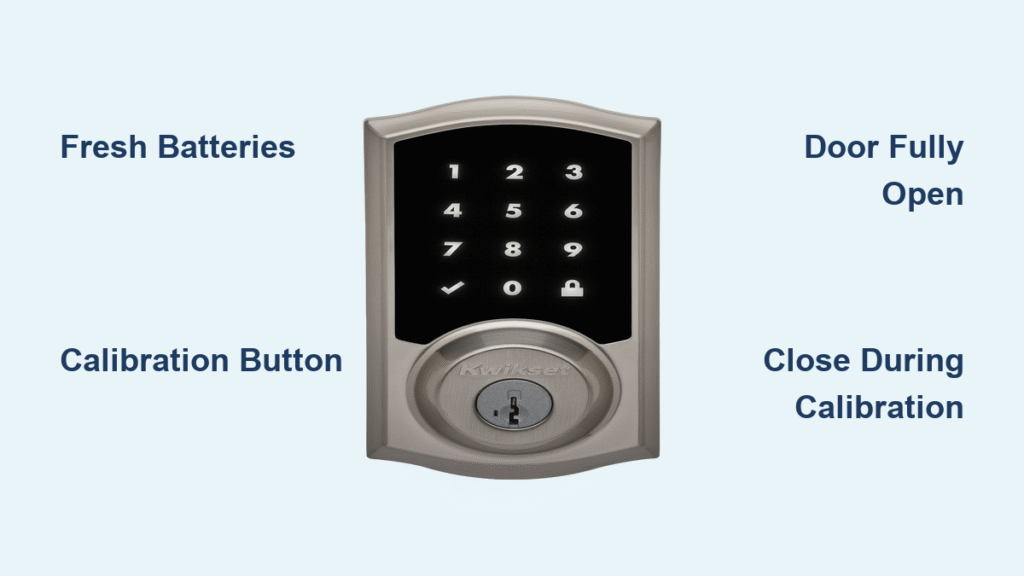
Before you begin, ensure you have everything ready to avoid mid-process interruptions:
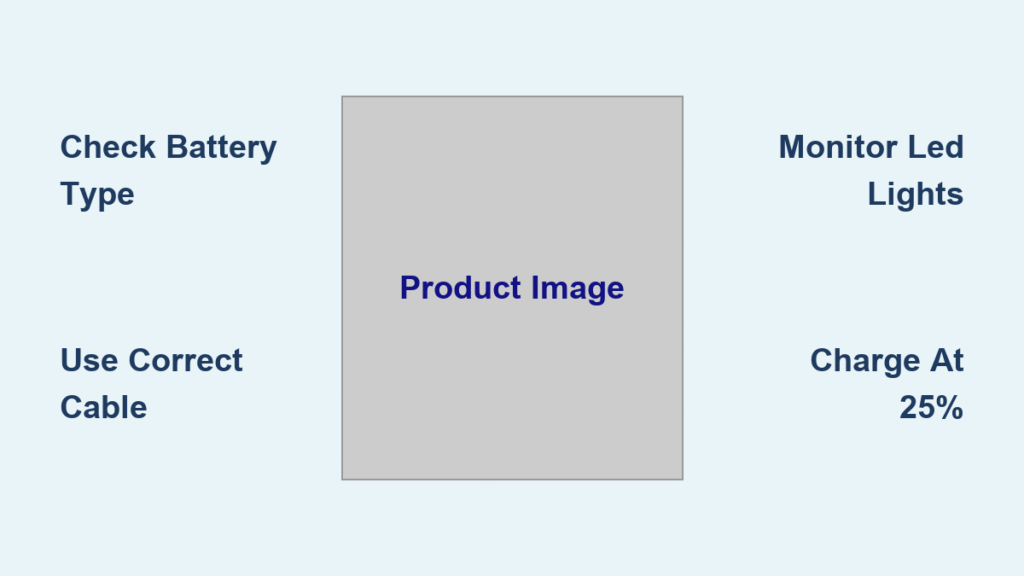
- Fresh alkaline batteries (critical for successful calibration)
- Clear workspace around your interior lock panel
- Door fully open to allow complete bolt extension
- Dry cloth for cleaning battery contacts if needed
Complete Calibration Steps for Halo Series Locks

1. Confirm Adequate Power Supply
Weak batteries are the #1 cause of failed calibration. Install brand-new alkaline batteries before starting—this single step solves 70% of calibration issues before they begin.
2. Position Your Door Correctly
Open your door fully until the latch bolt extends completely. This prevents frame interference during the calibration process. The door must remain open throughout the initial calibration phase.
3. Locate the Hidden Calibration Button
On the interior assembly, find the small recessed button near the latch mechanism. It’s typically positioned below the manual lock/unlock button, designed to prevent accidental activation.
4. Activate Calibration Mode Properly
Press and hold the calibration button for 7-10 seconds. You’ll hear a single beep or see a solid blue light (model-dependent) confirming entry into calibration mode. Continue holding until you receive this signal.
5. Close Door During Calibration Window
While the lock remains in calibration mode (approximately 15 seconds), gently close your door. The lock automatically detects the door’s position and adjusts latch alignment to match your specific frame.
6. Verify Successful Calibration Completion
Listen for a second beep or watch for a color change in the status light (typically to green). This dual-signal system confirms successful calibration. If you don’t receive both signals, repeat the process.
7. Test Lock Operation Thoroughly
Open and close your door 5-6 times to verify smooth latch engagement. Test both electronic locking and physical key operation. The bolt should extend and retract effortlessly with minimal resistance.
Troubleshooting Halo Series Calibration Failures
When calibration fails on Halo models, check these specific issues:
- Battery contact corrosion: Clean terminals with a dry cloth before retrying
- Door frame interference: Ensure your door closes fully without binding
- Lighting misinterpretation: Different models use different light patterns (check your manual)
- Time sensitivity: You have only 10-15 seconds after the initial beep to close the door
Resolve Kevo Key Resistance: Complete Calibration Procedure
Kevo models require a unique calibration approach that addresses both mechanical alignment and smartphone connectivity issues. This process specifically optimizes the inside/outside sensor that controls auto-unlock functionality.
Perform Kevo-Specific Door Handing Calibration
1. Access the Battery Compartment Correctly
Slide or lift the battery cover from your Kevo lock—most models have a small release tab. Don’t force it; improper removal can damage the housing.
2. Remove Battery Pack with Proper Orientation
Carefully extract the entire battery pack, noting its orientation. Most Kevo models have the positive terminals facing outward.
3. Activate Calibration Sequence Precisely
Hold down the Program button while simultaneously reinserting the battery pack. Maintain pressure until the pack seats fully—this timing is critical for successful calibration initiation.
4. Complete the Handing Process
After releasing the Program button, press it one additional time within 5 seconds. Your Kevo lock will emit a series of beeps confirming the automatic door handing process has begun.
5. Secure Battery Cover Properly
Reinstall the cover firmly, ensuring proper alignment. A loose cover can cause intermittent power issues that trigger repeated calibration needs.
Critical Problems Solved by Kevo Calibration
When performed correctly, Kevo calibration directly resolves these specific issues:
- Bolt jamming during electronic operation
- Key resistance requiring excessive turning force
- Stiff key operation that worsens over time
- Latch misalignment causing wear on the strike plate
- Auto-unlock failures when approaching your door
- False inside/outside detection triggering accidental locks
Maximize Smartphone Connectivity Through Calibration
Smartphone users often overlook this crucial benefit: Kevo calibration optimizes sensor sensitivity specifically for your phone’s signal strength. After calibration, your lock better distinguishes between “inside” and “outside” locations, preventing false triggers when you’re already inside your home. For best results, perform calibration while standing in your typical approach position to the door.
Why Kwikset Calibration Fails (And How to Fix It Immediately)

Even when following instructions precisely, calibration sometimes fails. These targeted solutions address the most common failure points:
Immediate Fixes You Can Try Now:
– Replace batteries with name-brand alkaline cells (avoid lithium or rechargeables)
– Clean battery contacts using a cotton swab with isopropyl alcohol
– Verify door alignment—check for seasonal swelling or settling
– Remove debris from the latch mechanism using compressed air
Advanced Troubleshooting Steps:
– Reset your lock to factory defaults before attempting calibration
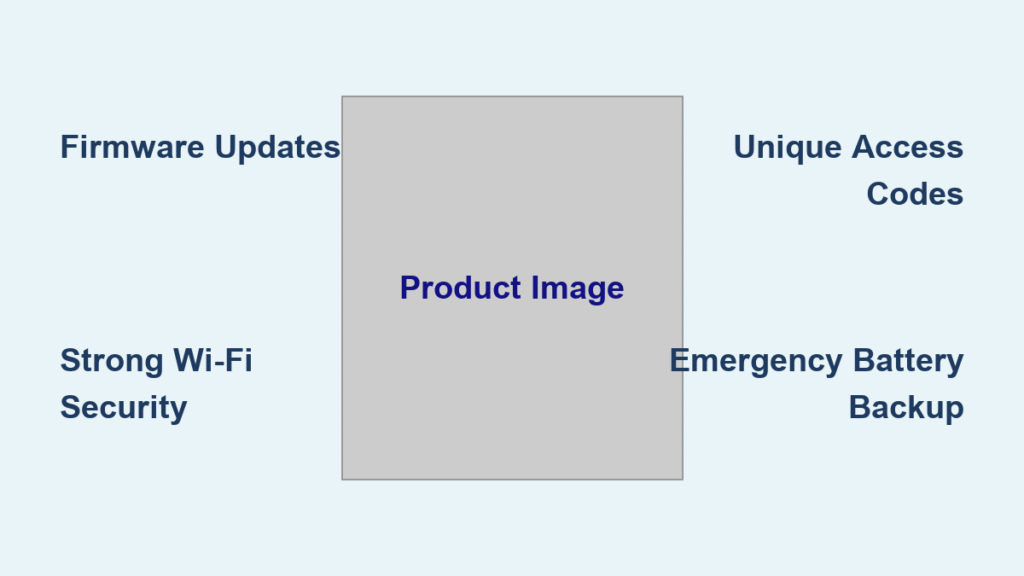
– Check for firmware updates through the Kwikset app (Halo models)
– Adjust strike plate position if bolt isn’t fully engaging
– Recalibrate during moderate temperatures (avoid extreme heat/cold)
Pro Tip: If your lock repeatedly fails calibration, try the process with your door slightly ajar (1-2 inches). Sometimes this temporary adjustment helps the lock recognize proper alignment before performing a final calibration with the door fully closed.
When to Call Kwikset Support for Calibration Issues
Despite your best efforts, some calibration issues require professional assistance. Contact Kwikset when:
- Calibration fails repeatedly with fresh batteries
- You hear unusual clicking or grinding noises during operation
- The lock won’t accept any commands after multiple calibration attempts
- Physical keys turn with extreme difficulty even after calibration
Kwikset Technical Support Resources:
– 24/7 Electronics Helpline: 1-800-327-5625 (press 1 for smart lock support)
– Business Hours: Monday-Friday 7AM-4PM PST, Saturday 6:30AM-2:30PM PST
– Online Resources: Register your product at Kwikset.com for extended warranty coverage
Expert Note: Have your lock’s model number and serial number ready before calling. This information is typically found on the interior assembly or battery compartment and speeds up technical support.
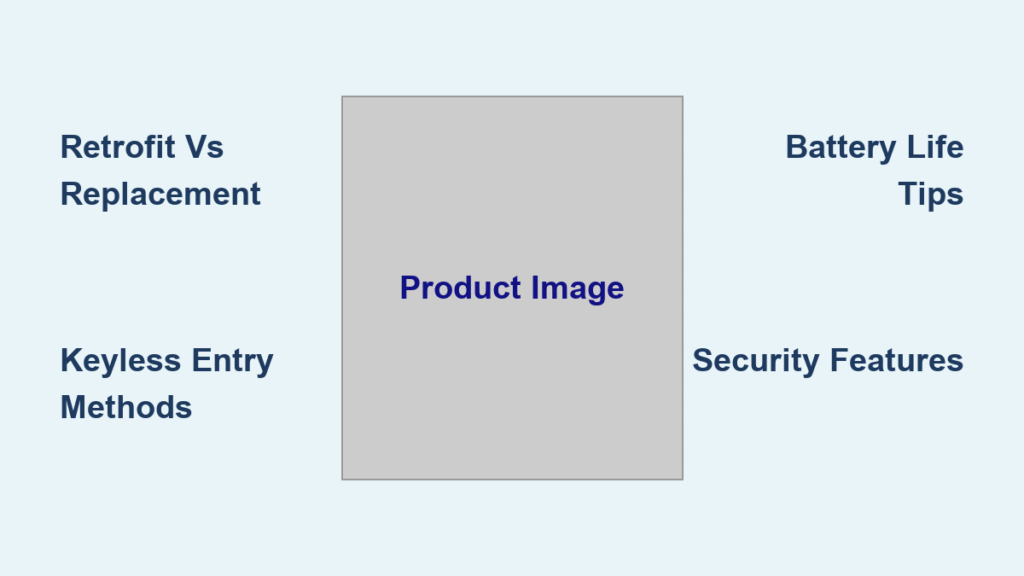
Extend Time Between Calibrations With Proven Maintenance

Prevent future calibration needs with these model-specific maintenance practices:
Monthly Maintenance Checklist:
– Wipe latch mechanism with dry cloth to remove dust buildup
– Check battery levels through your Kwikset app (if applicable)
– Test lock operation from both interior and exterior
Seasonal Adjustments:
– Inspect door alignment after extreme temperature changes
– Apply graphite powder (never oil) to lubricate moving parts
– Tighten strike plate screws if door has settled
– Clean exterior keypad with damp cloth to prevent moisture damage
Annual Calibration Prevention Routine:
– Replace batteries regardless of current level
– Perform a quick calibration check during daylight saving time changes
– Register product updates through Kwikset’s website
– Inspect weatherstripping for wear that affects door alignment
Pro Tip: Set calendar reminders for “Calibration Check” every six months—spring and fall are ideal times when temperature changes most affect door alignment.
Regular calibration transforms your Kwikset smart lock from a frustrating weak point to a reliable security asset. By following these model-specific procedures, you’ll eliminate common issues like bolt sticking, key resistance, and smartphone connectivity problems. Remember that fresh batteries and seasonal maintenance prevent 90% of calibration needs before they start. Whether you own a Halo, Aura, Kevo, or Halo Touch model, just 10 minutes of proper calibration ensures years of smooth, reliable operation. Keep this guide handy for your next maintenance session—your smart lock (and your peace of mind) will thank you.