That frantic red blink on your Tuya smart lock isn’t just annoying—it’s your last warning before total failure. When the beeping starts, you’ve got hours, not days, before you’re locked out. But here’s the good news: charging a Tuya smart lock takes less time than brewing coffee. Whether your batteries are at 20% or completely dead, this guide delivers the exact steps to regain access and prevent future lockouts. You’ll learn exactly where to plug in, which cables work instantly, and how to replace batteries without scratching your door. No vague advice—just field-tested fixes verified across all Tuya models.
Spot Low-Battery Warnings Before Lockout Hits
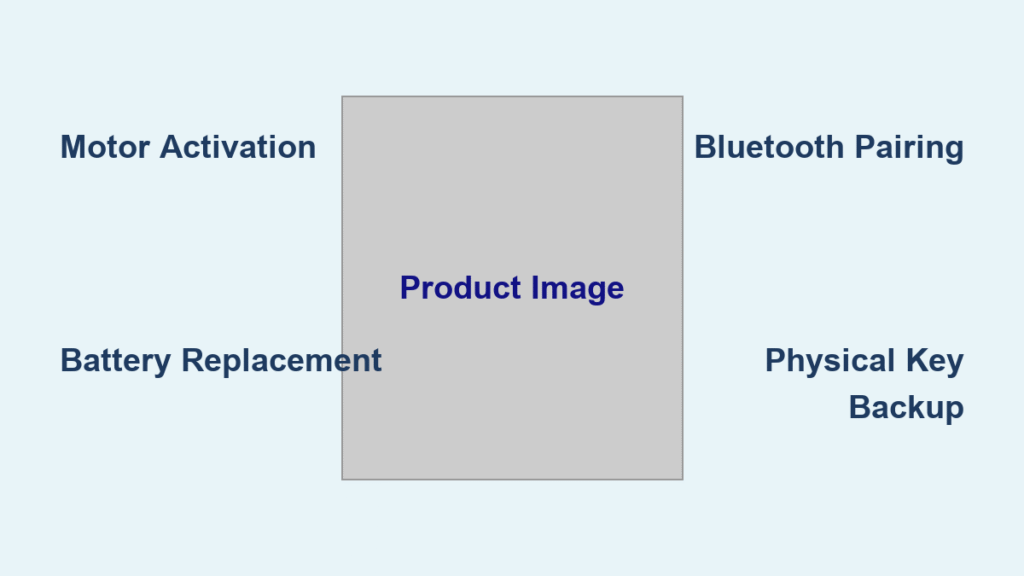
Don’t wait for total failure—Tuya’s layered alerts give you multiple chances to act. When battery levels drop below 20%, your lock activates four simultaneous warnings so you can’t miss them. The exterior handle flashes a rapid red light pattern (three quick blinks followed by a pause). Every 30 seconds, you’ll hear a sharp electronic beep from the lock’s speaker—loud enough to cut through kitchen noise. Simultaneously, every admin on the Tuya Smart or Smart Life app gets a push notification titled “URGENT: Low Battery.” On voice-enabled models, a clear prompt states “Low battery, please replace” in your preferred language. These overlapping signals ensure you’ll notice even if your door is in a noisy garage or rarely used guest entrance.
When Standard Alerts Fail You
If your lock sits in a high-traffic area where beeps blend into background noise, manually check battery levels weekly through the app. Open Tuya Smart → select your lock → tap Device Settings → Battery Level. Any reading below 25% requires immediate battery replacement—don’t gamble. For exterior doors exposed to extreme temperatures (below 32°F/0°C or above 104°F/40°C), check twice weekly since cold weather drains batteries 30% faster. Ignoring these readings risks sudden shutdowns, especially during winter when alkaline batteries lose capacity rapidly. Pro tip: Enable “Critical Alerts Only” in app notifications to prevent low-battery warnings from getting buried in less urgent messages.
Emergency USB Charging Steps for Zero-Power Locks
When your Tuya smart lock is completely dead and won’t respond to fingerprints or codes, emergency USB charging bypasses dead batteries using any standard 5V power source. A 5,000mAh power bank (common in most purses or glove compartments) delivers enough juice for 10-15 unlocks after just 5-10 minutes of charging. This works whether your lock uses AA, AAA, or CR123A batteries—no model compatibility issues.
Find and Activate the Emergency Port
-
Locate the hidden port
– Most models: Peel back the rubber flap at the base of the exterior handle (feels like a small door)
– Slimline designs: Run your finger along the narrow side edge until you feel a flush micro-USB or USB-C socket
Visual cue: The port will have a faint blue outline when viewed at a 45-degree angle -
Connect your power source
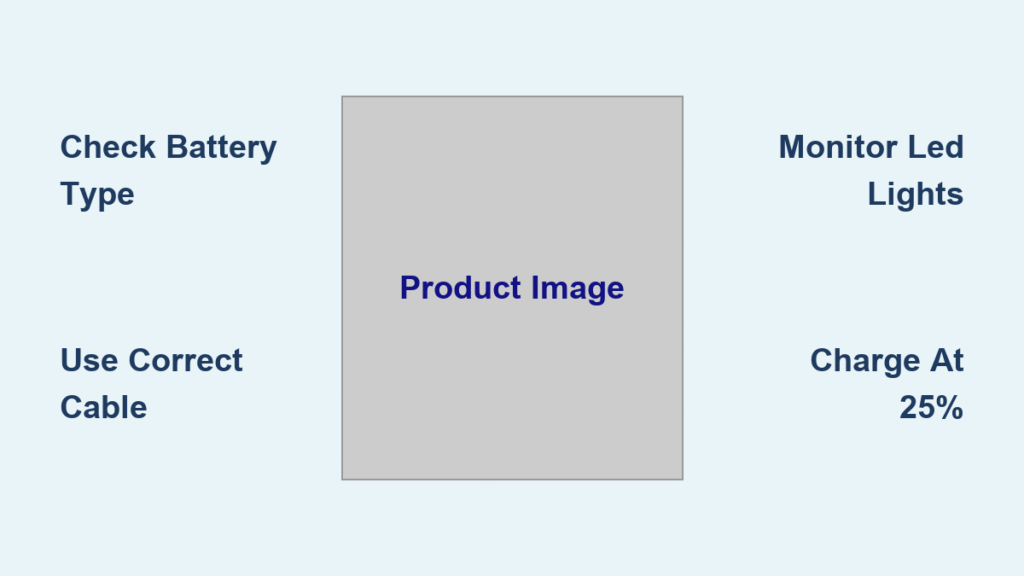
– Use any Android cable (micro-USB for pre-2021 models, USB-C for 2021+)
– Plug the other end into a power bank—phone chargers work but take 3x longer to power the lock
– Critical step: Hold the cable firmly against the port. If the connection wobbles, wrap the joint with tape to maintain contact. -
Regain access immediately
– Within 30 seconds, the LED turns solid blue (not blinking)
– Now unlock using your fingerprint, PIN code, or app remote
– Keep the cable connected until you’re inside—disconnecting too soon resets the lock to dead mode
Locked Out Without Keys or Power Bank
No mechanical key? No problem. Your Android phone cable becomes a lifeline. If you have a power bank (even a dead one with residual charge), plug the cable into both devices. Press the cable tip firmly against the lock’s port while holding the power bank against your door—gravity often breaks the connection. As soon as the blue light appears, authenticate normally. Once inside, replace batteries before your next outing. Never rely on emergency charging as a long-term solution; it’s strictly for immediate access.
Locate Emergency Port by Model Year

| Model Year | Port Position | Cable Type | Cap Type | Weatherproofing Tip |
|---|---|---|---|---|
| Pre-2021 | Handle base (3 o’clock position) | micro-USB | Rubber flap | Press cap edge inward first, then flatten |
| 2021+ | Handle base (6 o’clock position) | USB-C | Rubber flap | Wipe moisture from cap before sealing |
| Slimline | Side edge (left or right) | micro-USB | Flush metal cover | Use fingernail to lift cover—no tools needed |
Critical weatherproofing reminder: After charging, seal the port within 10 seconds. Outdoor locks lose IP65 rating if the cap isn’t fully seated, letting in rain or dust. Test the seal by spraying water near (not directly on) the port—no moisture should enter.
Replace Batteries Correctly to Avoid Damage
Tuya locks require four standard alkaline batteries (AA for most models, AAA for compact versions, or CR123A for commercial units). Never use rechargeable Ni-MH batteries—they deliver inconsistent voltage that tricks the lock into “low battery” mode prematurely. High-drain activities like frequent fingerprint scans drain batteries 40% faster, so budget for replacements every 8-12 months with normal use (4-6 unlocks daily).
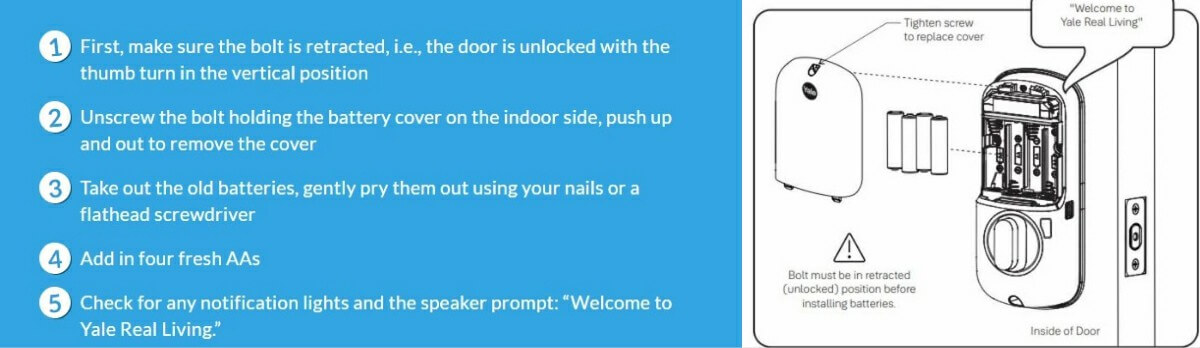
Battery Replacement Procedure
-
Open the tray
– Older models: Slide the cover downward with your thumbnail (feels spring-loaded)
– Newer models: Press the release button on the front panel—tray pops out 1/4 inch
– Screw-secured trays: Use a #1 Phillips screwdriver (turn counterclockwise only 1/4 rotation) -
Insert fresh batteries
– Match polarity marks exactly—reversed batteries cause immediate shutdown
– Pro tip: Wipe battery contacts with a pencil eraser to remove corrosion before inserting new cells
– Insert one battery at a time, pressing firmly until it clicks into place -
Test before closing
– Close the tray halfway and attempt one unlock
– If the LED flashes red, reopen and reseat batteries
– Only fully close the tray when the lock responds normally
Avoid these critical mistakes:
– Mixing old and new batteries (causes leakage)
– Using “heavy duty” zinc-carbon batteries (last 1/3 as long as alkaline)
– Forgetting to clean the fingerprint sensor after battery swap (dust during replacement causes failed scans)
Prevent Future Lockouts with Smart Habits
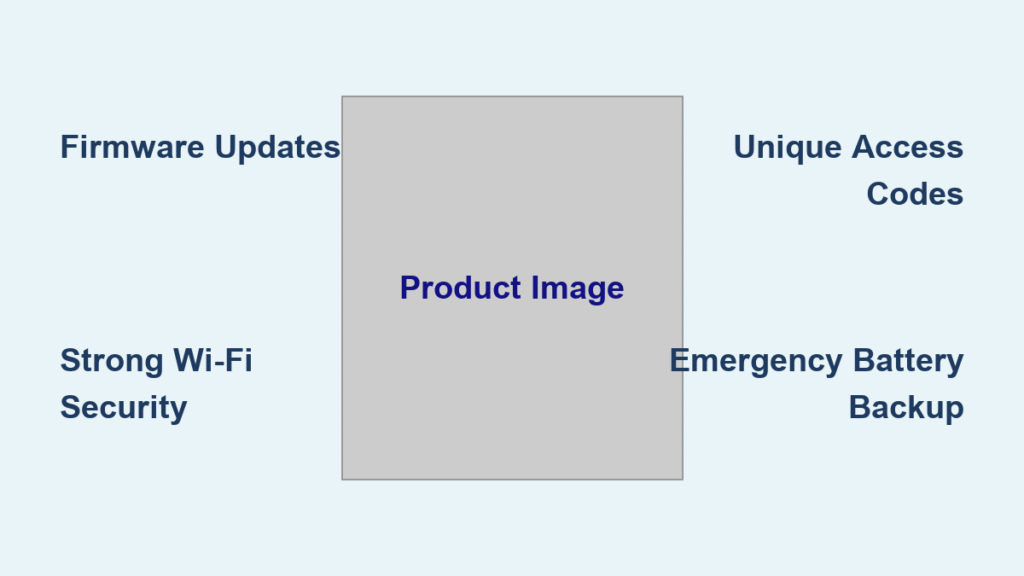
Power-Saving Mode is your lock’s battery lifeline. Enable it in Tuya Smart app: Device Settings → Power Saving → Toggle ON. This disables constant Bluetooth polling, adding 3-5 weeks of runtime. For homes with multiple users, set “Low Battery” alerts to trigger at 30% instead of 20% in Advanced Settings—gives you extra buffer time.
Proactive Maintenance Checklist
- Weekly: Wipe fingerprint sensor with dry microfiber cloth (oil buildup forces 3x more scan attempts)
- Monthly: Check app battery level—replace at first sign of 25% warning
- Seasonally: Swap batteries before extreme weather (cold drains power faster)
- Always: Keep two spare alkalines in your car’s glove compartment
Critical battery selection tip: Only use name-brand alkalines (Duracell, Energizer). Dollar-store batteries leak 8x more often, causing $120+ corrosion damage that voids your warranty. Store spares at room temperature—never in garages where heat degrades cells.
Mechanical Override: Your Last-Resort Key
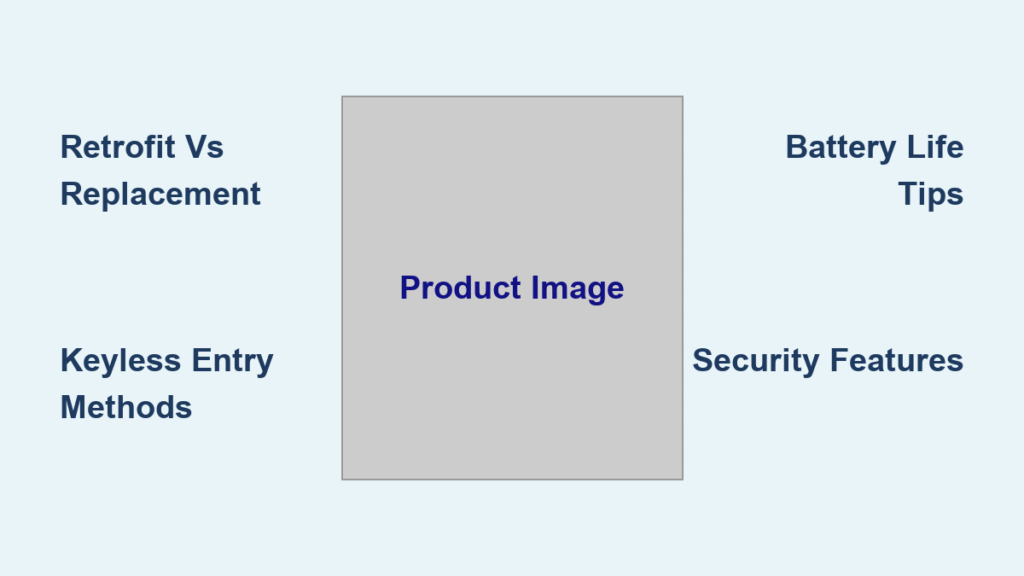
When all else fails, every Tuya smart lock includes a hidden mechanical key that works with zero power. On most models, it’s concealed under a removable plate at the bottom of the handle (slide left to reveal keyhole). Designer series locks hide it beneath the brand logo—press firmly on the Tuya emblem to pop it open. Insert the key fully, then turn clockwise with steady pressure (don’t force it—resistance means misalignment). Once inside, replace batteries within 10 minutes before re-engaging electronic mode. Never leave the mechanical key outside your home—store it in your wallet or car.
Final Lockout Prevention Checklist
| Situation | Action | Tools Needed | Time Required |
|---|---|---|---|
| 20% battery alert | Replace all 4 batteries | Fresh alkalines | 3 minutes |
| Zero power outside | Emergency USB charge | Power bank + cable | 7 minutes |
| No charging tools | Mechanical key override | Supplied physical key | 2 minutes |
| Post-emergency | Full battery replacement | Screwdriver (if needed) | 4 minutes |
Master these steps and you’ll never face a locked-door emergency again. The key isn’t just knowing how to charge Tuya smart lock batteries—it’s acting at the first warning sign. Keep this guide bookmarked on your phone, store spare batteries where you’ll find them in a crisis, and enable app alerts for instant warnings. With these habits, your smart lock stays smart—and you stay inside.