Tired of juggling keys or worrying about lost house keys? Installing an August Smart Lock transforms your traditional deadbolt into a smartphone-controlled security system without replacing your entire lock. This step-by-step guide covers every August model (Gen 2, 3, and 4) and walks you through the entire process from compatibility check to final testing. You’ll gain keyless entry, remote access, and guest management capabilities—all while keeping your existing exterior keyhole intact. Most homeowners complete this installation in 10-20 minutes with just two basic tools, making it far simpler than calling a locksmith.
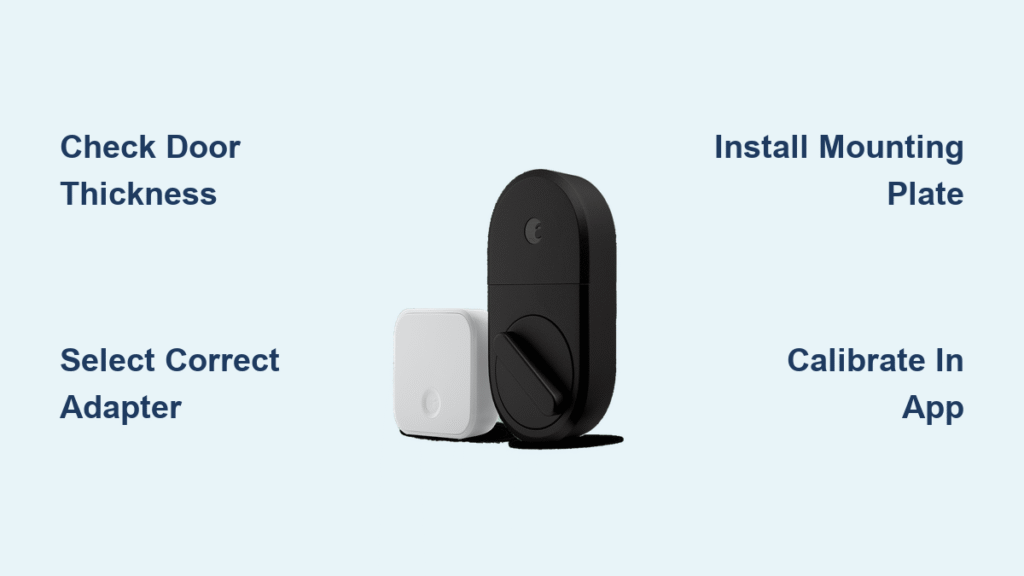
Before you touch any tools, verifying your door compatibility prevents costly mistakes. Many DIYers skip this step only to discover their door thickness or deadbolt type isn’t supported. August Smart Locks work exclusively with single-cylinder deadbolts (where you turn a thumb-latch inside to lock/unlock) and require specific measurements. Get these right, and your installation will proceed smoothly. Let’s ensure your door meets the requirements before proceeding.
Confirm Your Door Meets August Smart Lock Requirements

Don’t assume your deadbolt is compatible—measure precisely to avoid frustration. August Smart Locks only work within strict specifications, and forcing installation on incompatible hardware damages both your door and the device.
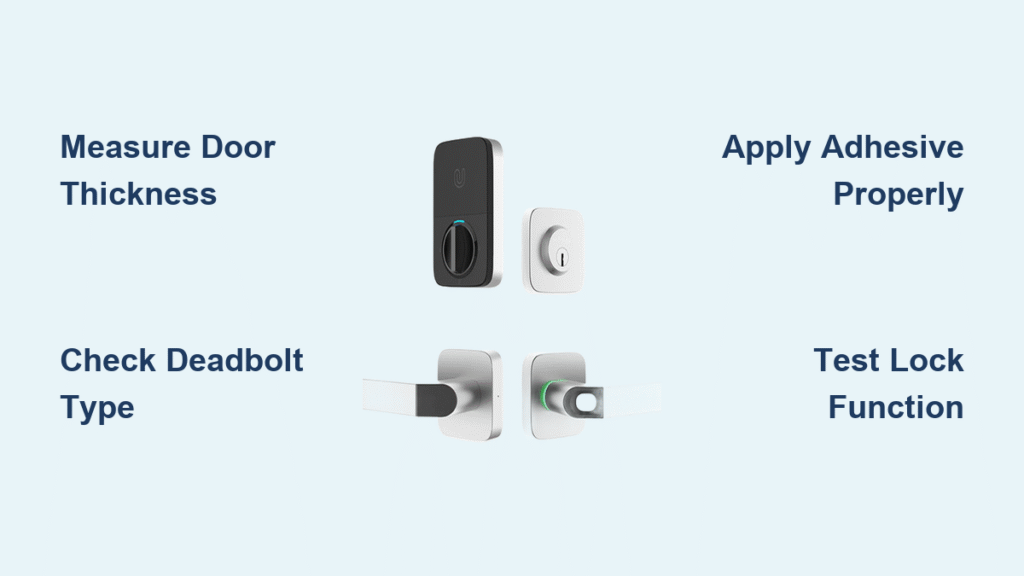
Measure Door Thickness Accurately
Use a metal ruler to measure your door edge from interior surface to exterior surface. Your measurement must fall between 1-3/8″ to 2-1/4″ (35-57mm). Most modern residential doors (1-3/4″) fit perfectly, but older homes or exterior doors sometimes exceed this range. If your door is thicker than 2-1/4″, the August mounting plate won’t sit flush, causing alignment issues during operation. Thinner doors (under 1-3/8″) lack structural integrity for secure mounting—don’t risk security compromises.
Identify Compatible Deadbolt Types
Crucially, August replaces ONLY your interior thumb-turn assembly—your exterior keyhole remains completely unchanged. You need a single-cylinder deadbolt with these specific characteristics:
– Thumb-turn mechanism on the interior side
– Rectangular strike plate on the door frame
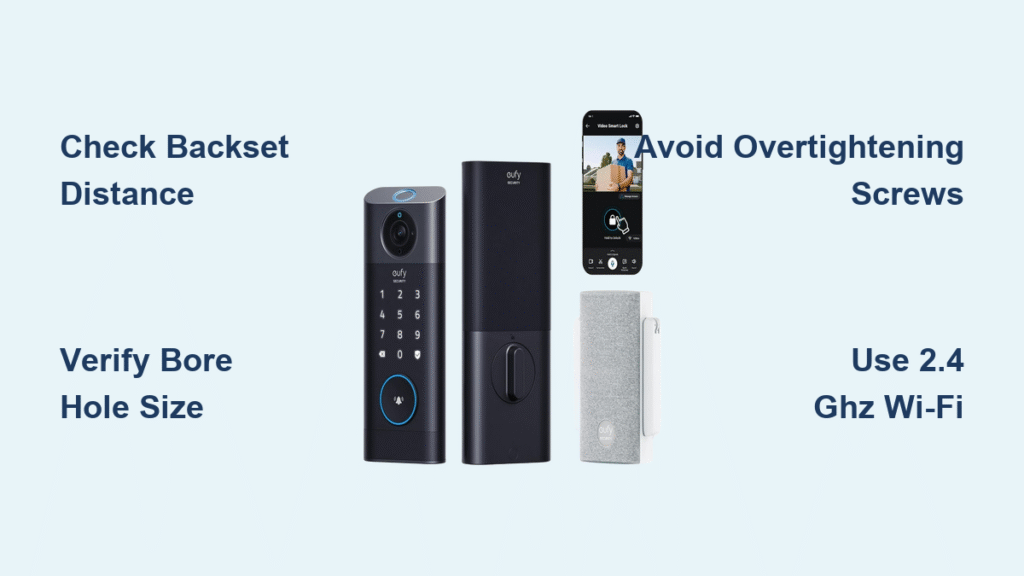
– Standard 2-1/8″ diameter bore hole
– Either 2-3/8″ or 2-3/4″ backset measurement (from door edge to center of deadbolt hole)
Double-cylinder deadbolts (requiring keys on both sides) won’t work with August. Similarly, mortise locks or electronic deadbolts with built-in keypads are incompatible. Check your hardware before unpacking the August kit.
Gather Essential Tools Before Starting
You’ll need just two common tools for 95% of installations:
– Phillips head screwdriver (magnetic tip recommended)
– Flathead screwdriver (for adapter adjustments)
Pro tip: Take three reference photos before disassembly:
1. Entire interior deadbolt assembly
2. Close-up of tailpiece connection
3. Door edge showing deadbolt mechanism
These save troubleshooting time if parts don’t align during reassembly. Avoid power tools—August installation requires hand-tightening only to prevent damage.
Remove Existing Thumb-Turn Assembly Safely
Working on an open door prevents accidental lockouts during installation. Always keep your physical keys accessible until final testing.
Unscrew Interior Plate Correctly
With the door open, locate the two screws securing the interior thumb-turn plate to the door face. Turn these counterclockwise using your Phillips screwdriver—don’t force them if stuck. Gently pull the interior assembly away from the door while supporting the exterior key cylinder. If resistance occurs, check for hidden set screws near the thumb-turn base. Keep all original screws in a dedicated container; you’ll need them if reverting to manual operation later.
Extract Deadbolt Mechanism Without Damage
Remove the two screws along the door edge that secure the deadbolt itself. Slide the metal deadbolt straight out horizontally—never force it vertically. Inspect the tailpiece (the metal rod extending from the interior assembly) for compatibility. It should be 1-1/2″ long maximum; longer tailpieces require trimming with wire cutters. If your deadbolt sticks during removal, apply graphite powder lubricant to the latch mechanism first.
Select the Correct Adapter for Your Lock Brand
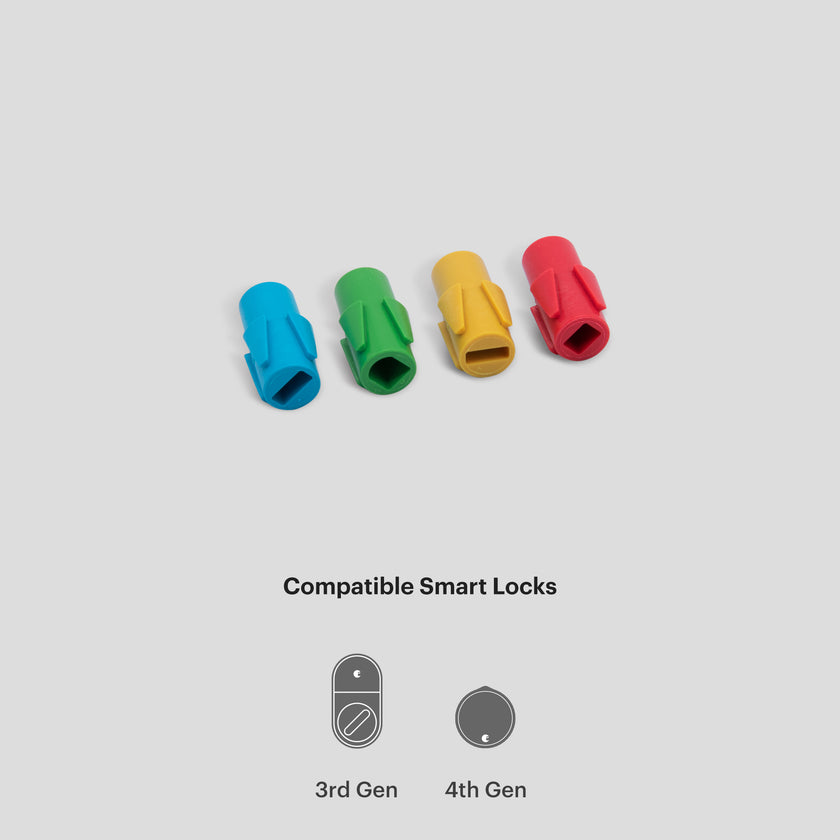
August includes three plastic adapters to accommodate different deadbolt manufacturers. Choosing wrong causes binding and calibration failures. Match these to your existing hardware:
- Standard adapter: Fits Schlage, Kwikset, Yale (most common US brands)
- Tapered adapter: Required for Weiser, Baldwin, and off-brand locks
- Square adapter: Specific Yale models with square tailpieces
Slide the adapter onto your deadbolt’s tailpiece—it should fit snugly with minimal play. If wobbling occurs, try another adapter. The tailpiece must rotate freely within the adapter without binding. For Gen 4 models, ensure the CR123A battery compartment faces upward after installation.
Install Mounting Plate with Precision Alignment

Position August’s circular mounting plate over the existing deadbolt mechanism. Critical detail: The August logo must face upward for horizontal deadbolts or toward the door hinge for vertical installations. Misalignment here causes operational failures. The small notch on the plate’s edge must align perfectly with your door edge.
Secure using the two long screws provided through the mounting plate’s pre-drilled holes. Tighten just until snug—overtightening warps the plastic plate, preventing the lock body from seating flush. If the plate wobbles, check for wood debris in the mounting area and reposition.
Attach August Lock Body and Secure Mechanically
Slide Onto Mounting Plate Smoothly
Align the August lock body’s tailpiece slot with your selected adapter. Push straight onto the mounting plate until you hear a distinct click—this indicates the locking tabs have engaged. The lock should sit completely flush against your door with no gaps. If resistance occurs, verify adapter selection and tailpiece length.
Tighten Set Screw for Long-Term Stability
Locate the small Allen key in your hardware kit. Insert it into the set screw hole underneath the lock body. Turn clockwise until snug—this prevents rotation or loosening over time. Do not overtighten; stop when you feel firm resistance. Excessive force damages the screw threads and compromises security.
Install Batteries and Power Up Your Smart Lock
Insert Batteries by Model Type
- Gen 4: Insert 2 CR123A batteries (included) with positive ends facing outward. The rear cover snaps securely into place.
- Gen 3/2: Load 4 AA batteries (included) observing polarity markings. Replace the rear cover with firm pressure until it clicks.
Upon power-up, the LED flashes white rapidly during startup. The lock then performs an automatic 360° calibration rotation—this confirms proper mechanical connection. If rotation doesn’t occur, check battery orientation and adapter alignment.
Complete August App Setup and Calibration
Download App and Initiate Pairing
Install the August Home app from your device’s app store. Create an account using your email, then select “Set up a lock” from the main menu. Choose your specific model (Gen 2/3/4) when prompted. Stand within 10 feet of the lock—the flashing white LED indicates pairing mode.
Calibrate Lock Position Accurately
Follow the app’s guided calibration:
1. Manually turn your deadbolt to the locked position using the August ring
2. Confirm in-app when the lock is fully engaged
3. Repeat for the unlocked position
4. Test auto-lock/unlock via the app interface
This calibration teaches the lock its mechanical limits. If the app detects binding, cycle the deadbolt manually 3-4 times to loosen stiff mechanisms before retrying.
Set Up WiFi Bridge for Remote Access (Pro Models)
Connect August Connect Hardware
Plug the August Connect WiFi Bridge into a wall outlet within 15 feet of your lock. The LED pulses blue during setup. In the August app, select “Add WiFi Bridge” and follow prompts to connect your phone to the August-Connect network.
Link to Home Network Successfully
Select your 2.4GHz home WiFi network (August requires 2.4GHz only—5GHz won’t work) and enter the password carefully. The Connect device LED turns solid green when paired. Critical: Test remote lock/unlock from outside Bluetooth range before finalizing setup.
Test All Functions Before Finalizing
Verify these operations work flawlessly:
– App control: Lock/unlock within 2 seconds
– Manual operation: Smooth turning via August ring
– Auto-lock: Engages per your configured delay
– Remote access: Works beyond Bluetooth range
– Notifications: Instant alerts for all lock events
If any function fails, revisit calibration or adapter selection before daily use. Never skip this verification step—security depends on flawless operation.
Troubleshoot Common Installation Issues Immediately

Fix Misalignment Problems
If your lock won’t seat flush:
– Recheck adapter selection—most “won’t fit” issues stem from wrong adapters
– Trim tailpiece if exceeding 1-1/2″ length using wire cutters
– Verify door thickness falls within 1-3/8″ to 2-1/4″ range
– Reposition mounting plate—even 1/8″ misalignment causes binding
Resolve Calibration Failures
When the lock fails calibration:
– Cycle deadbolt manually 3-4 times to loosen stiff mechanisms
– Check door alignment—warped doors cause binding at latch points
– Reset lock by holding button for 10 seconds until LED flashes red
– Verify smooth operation of original deadbolt before retrying
Maintain Your August Smart Lock for Peak Performance
Manage Battery Life Proactively
Expect 3-6 months battery life (Gen 4) or 6-12 months (Gen 3/2). The app sends low-battery alerts at 20% and 10% capacity. Crucially, lock settings remain saved during battery changes—replace batteries before they fully drain. Store spare CR123A batteries (Gen 4) in a cool, dry place.
Perform Essential Monthly Maintenance
- Clean exterior with a damp microfiber cloth—never use chemicals
- Check mounting screws quarterly for tightness with Phillips screwdriver
- Test manual operation monthly by turning the August ring
- Apply graphite powder annually to deadbolt mechanism (not silicone)
Final Installation Verification
Your August Smart Lock installation is complete! You’ve successfully transformed a traditional deadbolt into a keyless entry system with smartphone control, guest access codes, and remote monitoring. Test auto-lock functionality as you exit—most users configure immediate locking within 30 seconds of door closure for maximum security.
Next steps: Create guest access codes for visitors, enable geofencing to auto-lock when leaving, and integrate with Amazon Alexa for voice control. The entire process typically takes 10-20 minutes—far faster than professional installation and infinitely more convenient than traditional keys. Enjoy key-free living with confidence in your newly upgraded smart home security.