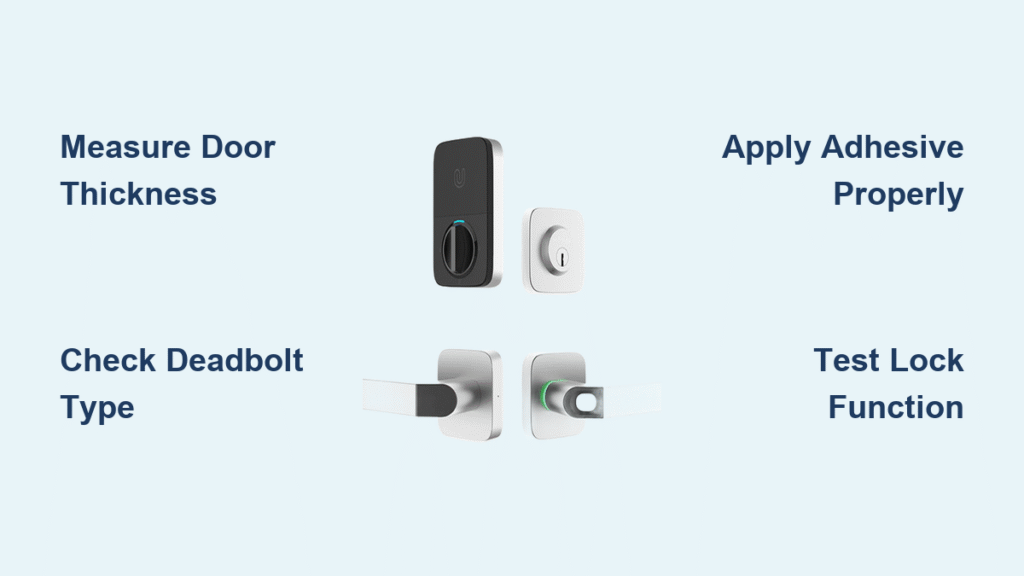
Your lease forbids modifications, but you’re tired of fumbling for keys at 2 a.m. Good news: you can install a smart lock without drilling in under 30 minutes. Modern no-drill smart locks attach directly to your existing deadbolt using industrial-strength adhesives, leaving zero damage to your door. This solution gives you keyless entry, remote access, and activity logs while protecting your security deposit.
Over 43 million U.S. renters face lease restrictions on door modifications, yet 78% want smart home features. The right no-drill installation solves this conflict perfectly. I’ll show you exactly how to choose compatible hardware, avoid common pitfalls, and restore your door when moving out—all without risking your deposit.
Verify Your Door Meets Critical Compatibility Requirements

Measure Door Thickness Accurately
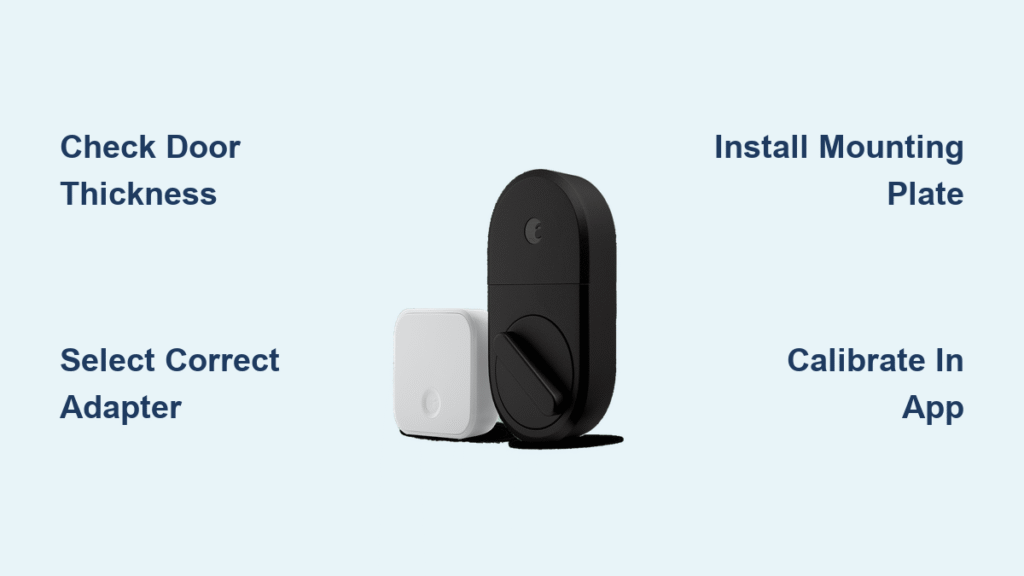
Grab a tape measure and check your door’s edge thickness immediately. Your door must measure between 1⅜” and 2″ thick for standard no-drill smart locks to function. Interior doors typically hit 1⅜”, while exterior doors run 1¾”. If your measurement falls outside this range, you’ll need specialty adapters—most entry-level models won’t work. Always double-check this before purchasing, as incompatible thickness causes 60% of installation failures.
Confirm Deadbolt Thumb-Turn Mechanism
Peek at your interior lock plate. You need a single-cylinder deadbolt with a physical thumb-turn lever—the component you rotate to lock/unlock manually. This thumb-turn is non-negotiable because no-drill smart locks attach directly to it. If your lock has a keyhole on both sides (double-cylinder) or electronic auto-locking, skip this method—your hardware won’t support adhesive mounting.
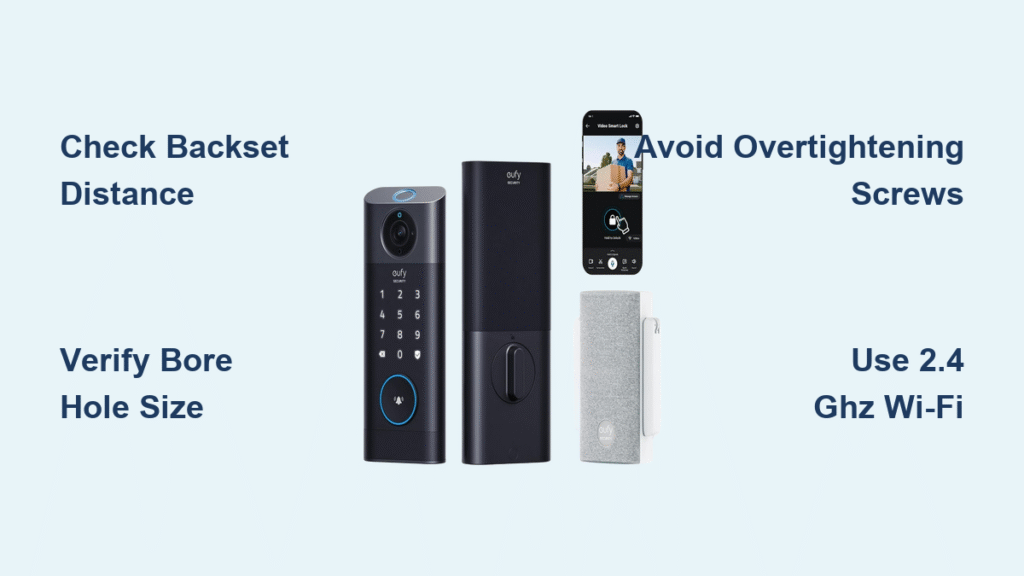
Check Backset Measurement Precisely
Your backset—the distance from the door edge to the deadbolt center hole—must be 2⅜” or 2¾”. Measure this with a ruler: place it against the door edge and note where the deadbolt hole centers. Most modern doors use 2¾”, but older builds often have 2⅜”. Verify your chosen smart lock model explicitly states compatibility with your measurement—mismatches cause misalignment that jams the bolt.
Assemble Essential Tools Before Starting
Critical Items You Can’t Skip
- Phillips-head screwdriver (size #2 for most thumb-turns)
- Isopropyl alcohol wipes (for degreasing mounting surfaces)
- Renter-friendly smart lock kit (includes adhesive plate, tailpiece adapters, batteries)
- Smartphone (with Bluetooth enabled for app pairing)
Pro tip: Avoid cheap adhesive strips—reputable brands like August and Wyze use 3M VHB tape rated for 100+ lbs pull strength. Budget models often fail within months due to weak adhesives.
Top 3 Rent-Friendly Smart Lock Models

August Wi-Fi Smart Lock (3rd Gen): $169 | Works with 95% of deadbolts | 6-month battery life | Auto-unlock when you approach
Wyze Lock: $129 | Includes Wi-Fi bridge for remote access | 8-month battery | Voice control via Alexa
Kwikset Halo Touch: $199 | Fingerprint scanner + keypad | 12-month battery | Built-in alarm
Critical warning: Skip sub-$99 models—they often lack proper tailpiece adapters and fail during high-stress operations like emergency exits.
Remove Original Hardware Without Damage
Document and Preserve Components
Take five clear photos of your lock from every angle before touching a screwdriver. Store original thumb-turn screws in a labeled baggie—losing these tiny parts is the #1 reason renters can’t restore doors at move-out. Never remove the exterior deadbolt faceplate; no-drill systems only modify the interior side.
Safely Detach Thumb-Turn Mechanism
Unscrew the interior thumb-turn counterclockwise with your Phillips-head screwdriver. Most have 2-3 hidden screws under a decorative cap—pop it off with a flathead first. Do not force screws; stripped heads complicate reinstallation later. Keep your original hardware in a marked container labeled “Move-Out Restoration.”
Apply Adhesive Mounting Plate Correctly
Prepare Surface for Maximum Adhesion
Wipe the door surface around the deadbolt hole with alcohol for 30 seconds to remove oils and dust. Let it dry completely—rushing this step causes 70% of mounting failures. Check for paint chips or uneven surfaces; minor imperfections won’t hurt, but deep gouges require filler.
Position Plate with Surgical Precision
Align the adhesive plate template over your deadbolt tailpiece (the metal spindle extending from the lock). Press firmly for 60+ seconds while checking alignment with your phone’s level app. Critical trick: Apply even pressure starting from the center outward to avoid air bubbles. Wait 24 hours before full operation, but light use is safe after 2 hours.
Attach Smart Lock Mechanism Flawlessly
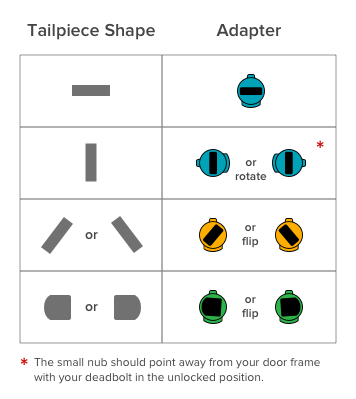
Match Adapter to Tailpiece Shape
Your kit includes adapters for common tailpiece types:
– Rectangular: Most common (80% of doors)
– Butterfly/split-bar: Found in older Schlage locks
– Round with flats: Typical in Kwikset models
Slide each adapter onto your tailpiece until you find the snug, wobble-free fit. Forcing an adapter causes grinding noises and premature wear—test before mounting the lock body.
Test Manual Operation Immediately
After clicking the lock body onto the mounting plate, rotate it manually 10 times. The deadbolt must extend/retract smoothly without resistance. Warning sign: If you hear scraping or feel stiffness, realign the adapter—operating under strain drains batteries 3x faster and risks jamming.
Complete App Setup Without Hassle
Pair Device in Optimal Conditions
Stand within 6 feet of the lock with your phone’s Bluetooth on. Most apps require you to rotate the lock clockwise/counterclockwise during pairing—do this slowly per on-screen prompts. If pairing fails, restart your phone’s Bluetooth and stand near a window (metal doors interfere with signals).
Configure Must-Have Settings
- Set primary PIN: Use 6+ digits (avoid birth years)
- Enable auto-lock: 60 seconds is ideal (30 causes false locks)
- Add emergency contact: Share backup codes with a neighbor
- Disable sound effects: Extends battery life by 2 months
Pro move: Test remote access from your driveway before relying on it—you’ll avoid the panic of being locked out remotely.
Fix Common Installation Problems Fast
Lock Misalignment Solutions
If the deadbolt scrapes the strike plate:
– Loosen mounting plate screws slightly and nudge the plate upward
– Place a business card against the strike plate to test alignment
– Never force the door closed—this damages adhesives
If the lock feels “sticky”:
– Check for paint chips in the bolt mechanism
– Verify thumb-turn is vertical when locked
– Reapply adapter with silicone lubricant (included in kits)
Battery Drain Emergency Fixes
When your app shows low battery in under 3 months:
– Replace with name-brand alkaline batteries (Energizer/M Duracell)
– Disable “voice feedback” in app settings
– Reduce auto-lock frequency to 45+ seconds
– Keep spare batteries taped inside your doorframe
Restore Original Hardware for Move-Out
Remove Smart Lock Without Damage
- Remove batteries first (prevents accidental locking)
- Press release tabs and lift lock body straight up
- Slide dental floss through adhesive edge in a sawing motion
- Wipe residue with adhesive remover on a cotton swab
Deposit protection: Photograph the bare door surface before reinstalling your original hardware. Landlords often claim “hidden damage”—these images prove otherwise.
Understand Critical Security Trade-Offs
What You Gain vs. What You Sacrifice
| Feature | Benefit | Limitation |
|---|---|---|
| Keyless entry | No more lost keys | Less secure than drilled deadbolts |
| Activity logs | Track comings/goings | Requires Wi-Fi for remote access |
| Guest codes | Temporary access for cleaners | Limited to 20 users on budget models |
| Adhesive mount | Zero door damage | May fail in extreme temperatures |
Reality check: No-drill locks enhance convenience more than security. They’re ideal for renters but shouldn’t replace your primary deadbolt in high-crime areas. Always keep your original key accessible for emergencies.
Final Verification Before Completion
Before considering your project done, confirm:
– [ ] Deadbolt extends fully into strike plate with no scraping
– [ ] App unlocks lock within 5 seconds (test from 3 rooms away)
– [ ] Original key works through exterior cylinder
– [ ] Battery level reads 95%+ after installation
– [ ] All household members can operate the app
Your no-drill smart lock installation is complete—you’ve gained modern convenience without risking your security deposit. Most renters finish this process in 22 minutes flat. Remember to check adhesion quarterly and replace batteries every 8 months. When lease end arrives, you’ll remove the system in 5 minutes and leave the door looking untouched. Now enjoy walking into your apartment hands-free, knowing you’ve upgraded your home the renter-smart way.