Fumbling for keys with grocery bags in hand is a frustration we’ve all experienced. A Kwikset smart lock eliminates this problem completely, giving you keyless entry through smartphone control, personalized access codes, or fingerprint recognition. Before you can enjoy this modern convenience, you need to know how to install Kwikset smart lock properly. This guide covers every step from verifying your door compatibility to programming your first access code—all without professional help.
Verify Your Door Meets Kwikset Requirements
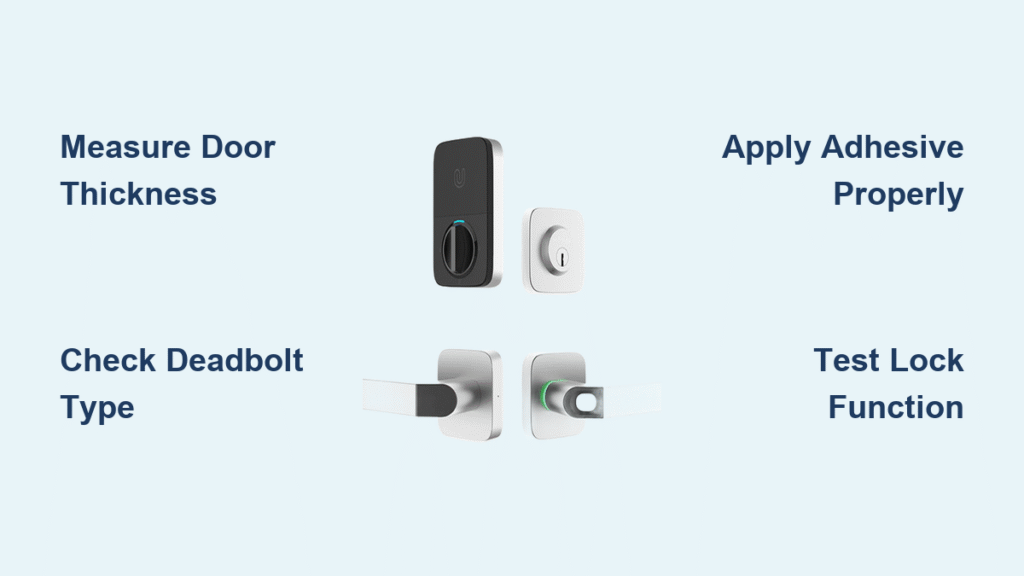
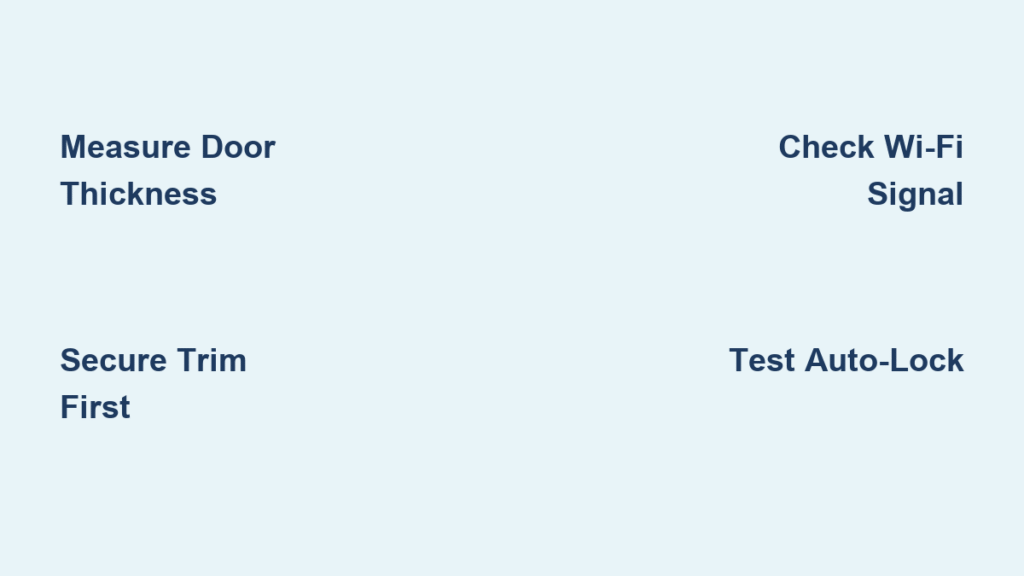
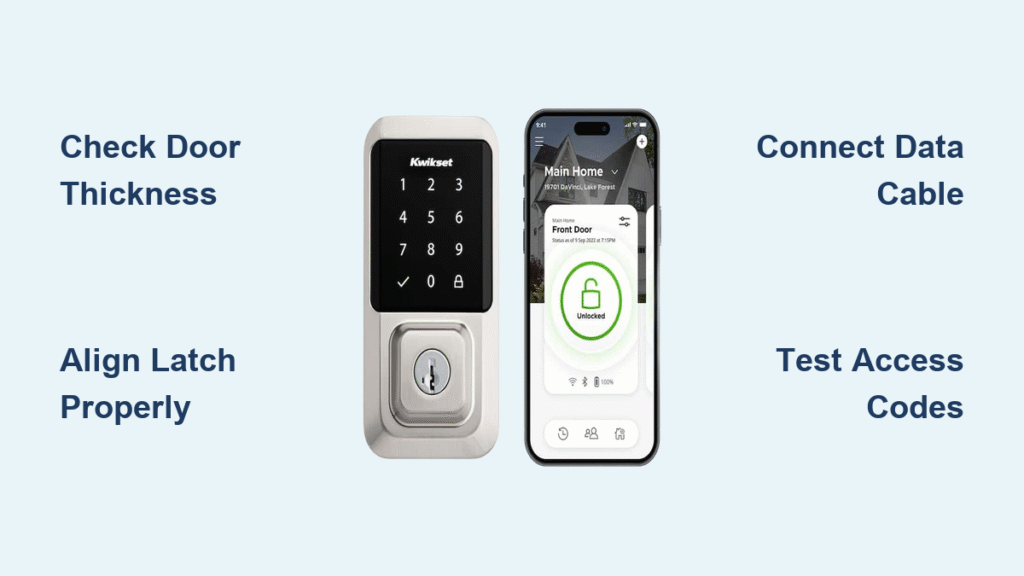
Measure Door Thickness Accurately
Your door must be precisely 1 3/8″ to 1 3/4″ thick for proper Kwikset smart lock installation. Measure at three different points along the edge—top, middle, and bottom—if any measurement falls outside this range, the lock won’t fit correctly. Using a tape measure alone won’t give you the precision needed; a digital caliper ensures accuracy when you’re learning how to install Kwikset smart lock.
Confirm Standard Lock Preparation Exists
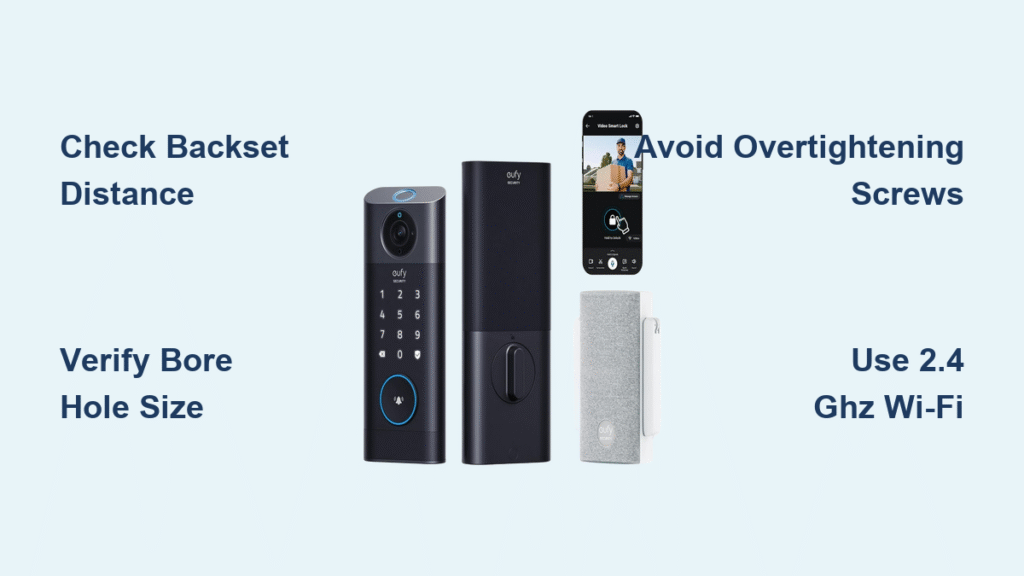
Examine your door for cylindrical lock preparation—a standard round hole with a 2 1/8″ diameter. Most residential exterior doors have this, but older homes might require retrofitting. If your door lacks this preparation, you’ll need to drill the correct hole size before proceeding with Kwikset smart lock installation.
Evaluate Weather Exposure Conditions
Kwikset smart locks work perfectly on standard wood, metal, or metal/glass combination doors. Avoid installing on gates where both sides face weather exposure—while exterior components are weatherproof, interior electronics must stay dry. If you have a storm door, ensure adequate spacing exists between the doors to prevent handle interference during operation.
Prepare Installation Tools Before Starting
Essential Tools Checklist
Before you begin how to install Kwikset smart lock, gather these tools:
– Phillips head screwdriver (magnetic tip recommended)
– Measuring tape and digital caliper
– Vacuum for cleaning debris
– Clean cloth for wiping surfaces
– Your smartphone for setup and programming
Verify Complete Kit Components
Check that your Kwikset package contains all necessary parts:
– Interior and exterior lock assemblies
– Mounting hardware specific to your model
– Strike plate and mounting screws
– Installation template for proper alignment
– Quick start guide for model-specific instructions
Missing components will halt your installation progress, so verify everything before removing your existing lock.
Remove Existing Lock Mechanism Properly
Efficient Lock Removal Sequence
Follow these steps to safely remove your current lock:
1. Unscrew interior handle from the door edge using your Phillips head screwdriver
2. Separate both halves by gently pulling the exterior and interior assemblies apart
3. Extract the latch mechanism from the door edge by removing mounting screws
4. Clean the hole thoroughly using a vacuum to remove debris and a cloth to wipe surfaces
Handle Stubborn Hardware Issues
If screws won’t budge during Kwikset smart lock installation, apply penetrating oil and wait 10 minutes before attempting removal again. For painted-over screws, carefully score around the screw heads with a utility knife to break the paint seal before turning.
Install New Latch Assembly Correctly

Ensure Proper Latch Orientation
Hold the new latch so the beveled edge faces the door frame—this critical detail ensures smooth closing action. Incorrect orientation causes binding and premature wear during your Kwikset smart lock operation.
Secure Latch Without Over-Tightening
Push the latch into the door edge until flush with the surface. Secure it with the provided screws, but don’t overtighten—this common mistake can bind the mechanism and prevent proper operation. Tighten just enough to eliminate movement while allowing free rotation.
Mount Exterior Assembly with Precision

Proper Data Cable Management
Feed the data cable through the latch mechanism first, then through the door hole. This prevents cable pinching during assembly and ensures reliable communication between exterior and interior components. Tug gently on the cable to verify it moves freely before securing the exterior assembly.
Achieve Perfect Alignment
Match the exterior assembly’s spindle with the latch mechanism while positioning the assembly. The exterior faceplate should sit completely flush against the door surface—any gaps indicate misalignment that will cause operational issues with your Kwikset smart lock.
Secure Interior Assembly for Reliable Operation
Correct Cable Connection Technique
Connect the interior cable to the exterior assembly until you hear a distinct click—this secure connection is essential for proper Kwikset smart lock function. An improperly connected cable causes intermittent operation and programming failures.
Optimal Screw Tightening Pattern
- Hand-tighten all screws initially to avoid cross-threading
- Test door operation—should close smoothly without binding
- Final tighten in a diagonal pattern for even pressure
- Re-test operation—binding indicates over-tightening requiring adjustment
Complete Door Handing Configuration
Why Door Handing is Critical
The lock must recognize which direction is “locked” versus “unlocked” to function properly. Skipping this step when learning how to install Kwikset smart lock causes reverse operation—your door might try to lock when you command unlock.
Premis Model Handing Procedure
- Remove battery pack from interior assembly
- Hold program button for 10 seconds
- Reinsert battery pack
- Press program button once more
- Listen for confirmation beep—lock has learned door orientation
Configure Auto-Lock Settings for Convenience

SmartCode 955 Auto-Lock Setup
Set automatic locking after door closure with these steps:
1. Keep door open during programming
2. Enter programming mode:
– Without code: Press program button (two beeps)
– With code: Enter code, press Kwikset button
3. Press 8 then Kwikset
4. Enter delay time (1-99 seconds)
5. Press Kwikset to save
Success indicator: One long beep and green flash confirms proper setup.
Premis App Auto-Lock Configuration
Use the Premis app to set auto-lock after specified idle time. Navigate to Lock Settings > Auto-Lock and select your preferred delay. This smart feature enhances security without requiring manual locking after each use.
Program Your First Access Codes Immediately
Create Secure Master Code
- Access programming mode using existing code
- Press 3 then Kwikset
- Enter new 4-8 digit code
- Press Kwikset to confirm
- Test new code before finalizing setup
Change the default programming code immediately for security—leaving it as factory settings compromises your home’s security.
Add Multiple User Access Codes
Follow similar steps to add family members or guests. Each user code operates independently—delete individual codes without affecting others. This flexibility makes Kwikset smart locks ideal for households with changing access needs.
Test All Functions Before Finalizing Installation
Comprehensive Function Verification
- Lock/unlock with code multiple times
- Test physical key operation (where applicable)
- Verify auto-lock engages properly
- Check smartphone app connection and control
- Confirm keypad illumination works correctly
Resolve Common Testing Failures
If the lock doesn’t respond as expected:
– Check cable connections for secure fit
– Verify battery installation with correct polarity
– Repeat door handing process if operation seems reversed
– Confirm code entry by watching for correct beep patterns
Troubleshoot Critical Installation Issues
Fix Latch Alignment Problems
Adjust strike plate alignment by loosening screws and shifting the plate slightly. File plate edges if needed for smoother engagement. Verify door closes fully without binding against the frame before finalizing Kwikset smart lock installation.
Restore Smart Features Functionality
Confirm WiFi signal strength at door location—weak signals disrupt smart features. Check app permissions for location and Bluetooth access on your smartphone. Reboot your router if connectivity issues persist after proper Kwikset smart lock installation.
Maintain Optimal Smart Lock Performance
Monthly Maintenance Routine
- Test all access methods weekly
- Clean keypad monthly with a damp cloth
- Check battery level via app notifications
- Verify door alignment hasn’t shifted over time
- Lubricate latch mechanism sparingly with graphite powder
Smart Battery Replacement Strategy
Replace batteries when you notice slower response times or dimmer LED displays. Don’t wait for complete failure—this prevents unexpected lockouts. Keep spare batteries in an easily accessible location near your Kwikset smart lock.
Your Kwikset smart lock installation is now complete and ready for daily use. The entire process typically takes about 30 minutes but eliminates countless hours of key management. Start with basic functionality, then gradually explore advanced features like scheduled access and integration with your existing smart home system. Regular maintenance ensures years of reliable, convenient keyless entry for your home.