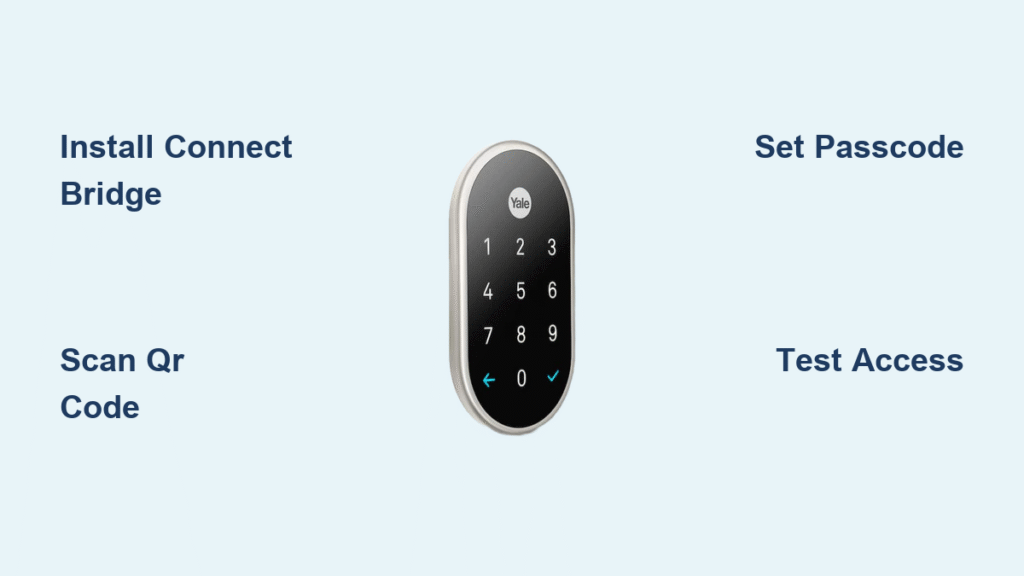
Your front door just got smarter with the Nest x Yale Lock, eliminating keys while delivering remote access control through your smartphone. This key-free smart lock integrates seamlessly with your Nest ecosystem, allowing you to lock and unlock your door from anywhere, schedule guest access, and track detailed entry history. Unlike standalone smart locks, the Nest x Yale requires connection to either a Nest Connect bridge or Nest Guard security hub to communicate with your Wi-Fi network. Whether you’re upgrading from traditional locks or replacing another smart lock system, this guide provides the exact steps needed for successful installation—no prior technical expertise required. You’ll complete both physical mounting and digital integration within an hour, transforming your entryway into a modern, secure access point.
Before touching any tools, verify your setup has everything needed for a smooth installation process. The Nest x Yale Lock won’t function independently—it requires either the Nest Connect bridge or Nest Guard hub to connect to your home network. If you purchased a bundle, check that the Connect device came in the box; individual lock buyers must acquire this bridge separately. Your smartphone needs the free Nest app from the App Store or Google Play, plus an active Nest account already created. Most importantly, ensure your home Wi-Fi operates on the 2.4GHz frequency band, as Nest devices don’t support 5GHz networks. Multiple-home Nest account holders should select the correct property first by tapping the menu icon in the app’s top-left corner—this prevents installing your lock to the wrong location.
Gather Essential Hardware Before Starting
Verify Your Nest Ecosystem Components
Confirm you have both the physical lock and required connectivity hardware before beginning installation. The Nest x Yale Lock must pair with either a Nest Connect bridge (sold separately unless purchased in a bundle) or a Nest Guard security hub. Without one of these devices acting as a Wi-Fi bridge, your smart lock remains disconnected from the app and voice assistants. Check your packaging thoroughly—if you bought a standalone lock, you’ll need to purchase the Connect device separately to enable remote features.
Critical hardware checklist:
– Nest x Yale Smart Lock with mounting hardware
– Nest Connect bridge or Nest Guard security hub
– Four AA batteries for the lock
– Smartphone with Nest app installed
– Active 2.4GHz Wi-Fi network
Complete Account Setup in Advance
Skip installation frustrations by preparing your Nest account before handling physical components. Download the Nest app and create your account if you’re new to the ecosystem—this process takes just minutes with standard email registration. Existing Nest users should sign in and navigate to the correct home location within the app before starting setup. For households managing multiple properties through one Nest account, this step is crucial: tap the menu icon in the top-left corner to select the specific home where your lock will be installed. Attempting setup without pre-selecting your home often causes the lock to appear in the wrong property, requiring time-consuming troubleshooting later.
Connect Your Lock Through the Nest App
Initiate Setup with QR Code Scanning
Open the Nest app and tap “Add New” if you’re a first-time user, or access Settings > Add Product for existing accounts. Locate the QR code inside your lock’s battery compartment—this unique identifier links your specific hardware to your account. Hold your phone approximately 12 inches from the code with steady hands and good lighting. Contrary to common belief, the QR code doesn’t need to fill the entire scanning frame; partial visibility often works better than trying to perfectly center it. Move slowly closer if the initial scan fails, and eliminate any shadows cast across the code surface.
When scanning fails:
– Clean your phone’s camera lens first
– Try different angles to reduce glare
– Tap “Continue Without Scanning” to manually enter the numeric code above the QR symbol
– Ensure no metal objects are nearby that might interfere with signal
Establish Connection to Your Nest Hub
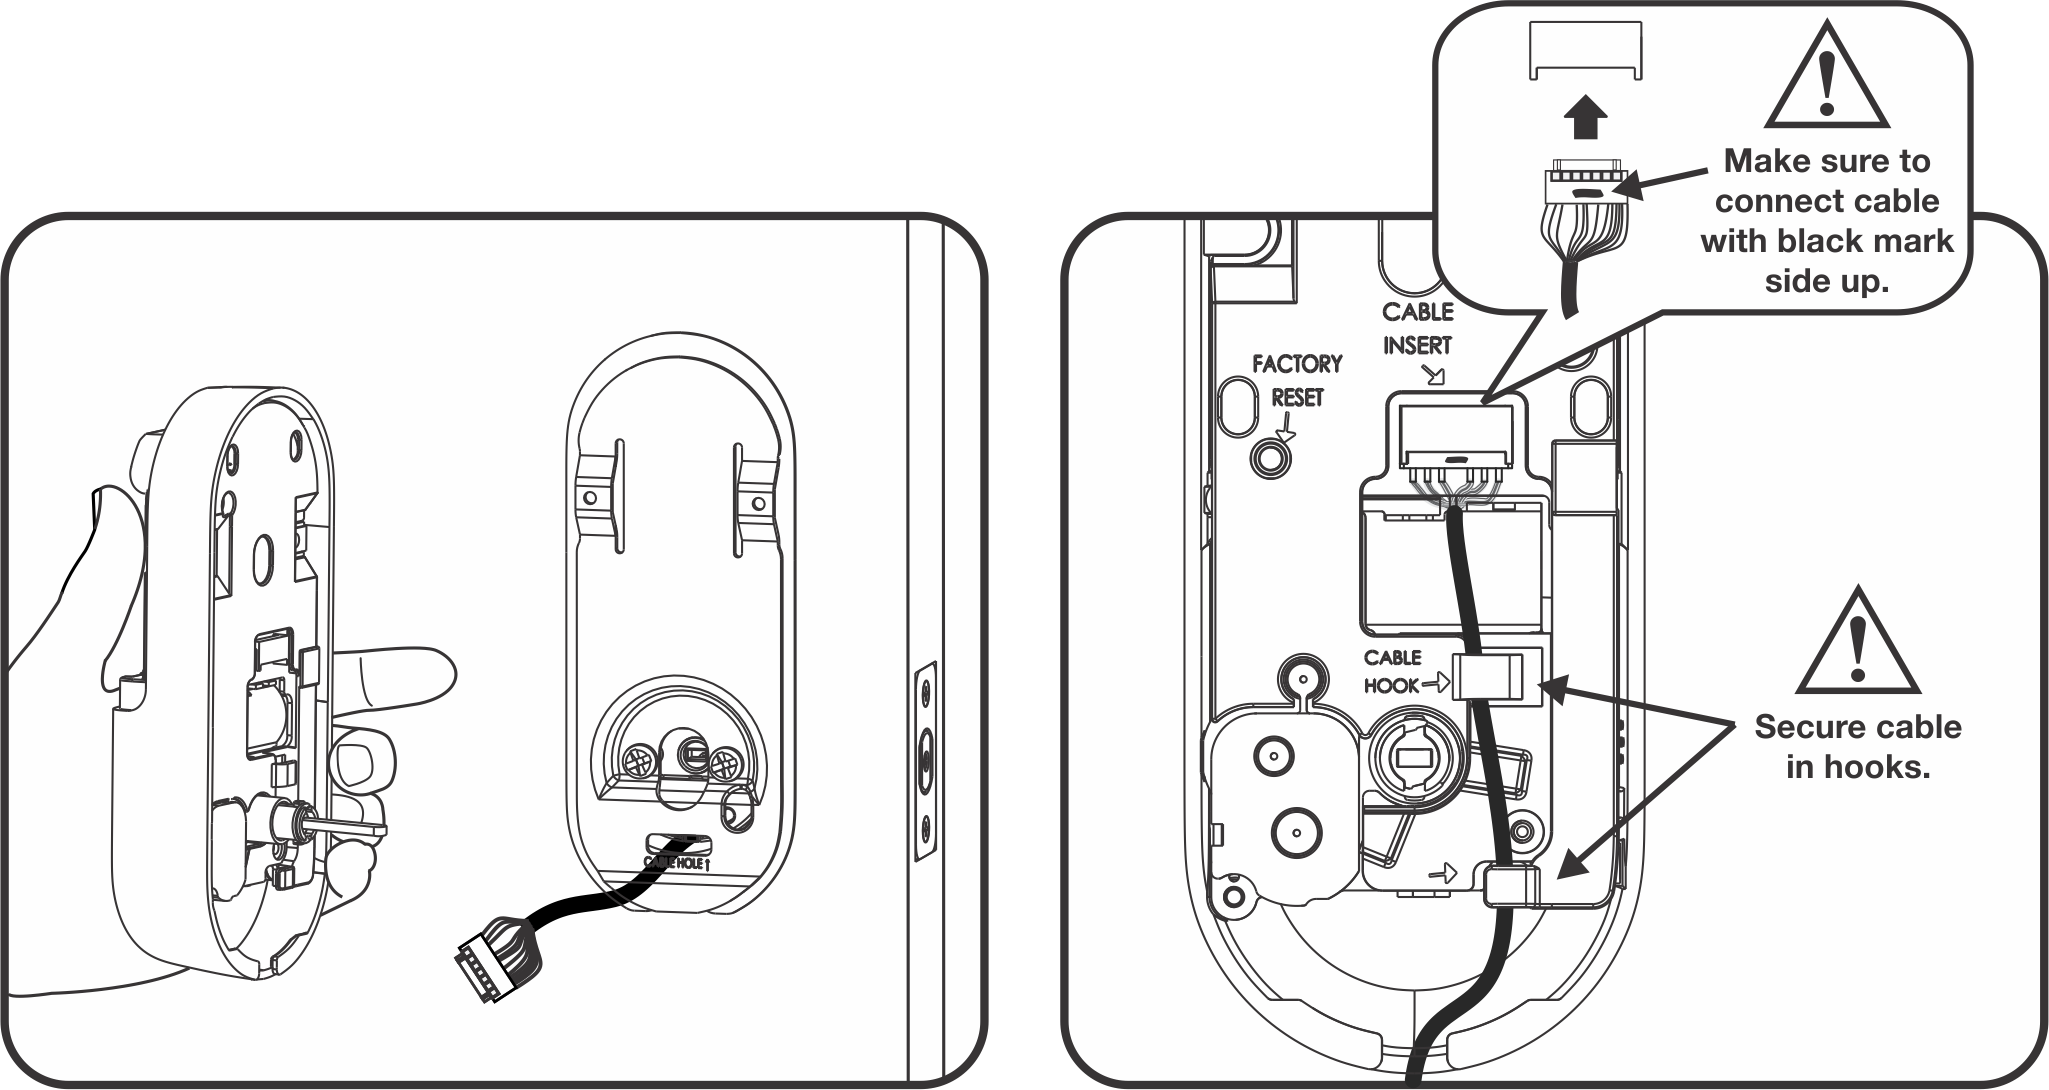
After QR code recognition, the app searches for your Nest Connect or Guard device. Locate the small white button above the interior thumb turn mechanism on your lock—this activates pairing mode. Press and hold this button while keeping your Connect device within 15 feet of the lock for optimal signal strength. If connection fails, move the Connect device just a few inches closer; sometimes minor positioning changes make the critical difference. Avoid placing either device near large metal objects that could disrupt the signal during this handshake process.
Configure Access Codes and Security Settings
Create Your Primary Access Passcode
The Nest app generates your master passcode during setup, completely replacing any code previously set directly on the lock hardware. Choose a 4-8 digit sequence that’s memorable for household members but difficult for others to guess—avoid obvious patterns like 1234 or repeating digits. For enhanced security, opt for 6 or more digits and create unique codes for each family member rather than sharing one master code. Remember that all access management happens exclusively through the Nest app after installation; physical lock programming becomes irrelevant once connected to your ecosystem.
Passcode best practices:
– Change codes quarterly for maximum security
– Avoid using birth years or other easily discoverable numbers
– Set different codes for regular household members versus occasional visitors
– Enable two-factor authentication on your Nest account for added protection
Schedule Temporary Guest Access
Transform how you manage visitors by creating time-limited access codes for dog walkers, cleaners, or house guests. The Nest app lets you define precise time windows when these codes work—specify daily intervals like 2-4 PM for recurring service providers, or set exact date ranges for vacation rentals. One-time codes automatically expire after first use, while recurring schedules handle weekly visits without manual intervention. Guests receive their unique codes through the app, eliminating the need for physical key exchanges while maintaining complete control over who enters your home and when.
Troubleshoot Common Connection Issues
Fix Wi-Fi Pairing Failures Immediately
When your lock won’t connect to the Nest app, first verify your network operates on 2.4GHz—not 5GHz—since Nest devices don’t support the faster frequency. Check router settings for band steering features that might accidentally disconnect devices, and temporarily disable guest networks during setup to prevent confusion. If connection fails repeatedly, power cycle both the lock and Connect device by removing batteries for 30 seconds before retrying. Sometimes simply restarting the Nest app by force-closing it resolves temporary software glitches that block recognition.
Resolve QR Code Recognition Problems
Scanning issues typically stem from poor lighting or camera positioning rather than defective hardware. Move to a well-lit area away from direct sunlight that might cause glare on the QR code surface. Hold your phone steady and adjust distance gradually—sometimes moving just 2-3 inches closer makes the difference. If manual entry becomes necessary, double-check each digit against the numbers printed above the QR code before submitting. Remember that the app allows multiple scanning attempts without penalty, so take your time to get proper alignment.
Maintain Optimal Lock Performance

Monitor Battery Levels Proactively
The Nest app tracks battery life and sends alerts when replacement time approaches—don’t ignore these notifications. Replace all four AA batteries simultaneously when low-power warnings appear; mixing old and new batteries causes erratic behavior and premature failure. For homes in extreme climates, lithium batteries provide more stable performance than alkaline versions. Always keep a spare set of charged batteries nearby for emergency replacements, and consider setting calendar reminders to check battery status monthly.
Review Access Logs Weekly
Your Nest x Yale Lock maintains detailed records of every entry event, showing exactly who accessed your home and when. Make it a habit to review these logs weekly through the app’s history section, looking for unusual patterns or unauthorized attempts. The system distinguishes between app-based unlocks, keypad entries, and manual operations, providing comprehensive security awareness. Export logs monthly for permanent records, especially useful when managing rental properties or verifying service provider visits.
Final Verification Before Daily Use
- [ ] Test physical operation from both interior and exterior
- [ ] Confirm all household members can successfully use their access codes
- [ ] Verify guest codes activate only during scheduled time windows
- [ ] Check remote locking/unlocking responds within 5 seconds
- [ ] Ensure notification settings deliver alerts to primary devices
- [ ] Establish backup access method through a trusted neighbor
Your Nest x Yale Lock now delivers key-free convenience with enterprise-grade security. The initial setup investment pays immediate dividends through effortless guest management, detailed access tracking, and seamless integration with your broader Nest ecosystem. By following these precise installation steps, you’ve transformed your front door into an intelligent access point that enhances both security and daily convenience. Regular maintenance and security code updates will keep your smart lock performing optimally for years to come.