Your traditional deadbolt just got an upgrade. Installing a Tuya smart lock transforms your front door into a keyless entry system with smartphone control, remote access, and real-time notifications. Whether you’re replacing an old mechanical lock or upgrading from another smart lock model, this guide gives you everything needed to complete the installation in under an hour. You’ll discover exactly which tools to gather, how to prepare your door properly, and troubleshooting tips for common installation hurdles—all while ensuring maximum security for your home.
Don’t let complicated instructions scare you off. The Tuya smart lock installation process follows standard deadbolt replacement procedures with just a few electronic components to connect. Most homeowners complete the installation without professional help, saving hundreds compared to hiring a locksmith. By following these precise steps, you’ll avoid the most common mistakes that lead to misalignment, connectivity issues, or security vulnerabilities in your new smart lock system.
Gather Essential Tools Before Starting Tuya Lock Installation

Before removing your existing lock, organize these critical tools to avoid mid-installation interruptions:
- Phillips screwdriver (medium size for most mounting screws)
- Measuring tape (to verify your door thickness matches specifications)
- Drill with 1/8″ bit (only if hole adjustments become necessary)
- Complete installation kit (included with your Tuya lock):
- Mounting screws in multiple lengths
- New latch mechanism with deadbolt
- Connector cable for electronics
- Strike plate and mounting hardware
Pro tip: Place a small towel on your work surface to prevent small parts from rolling away. Keep your original lock components organized in separate containers—you’ll need them if you ever move or need to reinstall the mechanical lock.
Verify Door Compatibility Before Removing Old Lock
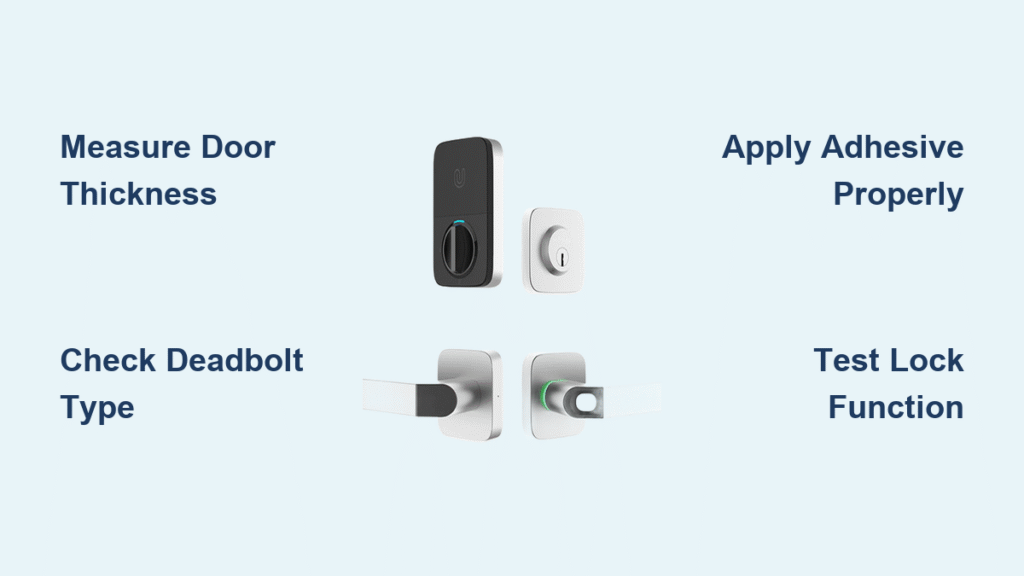
Don’t assume your door works with the Tuya smart lock—measure twice to avoid installation failures. Standard residential doors (1-3/8″ to 2″ thick) typically work, but verify your specific measurements against the Tuya lock’s specifications sheet. Clean the door surface thoroughly with a dry cloth to remove dust and debris that could interfere with proper mounting.
Critical safety note: Keep your door unlocked throughout installation. This simple step prevents accidental lockouts while you’re connecting components and testing functionality. If your door thickness falls outside standard ranges, contact Tuya support before proceeding—forcing installation on incompatible doors creates security risks.
Remove Existing Lock Without Losing Critical Components
Start by carefully dismantling your current lock system:
- Locate interior mounting screws on the inside plate of your door
- Unscrew all visible fasteners while supporting the interior assembly
- Separate exterior and interior components slowly, noting their orientation
- Remove the latch mechanism from the door edge by unscrewing its mounting screws
- Organize old hardware by function in labeled containers
Take multiple photos of your old lock setup before disassembly. These reference images prove invaluable if you encounter unexpected alignment issues during Tuya lock installation. Pay special attention to how the latch bolt interacts with the strike plate in your door frame.
Prepare Door Surface for Flawless Tuya Lock Mounting
Thorough preparation prevents 80% of installation problems:
- Clean mounting surfaces with rubbing alcohol to remove residue and improve adhesion
- Verify hole alignment using the Tuya installation template provided in your kit
- Enlarge holes if needed with precise drilling—most standard deadbolt replacements require minimal adjustment
- Check door operation by opening and closing multiple times to ensure no binding against the frame
If existing holes don’t align perfectly, make small incremental adjustments rather than drilling new holes. The Tuya lock’s mounting plate typically accommodates slight variations in standard door preparations. Work slowly to avoid creating oversized holes that compromise structural integrity.
Install Tuya Latch Mechanism for Smooth Bolt Operation
The latch is your primary physical security component—install it correctly:
- Insert latch into door edge hole with beveled side facing the door frame
- Align properly so bolt extends smoothly when tested manually
- Secure with screws—firmly but avoid over-tightening which causes binding
- Test operation multiple times with door open before proceeding
- Check flush mounting—no gaps or protrusions that could interfere with door closure
Expert note: The latch should click smoothly without resistance. If it feels sticky during testing, loosen screws slightly and reposition before final tightening—this small adjustment prevents future mechanical failures.
Mount Tuya Exterior Assembly with Proper Cable Routing

The exterior unit contains your keypad and fingerprint sensor—position it precisely:
- Position assembly on outside of door, aligning with latch mechanism
- Feed connector cable through to interior side without pinching
- Align mounting holes carefully with pre-existing holes
- Partially tighten screws to allow minor alignment adjustments
- Verify flush mounting against door surface to maintain weather resistance
Ensure the cable feeds smoothly without kinks or sharp bends. The connector should reach the interior assembly without tension. Most installation failures occur at this cable connection point, so take extra care routing it properly.
Connect Interior Assembly and Complete Electronic Integration
The interior unit houses batteries and connects to your smart home system:
- Connect cable from exterior to interior assembly until it clicks securely
- Route excess cable within housing to prevent pinching during operation
- Align assemblies precisely with exterior unit before final tightening
- Tighten all screws progressively, alternating between them for even pressure
- Test stability—no movement when pushed or rotated indicates proper installation
Critical step: Ensure cable connections click fully into place. Incomplete connections cause intermittent failures that are difficult to diagnose later. Press firmly on connectors until you feel and hear the secure engagement.
Test All Tuya Smart Lock Functions Before Finalizing
Comprehensive testing prevents future headaches:
Physical Function Verification
- Insert and turn key both directions to confirm smooth operation
- Test manual thumb turn from interior side for emergency access
- Close door to verify latch engages strike plate properly
- Confirm deadbolt extends fully into frame when locked
Electronic Features Check
- Keypad: Program and test access codes with door open first
- Fingerprint: Enroll multiple fingerprints for different household members
- App connectivity: Verify smartphone detects lock before final assembly
- Battery indicator: Check initial power level through app or physical display
Pro tip: Test with door open first, then closed, to catch both mechanical and alignment issues before closing up the installation.
Configure Tuya Smart App for Seamless Smartphone Control
Initial Setup Process
- Download Tuya Smart app from official app stores (avoid third-party versions)
- Create secure account with strong password and two-factor authentication
- Add device: Select “Smart Lock” and follow guided setup process
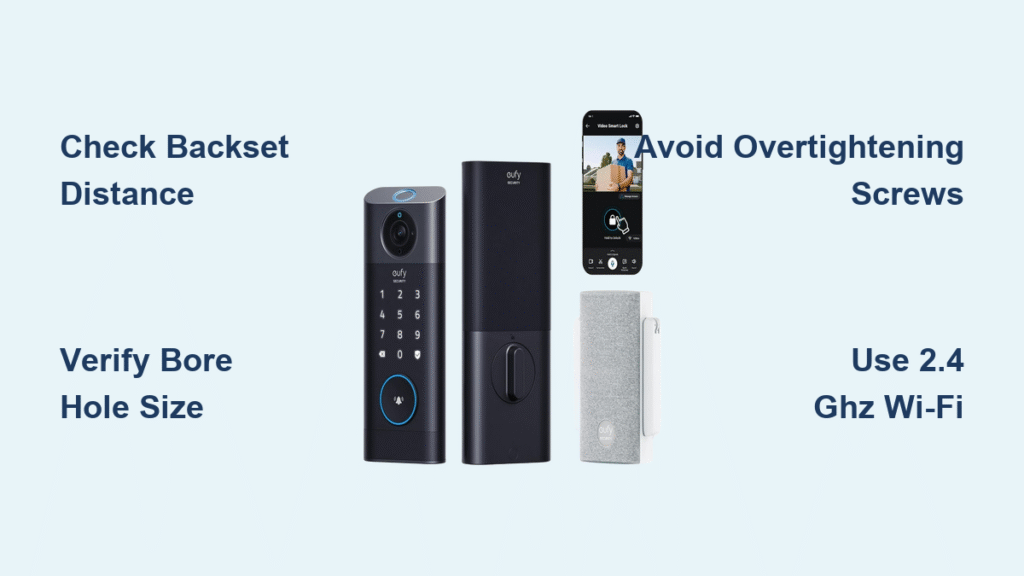
- Pair lock: Connect to 2.4GHz Wi-Fi network (5GHz won’t work)
- Verify pairing through app confirmation before finalizing installation
Critical Configuration Steps
- Create user profiles with unique access methods for each household member
- Set notifications for all lock events and low battery warnings
- Enable geofencing for automatic locking when you leave home
- Schedule temporary codes for guests or service providers with expiration dates
- Integrate with other Tuya smart home devices for automation scenarios
Important: Position yourself close to your Wi-Fi router during initial pairing. Weak signals cause setup failures that require restarting the entire process.
Fix Common Tuya Smart Lock Installation Issues Immediately
Lock Won’t Respond or Connect
- Replace batteries immediately if response is sluggish—use high-quality alkaline
- Re-pair device while standing near your Wi-Fi router for stronger signal
- Factory reset by holding reset button 10 seconds if connectivity fails
Mechanical Operation Problems
- Check alignment if latch doesn’t engage smoothly with strike plate
- Apply graphite lubricant (not oil) to stiff mechanisms for smooth operation
- Tighten mounting screws that may have loosened during testing
App Connection Troubles
- Verify 2.4GHz Wi-Fi signal strength at lock location using smartphone
- Check router compatibility with WPA2 security protocols
- Review firewall settings that might block Tuya communications
Maintain Your Tuya Smart Lock for Years of Reliable Operation
Essential Maintenance Schedule
- Weekly: Test all access methods (key, keypad, fingerprint, app)
- Monthly: Clean fingerprint sensor with soft, dry cloth
- Quarterly: Lubricate latch mechanism with graphite powder
- Annually: Replace batteries regardless of usage level
Security warning: Never share your admin credentials. Create separate user accounts for family members and guests instead of giving out master access.
Your Tuya smart lock installation is complete once all functions test successfully and the app shows connected status. The lock now provides keyless entry, remote access, and detailed access logs. Test your system weekly and perform the recommended maintenance to ensure years of reliable operation. When done correctly, your Tuya smart lock delivers both convenience and enhanced security for your home.