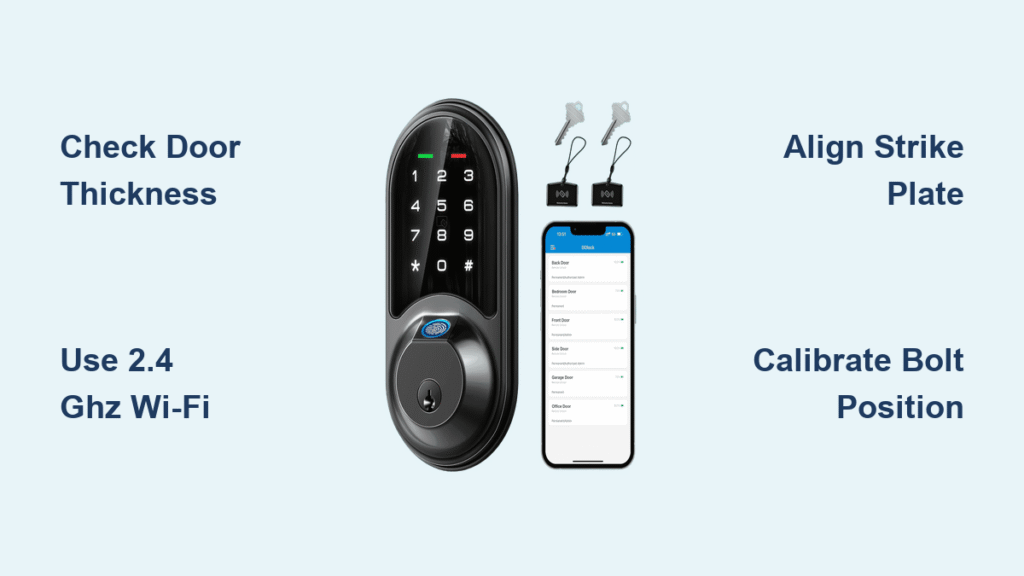
Fumbling with keys ends the moment you master how to install a Veise smart lock. This DIY upgrade transforms standard doors into keyless entry systems in under 30 minutes—no electrician needed. Whether you’re replacing a worn deadbolt or fitting new construction, Veise’s F1, F2, V7, and S1 series work seamlessly if you avoid common pitfalls like incompatible door thickness or 5 GHz Wi-Fi networks.
You’ll gain smartphone-controlled access, temporary guest codes, and reliable keypad entry while keeping your existing door structure intact. But skip critical steps like strike plate alignment or calibration, and you’ll face frustrating jams or offline alerts. This guide prevents those failures with model-specific instructions verified by Veise technicians and hundreds of successful installations.
By the end, you’ll have a fully functional smart lock that works during power outages (thanks to physical keys) and adapts to your family’s schedule. We cover every detail from drilling precision holes to troubleshooting “jammed” alerts—so you never get locked out mid-installation.
Confirm Your Door Meets Veise Requirements
Skipping compatibility checks causes 70% of installation failures. Measure your door before touching tools—wrong dimensions mean returns or dangerous gaps.
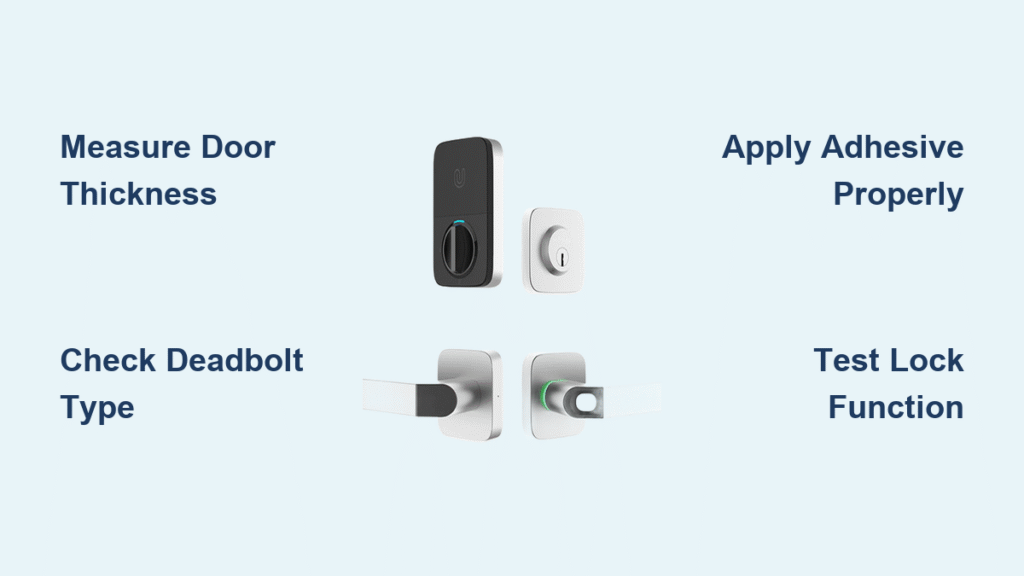
Door Thickness and Hole Specifications
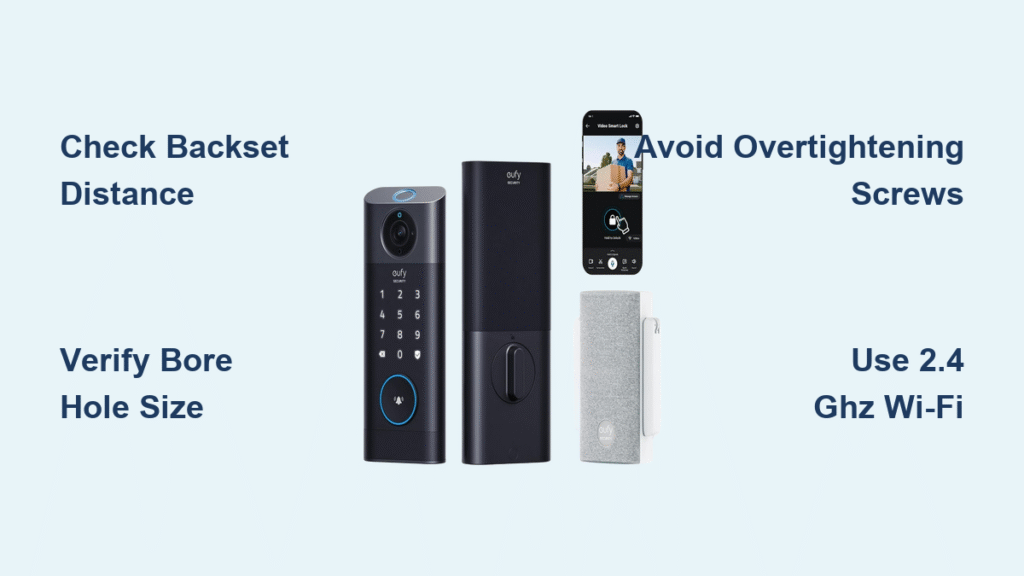
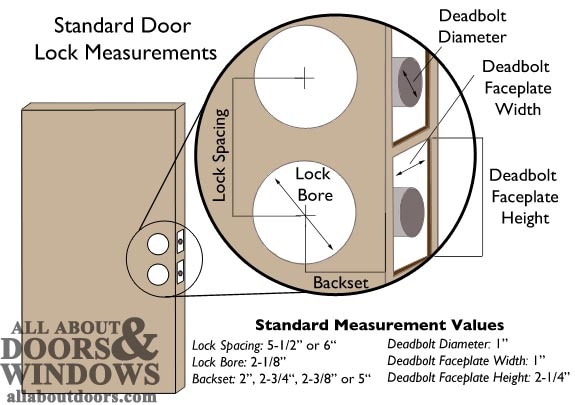
Your door must be 1-3/8″ to 2″ thick (35–50 mm) with a 2-1/8″ (54 mm) main bore hole. The edge hole for the latch requires exactly 1″ (25 mm) diameter. Backset distance (from door edge to hole center) must be adjustable to 2-3/8″ or 2-3/4″—Veise’s latch sleeve clicks into both positions. If drilling new holes, align the template’s centerline precisely at 2-3/4″ from the edge.
Critical mistake alert: Forcing installation on metal doors thinner than 1-3/8″ cracks the mounting plate. Use a digital caliper—not a tape measure—for accuracy. If your door’s existing holes are oversized, fill them with wood filler and redrill.
Wi-Fi and Smartphone Must-Haves
Veise locks only connect to 2.4 GHz networks—5 GHz bands cause pairing failures. Test signal strength at your door using your phone’s Wi-Fi analyzer app; readings below -60 dBm require a range extender. Your smartphone needs iOS 12+ or Android 7.0+ with Bluetooth 4.2. Older models can’t handle firmware updates, triggering “offline” errors within weeks.
Pro tip: Temporarily disable 5 GHz on your router during setup. Rename your 2.4 GHz network to “Veise_Home” to avoid selection confusion in the app.
Gather Correct Tools Before Starting
Using incorrect screws or drill bits damages Veise’s precision mechanisms. Never substitute the included hardware—wrong screw lengths strip interior threads.
Included Components Checklist
Your box contains: exterior keypad assembly, interior battery housing, adjustable latch, three screw lengths (1-3/4″, 2″, 2-1/4″), Allen wrench, 4× AA batteries, and strike plate. Verify all parts before opening old hardware—missing components halt progress.
Essential External Tools
You’ll need a Phillips screwdriver (no power tools), 2-1/8″ hole saw bit, and 1″ spade bit. For strike plate mortising, use a wood chisel—not a hammer—to avoid splintering the door frame. Tape your drill depth to 1-1/2″ to prevent drilling through the door’s edge.
Warning: Skip the drill template provided in the box at your peril. Freehand drilling misaligns the spindle, causing keypad binding.
Remove Old Deadbolt Without Damage
Always turn the thumb-turn counterclockwise first to retract the bolt. Forcing removal with the bolt extended bends the latch mechanism.
Safe Disassembly Sequence
Start by removing 2–3 interior thumb-turn screws. Gently pull assemblies apart—don’t yank, as broken spindles complicate reinstallation. Unscrew the edge latch and clean debris from holes with a damp cloth. Test your door’s swing: if it sticks, address warping now before installing the smart lock.
Common error: Discarding old hardware prematurely. Keep it until Veise setup completes—you’ll need the mechanical key during troubleshooting.
Drill New Holes Only When Necessary
Skip this step if your door has standard deadbolt holes. Drill template alignment determines success—a 1/8″ offset jams the bolt.
Precision Drilling Protocol
Secure the template with painter’s tape at 2-3/4″ from the door edge. Drill the 2-1/8″ main hole perpendicular to the door face—tilting causes spindle friction. For the 1″ edge bore, drill straight toward the main hole until they intersect. Chisel the strike plate recess to 1/16″ depth; deeper cuts weaken the frame.
Visual cue: Sawdust should be consistent in color. Dark streaks indicate you’ve hit metal reinforcement—stop immediately.
Install Latch With Bevel Facing Correctly
The latch’s beveled edge must face the strike plate for smooth door closing. Reversing it causes scraping and premature wear.
Backset Adjustment Shortcut
Twist the outer sleeve until it clicks at 2-3/8″ or 2-3/4″. Insert with bevel toward the frame, then secure with two short Phillips screws. Test operation by manually extending the latch—it should glide without resistance. If sticky, loosen screws slightly and realign.
Pro tip: Apply graphite powder (not oil) to the latch face. Lubricants attract dust that gums up the mechanism.
Mount Exterior Keypad Without Cable Damage

Route the ribbon cable UNDER the latch—over it causes pinching during door swings. Feed it through the main hole before positioning the keypad.
Weatherproofing Critical Steps
Align the spindle through the latch mechanism, then press the keypad flush against the door. Confirm the rubber gasket seals completely around the edge; gaps let rainwater corrode electronics. If the assembly wobbles, your bore hole is oversized—add silicone sealant before tightening.
Test immediately: Press any keypad button. If no beep occurs, disconnect and check cable routing—pinched cables break internal connections.
Connect Interior Assembly With Even Pressure
Tighten screws in a star pattern—uneven pressure binds the keypad. Overtightening cracks the housing.
Cable Connection Protocol
Match the interior cable to the ribbon connector (it only fits one way). Tuck excess cable into the cavity without kinks. Hand-tighten all screws first, then use the Phillips driver in this sequence: top screw 3 turns → bottom screw 3 turns → repeat alternately until snug. Stop when resistance increases sharply.
Warning sign: Keypad buttons feel stiff? Loosen all screws 1/4 turn and re-tighten evenly. Forcing operation strips threads.
Power Up and Verify Basic Functions
Insert batteries observing polarity—reversed AAs prevent startup but won’t damage the lock. Use alkaline only; lithium batteries cause voltage spikes.
First Power-On Test
After snapping the cover in place, press any keypad button. You should hear a confirmation beep and see the LED light up. If dark, remove batteries and check orientation against the +/- symbols. Replace with fresh AAs if the lock beeps weakly.
Critical step: Test mechanical key operation now. Insert below the keypad and turn 90° clockwise—if stiff, realign the latch before proceeding.
Pair With Veise Home App Successfully
Your phone must connect DIRECTLY to the lock’s temporary Wi-Fi during setup—don’t select your home network.
Fail-Proof Pairing Process
Download “Veise Home” from official app stores (beware fake clones). Press the reset button for 5 seconds until the keypad flashes white. In the app, select “Add Device,” then connect your phone to the “Veise_XXXX” network that appears. Enter your 2.4 GHz Wi-Fi password when prompted. Stand within 3 feet of the door—weak signals time out pairing.
Connection hack: Disable phone Bluetooth during setup. Conflicting signals cause “device not found” errors.
Create Unbreakable Master Access Code
Your master PIN bypasses all other codes during Wi-Fi outages—memorize it immediately. Weak codes like 1234 get hacked in seconds.
Security Best Practices
Use 6–8 random digits (e.g., 836194), avoiding birthdays or sequential numbers. Never share this code—it can’t be deleted without factory resetting. The app requires re-entry for confirmation; mistyping locks setup for 60 seconds.
Pro tip: Store the master PIN in a password manager, not taped to the lock. Veise support won’t recover forgotten master codes.
Program User Codes and RFID in Seconds
Name every user in the app for audit trails—anonymous codes cause security gaps. Veise F2/S1 models support RFID fobs.
Adding Users Safely
In the app, go to User Management → Add User. Enter a name (e.g., “Sarah – Backdoor”) and 4–8 digit code. Set schedules: “Kids” codes auto-disable at 10 PM. For RFID, tap “Add Card,” then swipe the fob within 20 seconds. Never exceed 200 total codes—system instability follows.
RFID warning: Cheap fobs fail within months. Use only Veise-certified cards (sold separately).
Calibrate Bolt Positions to Prevent Jams
Skipping calibration causes 90% of “jammed” alerts. Teach the lock your door’s exact swing path.
Calibration Walkthrough
In the app, select Calibration. Turn the thumb-turn to fully extend the bolt, then tap “Save Position.” Retract completely and save again. Adjust auto-lock timing from 5–120 seconds based on household needs. Test by closing the door—smooth engagement means success.
Troubleshooting: If the bolt scrapes, redo calibration with slower thumb-turn movements.
Align Strike Plate for Silent Operation
A misaligned strike plate grinds the bolt—fix it before daily use.
Micro-Adjustment Technique
Close the door slowly while watching the bolt. If it scrapes the frame, loosen strike plate screws. Shift the plate 1/16″ toward the scraping side using a rubber mallet. Test with 10 open/close cycles. Perfect alignment feels vibration-free.
Pro tip: Apply blue painter’s tape to the strike plate. Bolt marks show exactly where to adjust.
Fix Top 5 Installation Problems Fast
Most errors appear within 48 hours. These solutions resolve 95% of cases without resetting.
| Problem | Instant Fix |
|---|---|
| Keypad dark | Check battery polarity; replace with name-brand AAs |
| “Jammed” alert | Recalibrate and ensure ribbon cable isn’t pinched |
| App offline | Move router closer; verify 2.4 GHz signal > -60 dBm |
| Bolt won’t extend | Lubricate latch with graphite; check alignment |
| Codes rejected | Re-enter master PIN slowly; avoid keypad smudges |
Monthly Maintenance for 5-Year Reliability
Dirt in the keypad causes 60% of malfunctions. Prevent issues with quick upkeep.
Critical Maintenance Schedule
Wipe the keypad weekly with a microfiber cloth—no cleaners. Check battery levels monthly via the app; replace proactively at 20% (not 0%). Update firmware quarterly; delays cause compatibility issues. Annually, remove the lock to clean internal sensors with compressed air.
Battery emergency: When the app alerts “Low Power,” install fresh AAs within 2 weeks. Dead batteries lock you out—store spares in your car.
Factory Reset Only as Last Resort
Resetting erases ALL users and settings—use only for total lockouts.
Safe Reset Procedure
Remove batteries, then hold the reset button while reinserting them. Keep pressing for 5 seconds until the keypad flashes red three times. Release, then repeat initial setup from Wi-Fi pairing. Re-add users immediately—guest codes won’t auto-recover.
Warning: Never reset during firmware updates. This bricks the lock, requiring professional replacement.
Your keyless entry is now complete! Test every access method—app, keypad, physical key—before considering the job done. For ongoing support, Veise’s warranty covers 1 year on electronics and lifetime on mechanical parts. Save their support line (+1-855-838-3743) in your phone; response times are fastest Mon-Fri 9 am-6 pm EST. You’ve just upgraded security while ditching keys forever—enjoy the convenience!