Your new Yale smart lock sits on the counter, but those blinking lights and mysterious button combinations feel more confusing than convenient. You’re not alone—most owners struggle with Yale’s programming sequences that manuals gloss over. Whether you need to add your first access code or connect to voice assistants, this guide delivers exact steps with precise timing. Forget vague instructions; you’ll learn how to program a Yale smart lock using specific button combinations, app settings, and troubleshooting fixes that actually work. By the end, you’ll confidently manage codes, integrations, and maintenance without calling support.
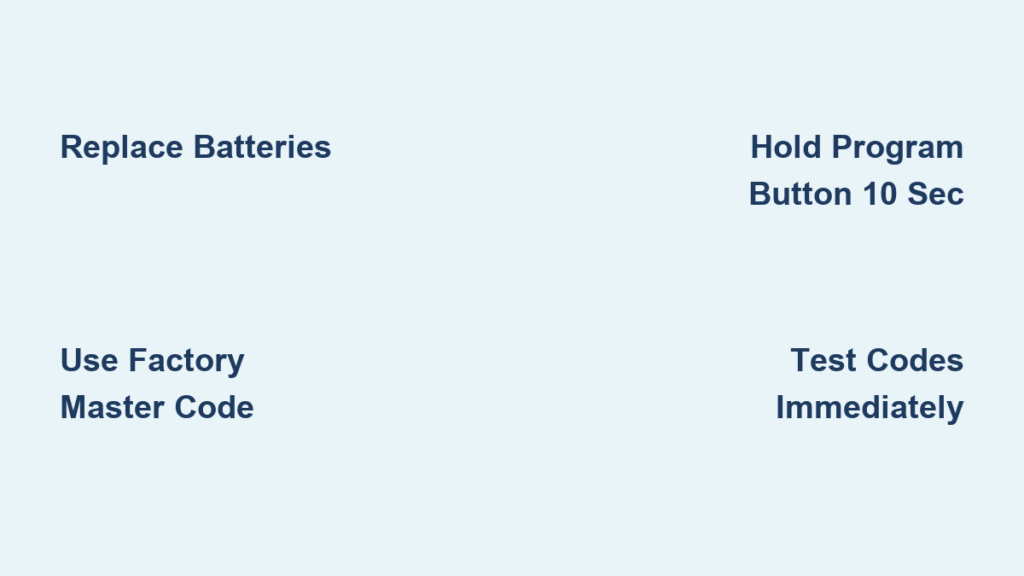
Before touching any buttons, ensure your Yale smart lock is primed for programming success. Weak batteries cause over 50% of “failed” programming attempts, as low power disrupts signal transmission between components. Verify your deadbolt moves smoothly when turned manually—any resistance indicates misalignment that will sabotage electronic functions. Check for a solid green battery indicator on the keypad (if applicable), and confirm your door closes cleanly without scraping the frame. Most critically, locate your factory master code on the sticker inside the battery compartment; this 6-8 digit sequence is your gateway to all programming. Skipping these checks guarantees frustration when sequences time out or beeps replace confirmations.
Program Your Master Access Code Correctly
Your master code is the administrative key that controls all lock programming—never share it with regular users. Yale requires this code before adding any other functions, and incorrect entry triggers security lockouts. Start by removing the battery cover to expose the small black “Program” button near the battery terminals. Press and release this button once, then enter your factory master code within 10 seconds (watch for keypad backlighting as your timer). Immediately press “1” followed by the “#” key. Now input your new 4-8 digit master code—avoid birthdays or simple sequences Yale automatically rejects. Confirm with “#” and listen for two distinct beeps. Test immediately by locking the deadbolt; failure means restarting the sequence.
Pro tip: Type your master code into your phone’s password manager before starting. Yale locks lock you out for 60 seconds after three failed attempts, and reprogramming requires removing batteries—a major headache when you’re locked out.
Add Family Access Codes Without Errors
User codes let household members enter without the master code, with Yale supporting 25 unique codes depending on your model (check your manual for exact limits). To create a new code, press the Program button once, then enter your master code followed by “#”. Press “2” then “#” to enter user code mode. Now input the user number (01-25) and press “#” again. Enter the new 4-8 digit code—never use 1234, 0000, or repeating digits as Yale blocks these for security. Confirm with “#” and wait for two beeps. Test the code within 30 seconds to verify functionality.
Deleting codes is equally critical when guests leave or kids move out. Press Program → master code → “#” → “3” → “#” → user number → “#” → ““. The lock will beep twice to confirm deletion. Common mistake*: Trying to reassign a deleted user number too quickly—wait 10 seconds before creating a new code for that slot, or the lock registers it as a duplicate.
Connect Yale Lock to Smartphone App Flawlessly

Wi-Fi models like the Assure Lock SL require app programming for remote access, but Bluetooth pairing must happen first. Download the Yale Access app (iOS/Android) and create an account using the email linked to your warranty. During setup, scan the QR code inside the battery compartment—do not skip this step as manual entry causes sync failures. After adding the lock, immediately enable Auto-Lock in app settings to prevent accidental unlocks. Test remote locking/unlocking before closing the app; if it fails, move within 10 feet of the lock and retry.
Wi-Fi connection issues? Yale locks need consistent -50 dBm signal strength. Move your router closer or add a mesh extender—avoid 5GHz networks as Yale only supports 2.4GHz. If pairing fails, hold the Program button for 10 seconds until three beeps sound (factory reset), then restart the app process.
Activate Auto-Lock and DoorSense Features
Auto-Lock prevents “did I lock the door?” anxiety by automatically securing your deadbolt after set intervals. Open the Yale app, go to Lock Settings → Auto-Lock, and choose 30, 60, 120, or 180 seconds. Test by propping the door open—the lock must audibly engage after your selected time. If it doesn’t, check for physical obstructions in the deadbolt path.
DoorSense calibration ensures your lock knows when the door is truly closed—a critical security gap many owners miss. In the Yale app, navigate to Lock Settings → DoorSense and follow the prompts. Stand by the door as the lock guides you through open/closed positions; a green checkmark confirms success. Without this, your app may show “locked” while the door remains ajar. Recalibrate quarterly or after weatherstripping changes.
Integrate Voice Assistants Safely

Yale works with Alexa, Google Assistant, and Siri, but insecure setups invite unauthorized access. For Alexa: open the Alexa app → Skills & Games → search “Yale Access” → enable and link your Yale account. Crucially, create a 4-digit voice PIN during setup—this prevents someone saying “Alexa, unlock front door” from succeeding. Never use your actual door code as the PIN.
With Google Assistant: open Google Home → tap “+” → Works with Google → search Yale → link accounts. Assign your lock to a room (e.g., “Front Door”) and enable Voice Match to restrict commands to your voice profile. Test with “Hey Google, lock the front door” from 6+ feet away—Yale requires clear diction due to acoustic limitations.
Fix Common Programming Failures Immediately

When programming fails, diagnose these three scenarios before panicking. Rapid beeping means critically low batteries—replace all four immediately with alkaline cells (lithium causes voltage issues). No keypad response usually indicates a jammed Program button; gently press it with a paperclip while checking for debris. Three sharp beeps after code entry signals a master code error—recheck the sticker inside the battery compartment; factory codes often include leading zeros people miss.
App connection problems typically stem from Bluetooth missteps. Always pair via Bluetooth first before attempting Wi-Fi setup—Yale locks won’t accept Wi-Fi credentials without this handshake. If the app shows “offline,” remove batteries for 30 seconds to reset the radio module, then restart pairing within 10 feet of the lock. Codes failing suddenly? Check battery levels in the Yale app—low power causes intermittent code rejection even when the lock appears functional.
Factory Reset Your Yale Lock Properly
When all else fails, a complete reset erases corrupted settings. Remove the battery cover and hold the Program button for 10 full seconds until you hear three long beeps. Release, then press Program once within 3 seconds—delaying past this window cancels the reset. Wait for a single confirmation beep. Warning: This deletes all user codes, Wi-Fi settings, and voice integrations. Have your factory master code ready from the battery compartment sticker, as you’ll need it to reprogram everything from scratch. Never perform this reset while locked out of your house.
Maintain Programming Reliability Long-Term
Prevent future issues with monthly maintenance habits. Test your master code and two user codes weekly to catch glitches early. Replace batteries at 20% capacity (shown in the Yale app)—never mix old and new cells as voltage imbalances damage circuits. Clean keypads monthly with a damp microfiber cloth; alcohol wipes corrode touch sensors over time. Verify door alignment by closing it slowly—if the deadbolt scrapes the strike plate, realign the hardware to prevent motor strain.
Battery replacement protocol is non-negotiable: Install four fresh alkalines (Energizer or Duracell only) simultaneously. Test all codes immediately after installation—Yale locks often require re-syncing the app after battery changes. If the Yale app prompts for reconnection, reboot your phone’s Bluetooth before re-pairing the lock.
Your Yale smart lock should now respond reliably to every programmed command. Remember: timing is critical during setup sequences—pausing longer than 10 seconds between steps exits programming mode, forcing you to restart. Keep this guide bookmarked for adding temporary guest codes or troubleshooting unexpected beeps. Proper programming transforms your Yale lock from a frustrating gadget into a seamless security partner, but consistent maintenance ensures it stays that way for years. When in doubt, consult Yale’s official support portal for model-specific diagrams before disassembling components.