That frustrating moment when your new Weiser smart lock won’t respond to your code or flashes confusing lights is all too common. Whether you’re struggling with programming user codes, interpreting beeping patterns, or wondering why your door won’t lock automatically, you’re not alone. This practical guide delivers exactly what you need to know how to use Weiser smart lock systems effectively—from initial setup to daily operation and troubleshooting the most frequent issues homeowners face.
By the time you finish reading, you’ll confidently add family members’ codes, reset lockouts, decode those mysterious light patterns, and maintain your smart lock for years of reliable service. No more calling a locksmith for simple issues or wasting time searching through confusing manuals.
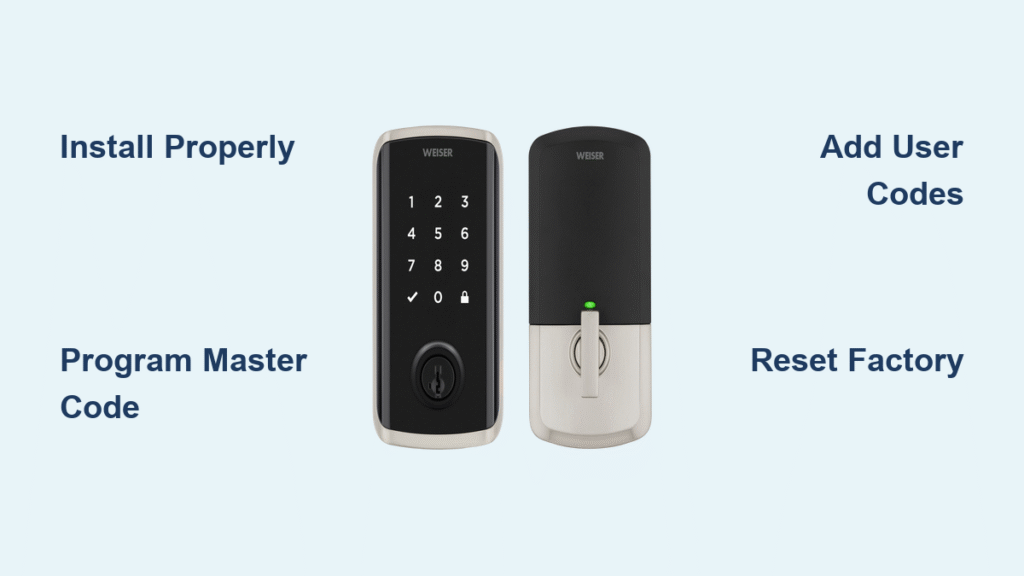
Install Your Weiser Smart Lock Properly the First Time

Gather These Essential Installation Tools Before Starting
- Precision Phillips screwdriver (size #2)
- Measuring tape for precise hole alignment
- Small wooden block and hammer for minor door adjustments
- All components from your Weiser box: latch assembly, touchscreen keypad, interior mounting plate, strike plate, mounting screws, and ribbon cable
Complete Installation in Under 15 Minutes
- Remove your old deadbolt completely, ensuring no leftover screws obstruct the new installation.
- Insert the new latch with the “UP” marking clearly visible at the top—this orientation is critical for proper function.
- Slide the deadbolt assembly into the side hole, extending it fully to check smooth movement.
- Route the ribbon cable through the door hole, taking care not to twist or pinch it during installation.
- Position the mounting plate on the interior side, ensuring the ribbon cable runs straight upward without bends.
- Connect the ribbon cable to the inner panel socket until you hear a distinct click confirming full connection.
- Secure the interior assembly with included screws, tightening just enough to prevent wobbling.
- Install the strike plate on the door frame, tapping it gently with a hammer if needed to align perfectly with the deadbolt.
⚠️ Critical Tip: Never begin installation unless you can complete it in one sitting—interrupting the process mid-installation often jams the mechanism and requires complete disassembly to fix.
Program Your First Master Code Without Errors
Initial Setup Sequence for Immediate Security
- Keep your door fully open and unlocked throughout this process—attempting setup with the door closed risks locking you out.
- Press and hold the “Program” button until the keypad illuminates (about 3 seconds).
- Press “1” to confirm the marker symbol appears on the display.
- Enter your chosen 4-8 digit master code—avoid obvious sequences like “1234” for security.
- Press the lock symbol button to confirm your code entry.
- Wait for the green flash and single beep—this confirms successful programming.
🔒 Security Must-Know: Store your master code in a secure location separate from your home; you’ll need it to add users, delete codes, or perform resets. Never share this code widely—it’s your administrative key to the entire system.
Add Multiple User Codes for Family and Visitors
Effortlessly Program Up to 30 Unique Access Codes
- With the door open, press the “Program” button once (do not hold).
- Tap “1” to confirm the marker symbol appears.
- Enter a new 4-8 digit code (different from your master code).
- Press the lock symbol to save the code.
- A green flash with single beep confirms success; a red “X” with three beeps means retry.
- Repeat steps 1-5 for additional users, assigning unique codes to each person.
Smart Code Management Strategies
- Create distinct codes for family members, cleaners, and regular visitors for better security tracking
- Change temporary user codes immediately after service providers leave (dog walkers, contractors)
- Avoid using birthdays or phone numbers which are easily guessed by potential intruders
- Label codes discreetly in your maintenance log (e.g., “Front Door – Housekeeper”) without revealing actual numbers
Delete Individual User Codes Without Full Reset
Remove Access for Specific Users in Seconds
- With the door open, press the “Program” button once.
- Press “1” for the marker symbol confirmation.
- Press the lock button once to enter code deletion mode.
- Enter the exact user code you want to remove.
- Press the lock button again to confirm deletion.
- Re-enter the same code and press lock one final time.
- A green flash confirms successful removal; a red “X” means the code wasn’t found in the system.
💡 Pro Tip: When deleting a code, double-check you’re entering the exact sequence—typos are the most common reason for failed deletion attempts. If you’re unsure of the code, try resetting the entire lock instead.
Perform a Complete Factory Reset When Necessary
Last-Resort Solution for Persistent Lock Issues
- Remove the battery cover from the interior assembly.
- Pull out the entire battery pack—don’t just disconnect individual batteries.
- Reinsert the pack while continuously holding the “Program” button.
- Keep pressing until the light flashes red (about 5-8 seconds).
- Release, then press “Program” one additional time.
- A solid green flash confirms successful reset.
- Wait while the lock auto-calibrates—the deadbolt will extend and retract to learn door orientation.
After resetting, you must reprogram your master code and all user codes from scratch. Use this method only when other troubleshooting fails, as it erases all custom settings.
Decode Every Light and Beep Pattern Instantly

Quick Reference Guide to Indicator Signals
| Light/Beep Pattern | What It Means | Immediate Action Required |
|---|---|---|
| Solid red LED | Low battery or misalignment | Replace batteries immediately; check door alignment |
| Red “X” 3× + 3 beeps | Incorrect code or timeout | Re-enter correct code within 20 seconds |
| Red “X” 15× + 15 beeps | Three failed attempts | Wait 60 seconds before retrying |
| Flashing red during operation | Clutch disengaged | Re-seat battery cover; turn rotor 180° clockwise |
| Green flash + single beep | Successful operation | Proceed with confidence |
Fix Daily Operation Problems Immediately
Door Won’t Lock Automatically
- No user code programmed → Add at least one user code before expecting automatic locking
- Low battery warning → Replace all four AA batteries with fresh alkaline ones
- Clutch disengaged → Re-engage using the battery cover method described above
- Mounting plate too tight → Loosen screws slightly to free the torque blade mechanism
Persistent Beeping and Red Flashing
- Verify alignment: Remove the lock and ensure all door holes line up perfectly
- Install correct deadbolt: Use only the tapered deadbolt included in your Weiser kit
- Adjust strike plate: Gently tap the metal tab so the deadbolt glides in smoothly without resistance
SmartKey Cylinder Stuck During Rekeying
- Insert your current working key fully into the lock cylinder
- Slowly pull the key out 1-2mm while simultaneously turning clockwise to find the learning position
- Insert the SmartKey tool all the way in, then remove it completely
- Remove your key, reinsert it fully, and test a 180° turn without pushing or pulling
Rekey Your Mechanical Lock in Under 30 Seconds
SmartKey Technology in Action
- Insert your current key and turn it 90° clockwise
- Insert the SmartKey tool fully, remove it, then pull out your current key
- Insert your new key and turn it 90° counter-clockwise
- Test the new key with a full 180° turn to confirm it works properly
⚠️ Important: If you’ve lost all working keys, you’ll need to take the lock to an authorized Weiser dealer for professional resetting—don’t attempt forced entry which could damage the mechanism.
Maintain Your Smart Lock for Long-Term Reliability
Essential Monthly Maintenance Routine
- Clean the keypad with a dry microfiber cloth to prevent dust buildup on sensors
- Test all active codes to ensure they still function correctly
- Check battery voltage every 6 months—replace proactively before complete failure
- Lubricate the deadbolt mechanism annually with graphite powder (never oil)
Battery Management Best Practices
- Always use premium alkaline AA batteries (rechargeables cause inconsistent voltage)
- Replace all four batteries simultaneously to prevent uneven power distribution
- Keep spare batteries nearby for emergency replacements
- Expect 8-12 months of battery life under normal usage conditions
Summary: Your Path to Smart Lock Mastery
You now have everything needed how to use Weiser smart lock systems with complete confidence—from initial installation to daily code management and troubleshooting common issues. Implement the monthly maintenance checklist to catch potential problems before they become emergencies, and keep this guide accessible for quick reference when issues arise.
For persistent problems that these steps don’t resolve, a factory reset usually restores normal operation. When all else fails, contact Weiser customer support directly with your model number for specialized assistance—they typically resolve most issues within one business day. Most importantly, never disable your smart lock’s security features out of frustration; with these techniques, you’ll enjoy both convenience and peace of mind for years to come.