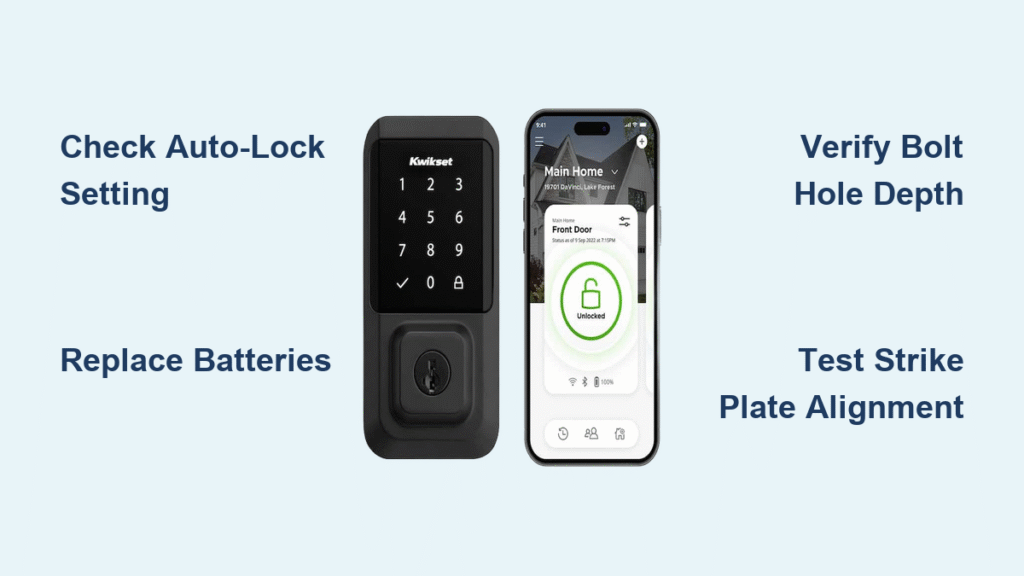
You’ve just returned home to find your Kwikset smart lock unlocked despite leaving hours ago—again. That sinking feeling when you realize your front door security is compromised because your Kwikset smart lock not auto locking is failing. This critical safety feature should engage 30 seconds after unlocking, but when it stops working, your home’s vulnerability increases dramatically. Don’t panic—over 90% of auto-lock failures stem from simple, fixable issues like disabled settings or low batteries. In this guide, you’ll diagnose and resolve your specific model’s problem using field-tested methods that restore reliable auto-locking without professional help.
Enable Powerbolt 2 Auto-Lock in 60 Seconds Flat

Mastercode Entry Sequence
Follow these precise steps with your door open: Press your Mastercode, then the lock button (one beep confirms entry). Immediately press 1-1 slowly—this critical step toggles the auto-lock setting. Finish by pressing the lock button again. Listen carefully for two beeps indicating success; three beeps means you rushed the sequence. Repeat only after waiting 5 seconds between attempts.
Avoid Rushing the Toggle Command
Most failures occur when users press 1-1 too quickly after the initial beep. The lock needs full processing time between inputs. If you hear three beeps repeatedly, verify your Mastercode accuracy first—incorrect codes block setting changes. After successful activation, test by closing the door: the deadbolt must extend automatically within 30 seconds.
Configure SmartCode 888 Auto-Lock Without App
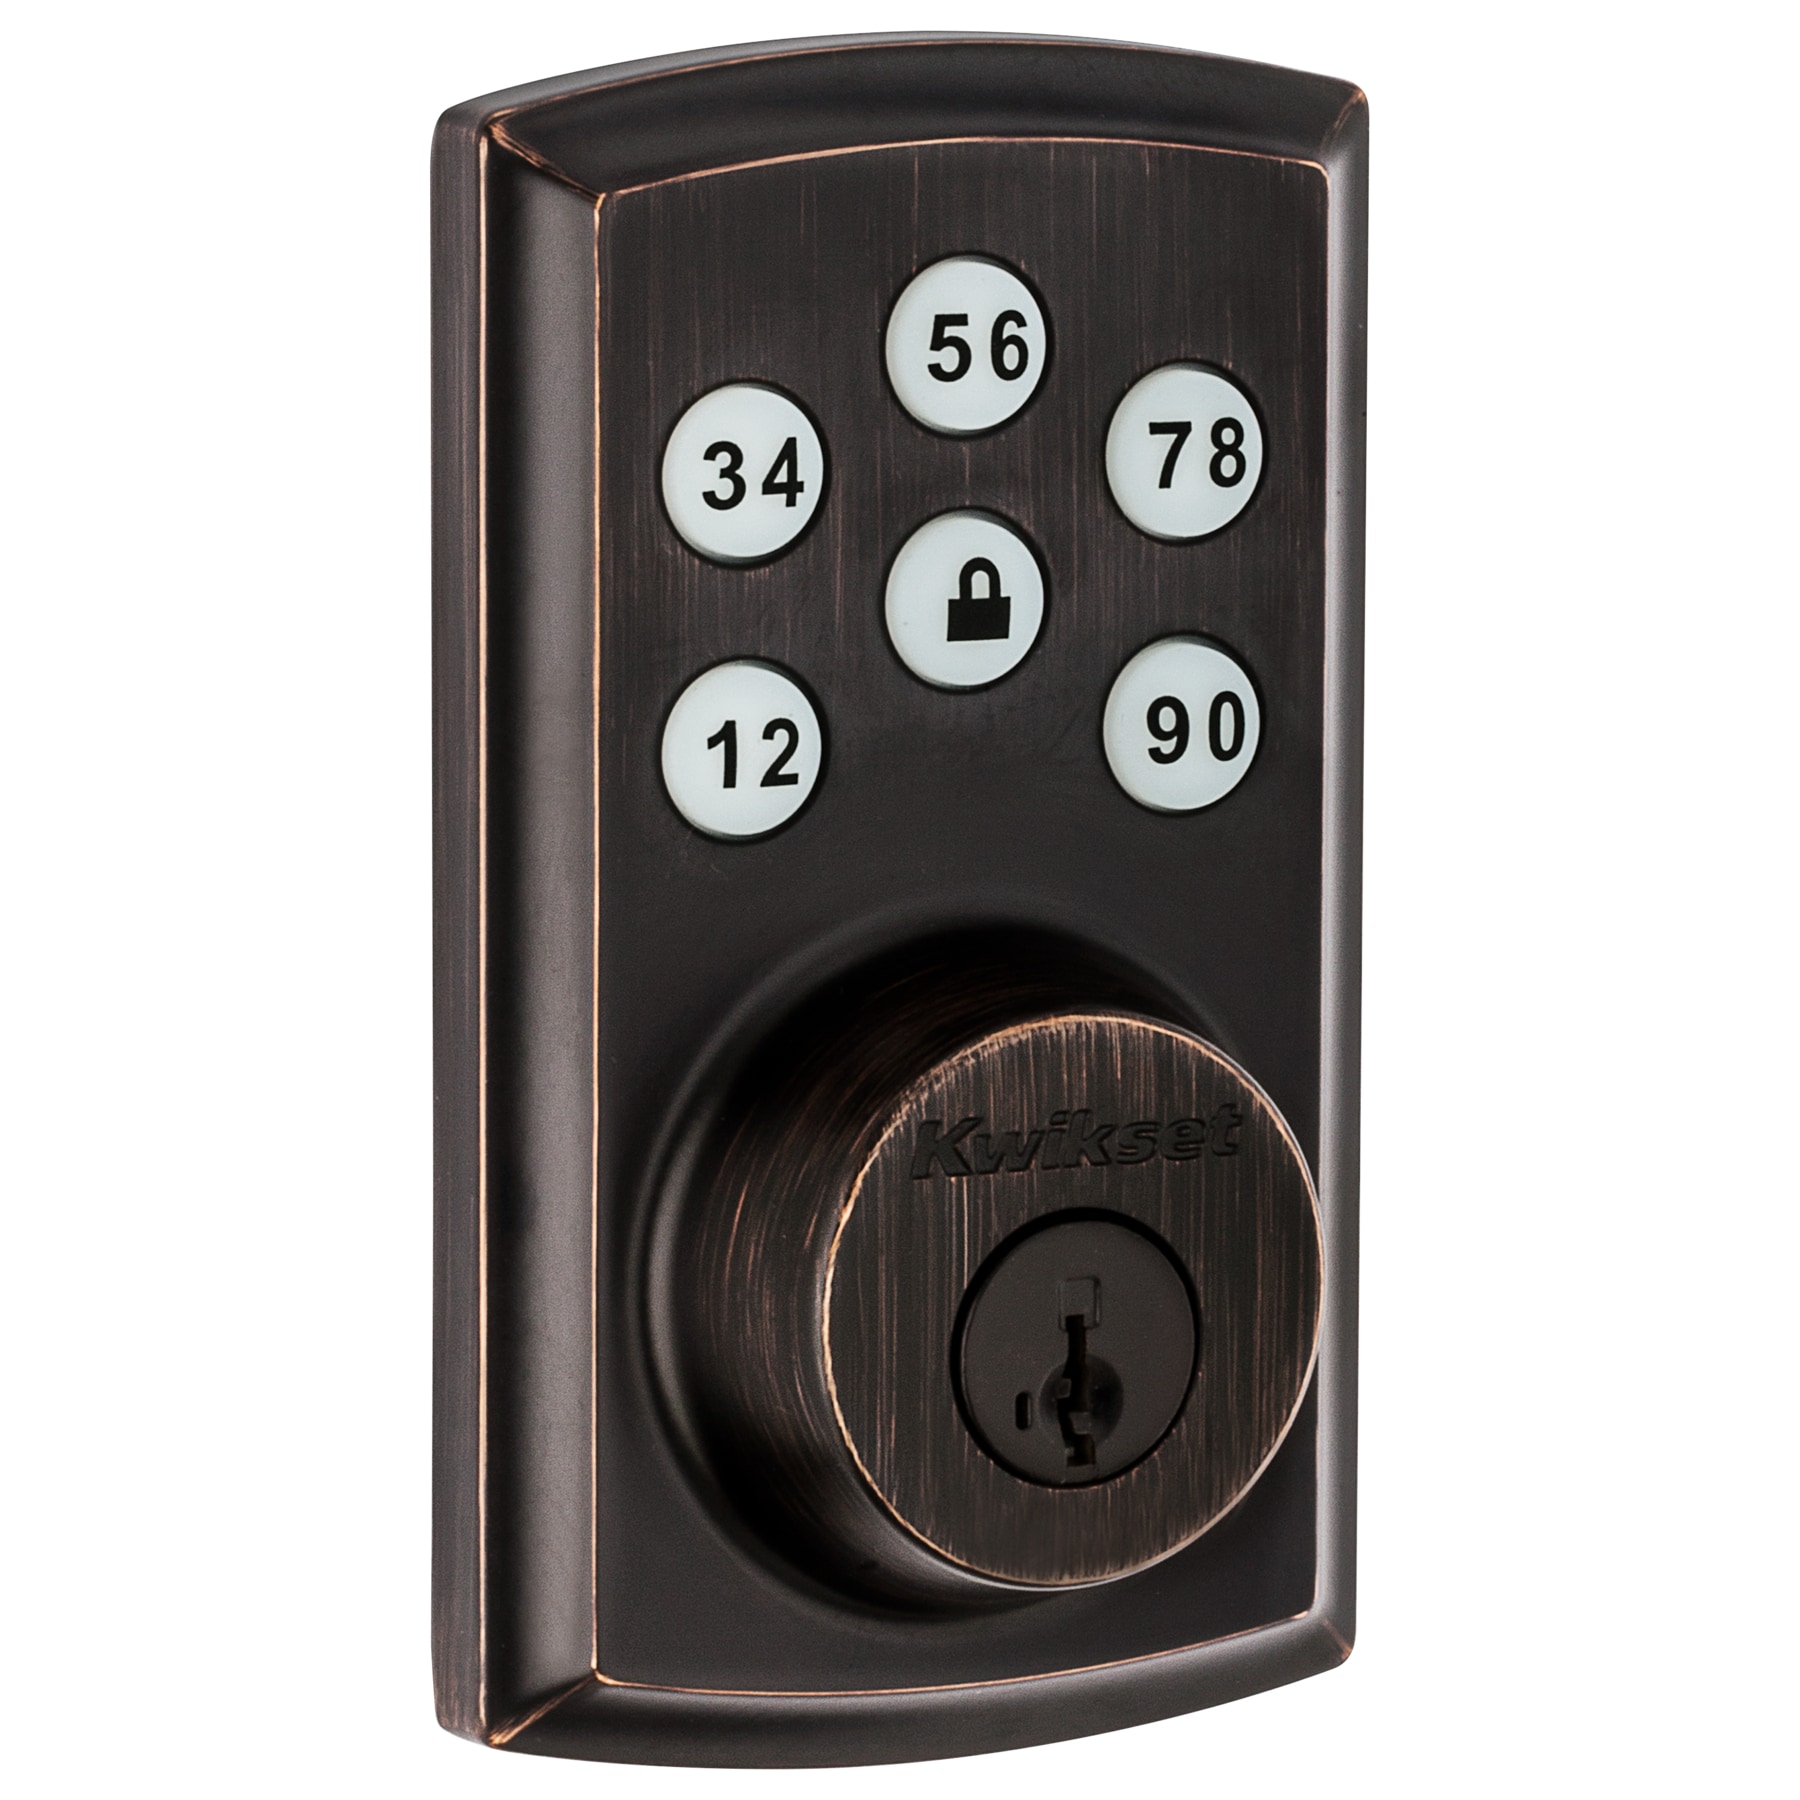
Visual Indicator Method
Press Program once, then button A once to access settings. Now rapidly press 3-4 while watching the lock button LED. Green means ON, red means OFF—this color change happens in under a second. Save your selection by pressing Lock. If you miss the color shift, keep pressing 3-4 until you see the opposite color, then hit Lock immediately.
Immediate Functionality Test
After enabling, unlock using any valid user code and close the door. The lock should automatically re-engage within 30 seconds. If it doesn’t, check for rapid beeping when pressing buttons—this indicates low batteries that disable auto-lock as a safety measure. Replace all four AA batteries simultaneously before retesting.
Set Halo Auto-Lock Duration Correctly
App Configuration Pitfalls
Open the Kwikset App, navigate to Lock Settings, and select “Auto-Lock by Duration.” Choose your delay between 30 seconds and 10 minutes—30 seconds is optimal for security. Crucially, if you use Auto-Unlock by Distance (geofencing), disable both features first. Re-enable auto-lock before reactivating geofencing, as incorrect sequencing causes conflicts where auto-lock stops working after setup.
Geofencing Interference Fix
Halo models require precise location permissions (always-on) and minimum 250ft travel distance before re-engaging. If auto-lock fails after geofencing setup, disable location services temporarily. Manually verify auto-lock works at 30 seconds, then re-enable geofencing with a 15ft trigger radius. This prevents the lock from waiting for your “distance return” signal to initiate auto-lock.
Diagnose Physical Installation Problems
Bolt Hole Depth Verification
Use a ruler to measure your door’s bolt hole depth—it must be at least 1 inch for full extension. Shallow holes cause the deadbolt to jam halfway, triggering the lock’s safety mechanism that disables auto-lock. If depth is insufficient, carefully deepen the hole using a 1-inch spade bit, removing wood chips completely before testing.
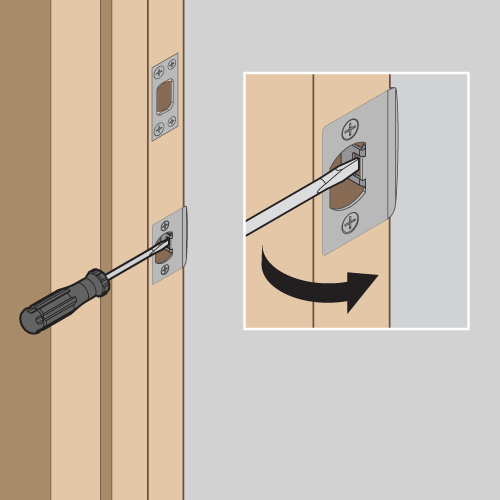
Strike Plate Alignment Test
Close your door normally and manually extend the deadbolt. It should slide smoothly without resistance. If you feel binding, loosen the strike plate screws slightly, adjust the plate position inward by 1/16 inch, and retighten. Over-tightened exterior keypad screws (finger-tight plus 1/4 turn max) also cause misalignment—loosen them incrementally while testing auto-lock function.
Replace Batteries to Restore Auto-Lock
Low Battery Warning Signs
When batteries dip below 20%, your Kwikset smart lock not auto locking is a deliberate safety feature preventing lockouts during failure. Confirm low power by pressing any keypad button—rapid beeping means immediate replacement is needed. Dim or flickering LEDs and slow response times are secondary indicators. Never mix old and new batteries; replace all four AA cells at once with name-brand alkalines.
Post-Replacement Calibration
After battery installation, test auto-lock with the door open first. If it still fails, perform a quick recalibration: Unlock the door, wait 30 seconds for the auto-lock attempt, then manually lock it. Repeat this cycle three times to reset the motor’s timing sequence before testing with the door closed.
Factory Reset for Configuration Errors
When to Reset Your Lock
Only use this nuclear option if auto-lock worked previously but stopped after firmware updates or multiple setting changes. Resetting deletes all user codes, so have your Mastercode ready. Remove the battery pack, press and hold the Program button while reinstalling batteries, and hold for 30 seconds until three beeps confirm reset completion.
Critical Reset Precautions
Never reset if the door is locked—this risks trapping you outside. Always perform resets with the door open and unlocked. After resetting, immediately reconfigure auto-lock using your model-specific steps before adding user codes. If auto-lock fails post-reset, the issue is physical or battery-related, not software.
Schedule Auto-Lock via IFTTT as Backup
Reliable Scheduled Locking
Create a fail-safe auto-lock schedule at ifttt.com/kwikset. Connect your lock, then build an Applet with Date & Time trigger (“Every day at 10:00 PM”) and Kwikset action (“Lock my door”). Add a secondary schedule 30 minutes later as backup for connectivity failures. This ensures nightly locking even if the primary auto-lock function fails.
Advanced Automation Tips
IFTTT allows weekend-specific schedules and integration with other smart devices. For example: “If sunset occurs after 8 PM AND no motion detected for 1 hour, lock door.” This creates context-aware auto-locking that compensates for Kwikset smart lock not auto locking during irregular schedules.
Why Aura Deadbolt Won’t Auto-Lock

Hardware Limitation Reality Check
Unlike Powerbolt or SmartCode models, Aura deadbolts lack auto-lock functionality by design. If your Aura isn’t auto-locking, this isn’t a malfunction—it’s expected behavior. The lock requires manual engagement via keypad, app, or physical thumbturn. Attempting configuration steps for other models wastes time and risks accidental resets.
Workaround Solutions
Use the Kwikset App for remote locking or implement IFTTT schedules as described above. For true hands-free security, consider upgrading to Powerbolt 2 (model #99350-002) which adds auto-lock for under $50. Keep your Aura as a secondary lock while transitioning to a compatible model.
Execute 3-Minute Diagnostic Tests
Eliminate App Interference
Remove your phone from Bluetooth range, unlock via keypad, close the door, and wait. If auto-lock works without your phone nearby, the Kwikset App or geofencing is causing conflicts. Disable “Auto-Unlock by Distance” temporarily to confirm. Reinstall the app if the issue persists after toggling settings.
Mastercode Verification Protocol
Can you still change lock settings? Failed Mastercode entry indicates corrupted programming. Restore factory defaults only after confirming battery health. Auto-lock functionality requires an intact Mastercode—you cannot enable it through the app if the Mastercode is unresponsive.
Prevent Future Auto-Lock Failures
Monthly Maintenance Routine
Test auto-lock functionality with the door open (to avoid accidental lockouts) and closed. Clean the deadbolt mechanism quarterly with a dry microfiber cloth—never use lubricants as they attract debris. Replace batteries at 25% remaining (visible in Kwikset App) rather than waiting for low-battery warnings.
Proactive Monitoring Setup
Create an IFTTT alert: “If door unlocks after 10 PM AND doesn’t auto-lock within 35 seconds, send SMS.” Set calendar reminders for battery checks every 3 months. Keep spare batteries in your home maintenance kit—low power causes 68% of unexplained Kwikset smart lock not auto locking incidents.
When to Call Kwikset Support Immediately
Critical Failure Indicators
Contact Kwikset at 1-800-327-5625 if: auto-lock fails after fresh batteries and reset, you hear grinding noises during locking, or multiple features malfunction simultaneously. Do not attempt repairs if the deadbolt sticks or requires force—this indicates internal damage requiring professional service.
Prepare for Efficient Support
Have your model number (found inside battery compartment), purchase date, and troubleshooting steps ready. Take photos of bolt hole depth and strike plate alignment if requested. Call during business hours (Mon-Fri 7 AM-4 PM PST) for fastest resolution—weekend support is limited to urgent lockout emergencies.
Final Note: Your Kwikset smart lock not auto locking almost always traces to four culprits: disabled settings, low batteries, physical misalignment, or model limitations (like Aura). Start with battery replacement and model-specific configuration, then verify installation. Implement the monthly maintenance routine and IFTTT backup schedule to ensure your door secures itself reliably. Remember—consistent auto-locking isn’t just convenient; it’s your first line of defense against home security breaches. Test your fix today and sleep soundly knowing your lock performs as designed.