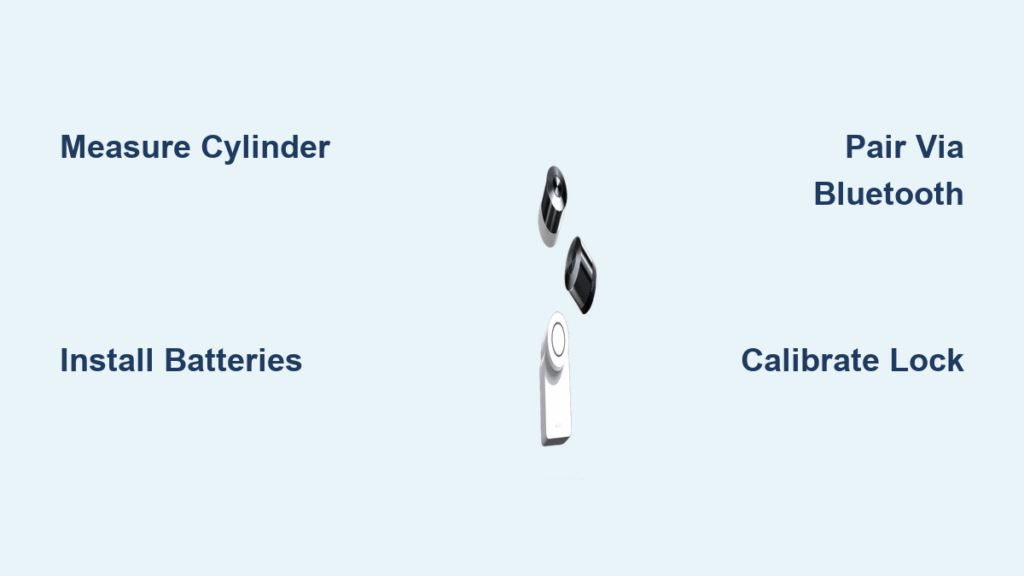
Your traditional door lock just became obsolete the moment you unboxed your Nuki Smart Lock. But that mounting bracket staring back at you? It’s not a puzzle—it’s your ticket to keyless freedom. Thousands of homeowners complete this installation in under 20 minutes using just a screwdriver and their smartphone. Skip the $150 locksmith fee and follow this precise guide to transform your Euro cylinder into a smart entry system that unlocks when you approach. You’ll learn exactly how to measure compatibility, avoid calibration fails, and configure remote access—all before your coffee gets cold.
The secret weapon? Nuki’s interactive app wizard that overlays real-time alignment guides on your phone screen. Unlike other smart locks requiring door drilling or electrical work, this system mounts directly onto your existing cylinder. Whether you’re upgrading a rental apartment or securing your dream home, this guide eliminates guesswork with step-by-step visuals and critical pro tips hidden in Nuki’s documentation. Let’s turn that intimidating box into your most reliable door guardian.
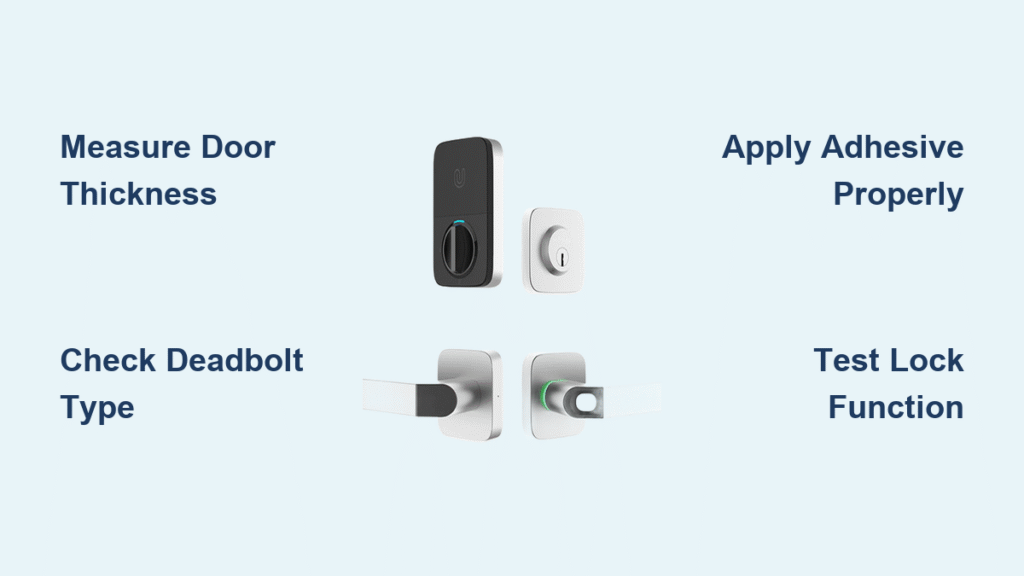
Measure Your Euro Cylinder for Nuki Smart Lock Fit
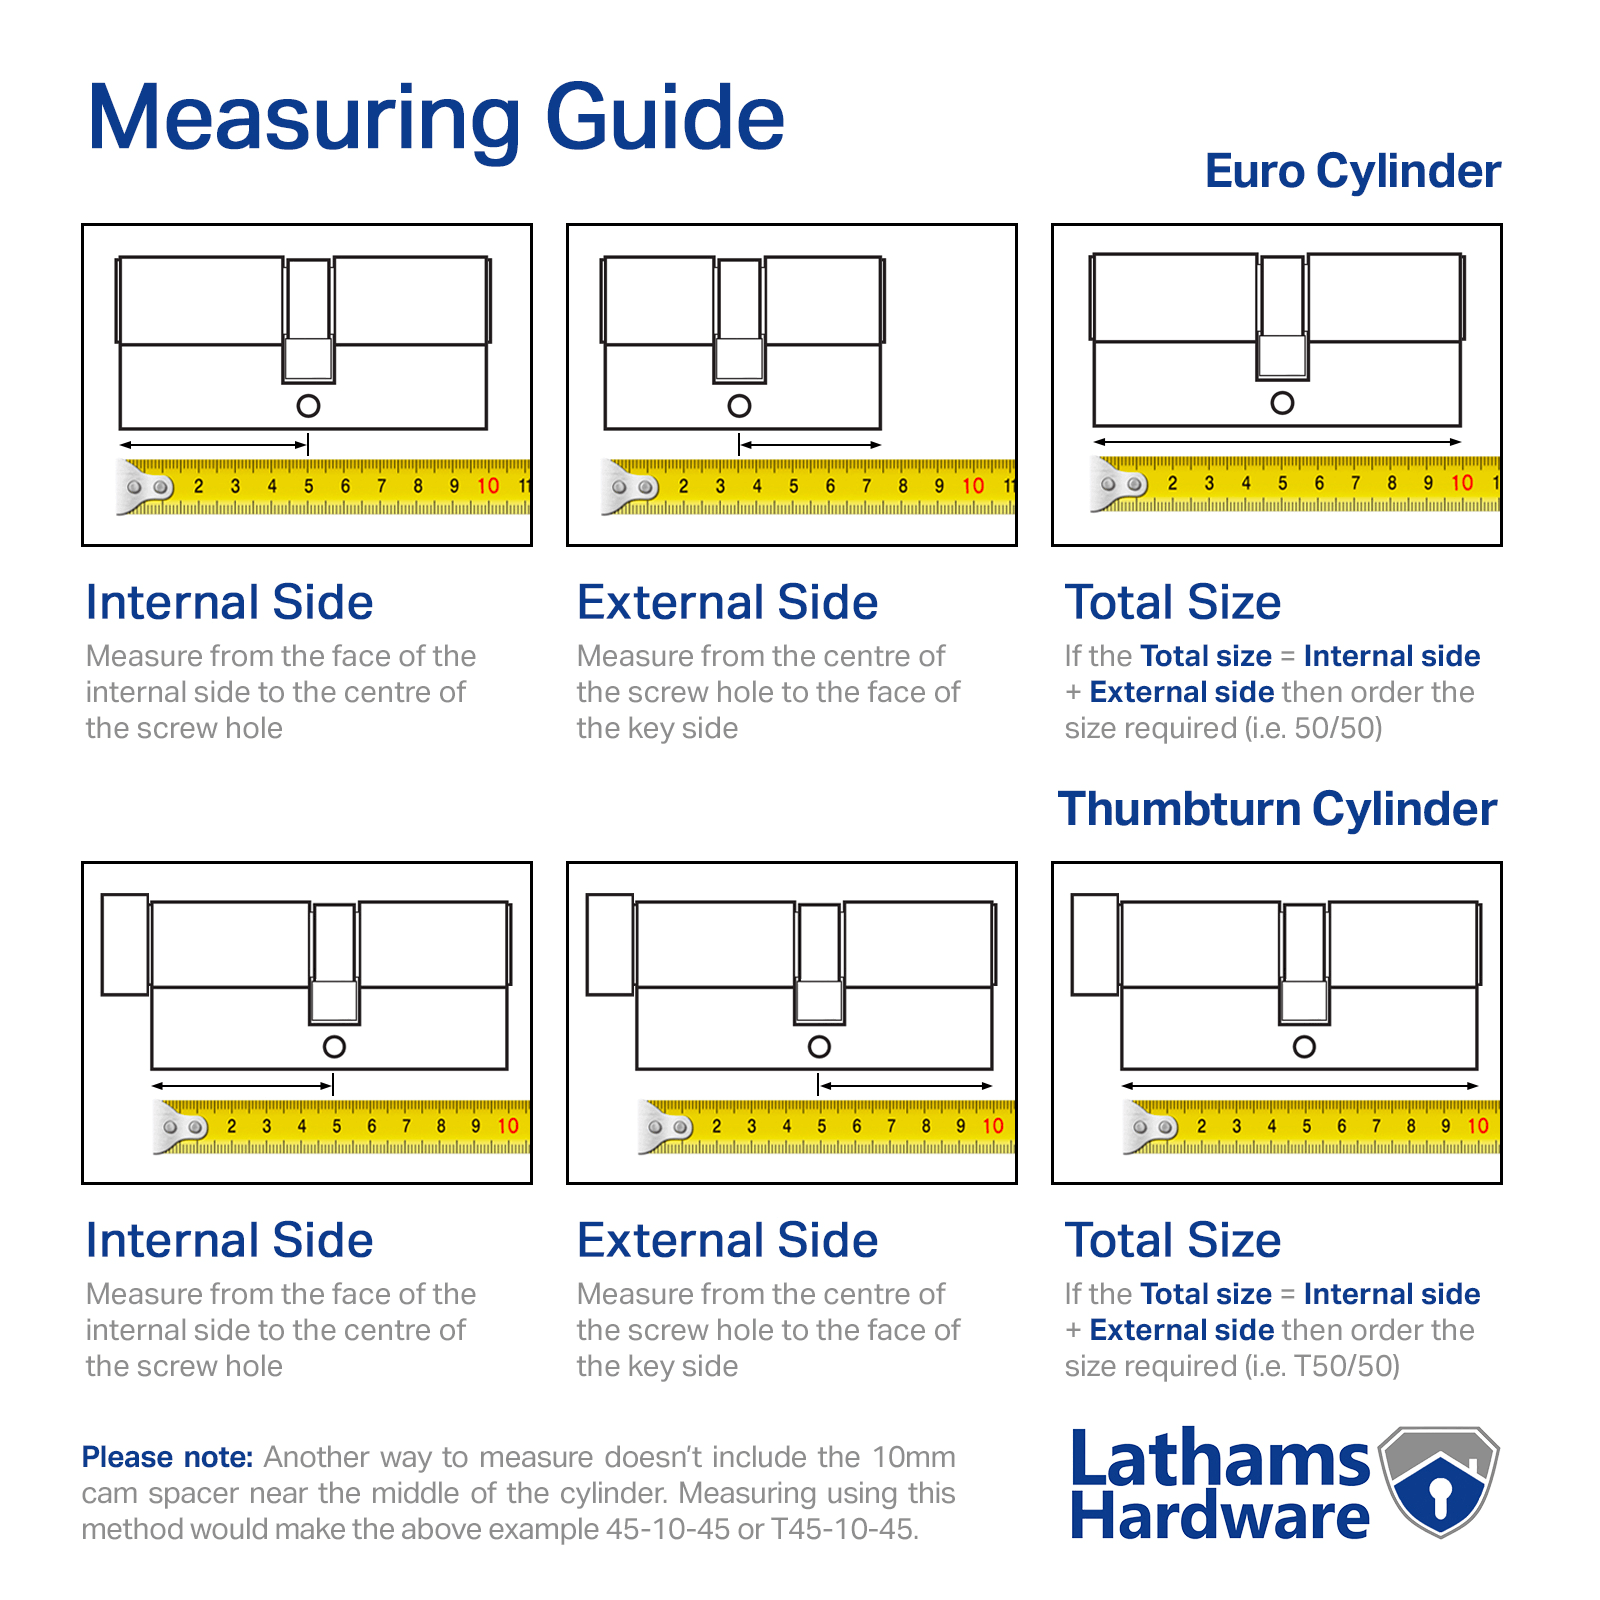
Skip this step and you’ll face frustrating misalignment during calibration. Your existing Euro-profile cylinder must measure between 30-60mm in exact 5mm increments (30, 35, 40mm, etc.). Flip your thumb-turn vertically, then measure from the outer edge of the thumb-turn to the outer edge of the key side—not including the cylinder faceplate.
How to Verify Compatibility Visually
Take a photo of your cylinder next to a ruler and upload it to the Nuki app wizard. The software instantly analyzes the image against supported dimensions. If your measurement falls outside the 30-60mm range, the app immediately recommends specific adapter kits or replacement cylinders. Never force the bracket onto incompatible hardware—this causes calibration failures and voids your warranty.
Critical Door Requirements Checklist
Test your existing lock mechanism before mounting: Insert your key and rotate slowly. It must turn smoothly without binding or resistance. The Nuki Smart Lock amplifies mechanical flaws—if your key sticks now, the motor will jam during operation. Address sticking cylinders first by lubricating with graphite powder (never oil). Your door must use a Euro, Swiss, or Oval cylinder type; round-profile cylinders require replacement.
Gather Required Tools for DIY Nuki Installation
You’ll need exactly three items—no specialized tools required. The retail box includes four AA alkaline batteries (critical for reliable operation), but you must supply a Phillips-head screwdriver. Pro tip: Use the included Nuki batteries only. Third-party cells often cause erratic behavior due to voltage inconsistencies.
Why Smartphone Prep Saves 10 Minutes
Download the Nuki app before opening the lock box. Create your account during installation to avoid mid-process delays. This app isn’t just a remote—it’s your installation co-pilot with live camera overlays that show exactly where to position the bracket. Enable Bluetooth permissions immediately; the pairing sequence times out after 30 seconds of inactivity.
Install AA Batteries in Your Nuki Smart Lock

Battery errors cause 70% of first-time installation fails. Slide open the rear compartment cover until it clicks into the open position. Insert four AA batteries while matching the + and – polarity symbols inside the tray—never mix old and new cells. Close the cover until you hear a distinct double-click, confirming secure latching.
Critical Battery Warning Signs
The LED ring will glow briefly when powered correctly. If no light appears:
– Recheck battery orientation (a single reversed cell kills power)
– Ensure compartment cover is fully latched (gaps prevent contact)
– Replace with fresh alkaline batteries—rechargeable NiMH cells lack sufficient voltage
Never use lithium batteries—they exceed voltage tolerances and risk damaging internal circuitry.
Connect Nuki Smart Lock to Your Phone via Bluetooth
Open the Nuki app and tap “Add Device” > “Smart Lock.” The app scans for your lock while its LED ring displays a six-digit pairing code. Enter this code exactly within 30 seconds—any delay triggers timeout requiring a restart.
Fixing Pairing Failures Instantly
If the code disappears before entry:
1. Press and release the physical button on the lock body
2. Wait 5 seconds for the LED to reactivate
3. Restart the app’s pairing sequence
Bluetooth interference from microwaves or cordless phones causes most failures. Move 6+ feet away from electronics during pairing. A solid blue LED ring confirms success—proceed immediately to bracket mounting.
Attach Nuki Mounting Bracket to Euro Cylinder
This bracket mounts directly over your existing thumb-turn—do not remove your cylinder. Position it so the screw holes align with the cylinder’s rotation axis. The app’s camera overlay is indispensable here: Point your phone at the door, and on-screen guides show perfect bracket alignment.
Avoiding Costly Mounting Mistakes
Insert the two provided screws through the bracket’s top holes first. Tighten just until snug—over-tightening strips the threads or warps the bracket. Test stability by gently wiggling the bracket; it must show zero movement. Critical: If your cylinder has a privacy pin (common on Swiss models), position the bracket’s cutout around it using the app’s visual guide.
Snap Nuki Smart Lock Body Onto Mounting Bracket
Hold the lock body at a 45-degree angle above the bracket. Slide it downward smoothly until magnetic guides engage with a loud click. Proper seating is non-negotiable—misalignment causes calibration errors and motor strain.
Verifying Correct Lock Body Position
Gently pull upward on the lock body. If it moves or detaches, realign and reseat. The finished assembly should sit flush against your door with no visible gaps. Check rotation freedom: Manually turn the lock body left and right—it must move smoothly through its full range without catching. Any resistance indicates bracket misalignment requiring screw loosening and repositioning.
Calibrate Nuki Smart Lock for Smooth Operation
The app now guides your first calibration cycle. Manually turn the lock body to the fully locked position (clockwise), then back to fully unlocked (counter-clockwise). Move slowly and deliberately—do not stop mid-turn. Sensors measure travel distance and torque limits during this process.
Fixing Calibration Failures in 60 Seconds
If calibration fails, immediately check:
– Bracket alignment: Loosen screws slightly and reposition using app overlay
– Cylinder binding: Test with physical key—lubricate if stiff
– Obstructions: Remove paint chips or debris from door frame
Remove the lock body, reseat the bracket, and retry. Never force rotation—the motor cuts out after 3 failed attempts to prevent damage.
Update Nuki Smart Lock Firmware and Set Up Remote Access
Firmware updates deploy critical security patches within minutes of installation. The app downloads updates via your phone’s internet, then transfers them to the lock via Bluetooth (≈2 minutes). Never interrupt this process—battery removal during updates bricks the device permanently.
Enabling Remote Access Without a Bridge
For Apple Home, Google Home, or Alexa integration:
1. Position your Nuki Bridge within 5 meters of the lock
2. Scan the QR code in the app with your Bridge
3. Enter Wi-Fi credentials when prompted
The lock appears instantly in your ecosystem app as a native Matter-compliant device. Without a Bridge, enable Nuki Premium for remote access via Nuki’s secure cloud servers.
Create Admin Profile and Share Digital Keys
Designate your primary phone as the admin account—it controls all settings and emergency overrides. Use a strong, unique password; this profile protects against unauthorized access.
Sharing Time-Limited Access Securely
Invite trusted users by email to generate unique 6-digit entry codes. Set expiration from 1 hour to 365 days for guests or contractors. Revoke access instantly by deleting their profile—no physical key retrieval needed. Pro tip: Enable “Lock ’n’ Go” for family members so a single button press locks the door and arms the auto-lock timer during exits.
Run Nuki Smart Lock Test Sequence for Reliability
The app executes an automated test cycle verifying four critical functions:
– Mechanical operation: Lock/unlock cycles at varying speeds
– Auto-lock timer: Tests 5-second to 10-minute settings
– Manual override: Confirms physical key still operates smoothly
– Bluetooth range: Checks detection within 3-10 meters
Configuring Foolproof Auto-Unlock
Set geofencing radius between 50-200 meters in the app. Smaller radii prevent false unlocks but require precise GPS; larger radii consume more battery. The system fuses Bluetooth signal strength with GPS to avoid triggering when passing by your house. Test by walking toward your door—the lock should unlock 3-5 steps from entry.
Monitor Battery Life and Schedule Firmware Updates
Replace batteries when the app reports “Low Battery” (typically at 20% charge). You’ll get 2-3 weeks of warning before critical depletion. Never wait for flashing red LEDs—this indicates imminent failure. Typical battery life is 6-9 months with 10 daily operations.
Maximizing Long-Term Reliability
Enable automatic firmware updates in the app settings—Nuki releases patches every 4-6 weeks. Check the changelog for security improvements before updating. Store spare alkaline batteries in a labeled container near your door; cold temperatures reduce battery life by 30%.
Enable Tamper Alerts and Activity Logging
Activate tamper detection in the app security settings. This triggers a 100dB alarm and instant push notification if someone forcibly rotates the lock body. Critical: Mount the lock so the body can’t be removed without opening the door—this prevents physical extraction.
Review the activity log showing 1,000+ local events: timestamps, user identities, and access methods (app, Auto Unlock, manual key). Enable Nuki Web for cloud backups and remote log access. Set alerts for “unusual activity” like midnight unlock attempts.
Your keyless revolution is complete. Test all features one final time, then savor the convenience of hands-free entry. Remember—the Nuki app stays your command center: install it on every family member’s phone, enable auto-updates, and check battery status monthly. Within minutes, you’ve transformed an ordinary door into a fortress that knows when you’re coming home. No wires, no drilling, no compromises.