Tired of fumbling for keys? Installing a Sifely smart lock transforms your entry experience, but proper sifely smart lock installation is critical for security and reliability. This guide walks you through every step of DIY Sifely lock installation without professional help—you’ll avoid common pitfalls and ensure your smart lock works flawlessly with fingerprints, passcodes, and your smartphone from day one. Forget confusing manuals; we focus only on what matters for your door’s specific measurements and real-world troubleshooting.
Most DIYers waste hours on misaligned deadbolts or WiFi connectivity issues that could have been prevented. By following this precise sequence, you’ll complete your Sifely smart lock installation in under 90 minutes with confidence. We cover every detail from verifying door compatibility to configuring tamper alerts—so you never wonder why the fingerprint sensor fails or why auto-lock disengages unexpectedly.
Verify Your Door Meets Sifely Installation Requirements

Don’t drill a single hole until you confirm these critical measurements—mismatched dimensions cause 70% of failed installations. Your door must have 1-3/8″ to 2-1/8″ thickness (35mm-54mm), a standard 2-1/8″ (54mm) bore hole, and either 2-3/8″ or 2-3/4″ backset. Measure from the door edge to the center of your existing hole using a tape measure; inaccurate backsets force last-minute hole patching.
Determine door handing correctly by standing outside your home: if hinges are on the left, you have a left-handed door (requiring LH-specific assembly). For new doors, use the Sifely alignment template to mark exact hole positions before drilling—this prevents costly misalignment where the deadbolt scrapes the strike plate. Skip this verification, and you’ll face frustrating returns or compromised security from improper fitment.
Gather Only Essential Tools for Sifely Lock Setup

Skip unnecessary hardware store trips with this precise toolkit list. You’ll need just a Phillips screwdriver, flathead screwdriver, and tape measure for standard replacements. New door installations require additional tools: a drill with 2-1/8″ hole saw bit, chisel, hammer, and the Sifely-provided alignment template. Never substitute cheap bits—low-quality hole saws create uneven edges that cause deadbolt binding.
Pro tip: Lay all components on a towel during installation. Small parts like strike plate screws vanish instantly on carpets, and losing the internal cable connector means disassembling your entire setup. Keep the original deadbolt nearby; if measurements prove incompatible, you’ll need it temporarily while modifying the door.
Remove Old Hardware Without Damaging Your Door
Start by unscrewing interior and exterior assemblies of your existing deadbolt—don’t force stuck screws with pliers (you’ll strip heads). Clean debris thoroughly from the edge bore hole using a vacuum; sawdust or old paint chips prevent the new latch from seating flush. Test door alignment by closing it gently; if it sticks or requires pressure, adjust hinges before installing the Sifely lock—otherwise, the deadbolt won’t retract smoothly.
Critical warning: Never discard your old deadbolt until Sifely installation is complete. If your door thickness exceeds 1-3/4″, you’ll need its faceplate to measure for the included extension kit. Rushing this step risks being locked out during troubleshooting.
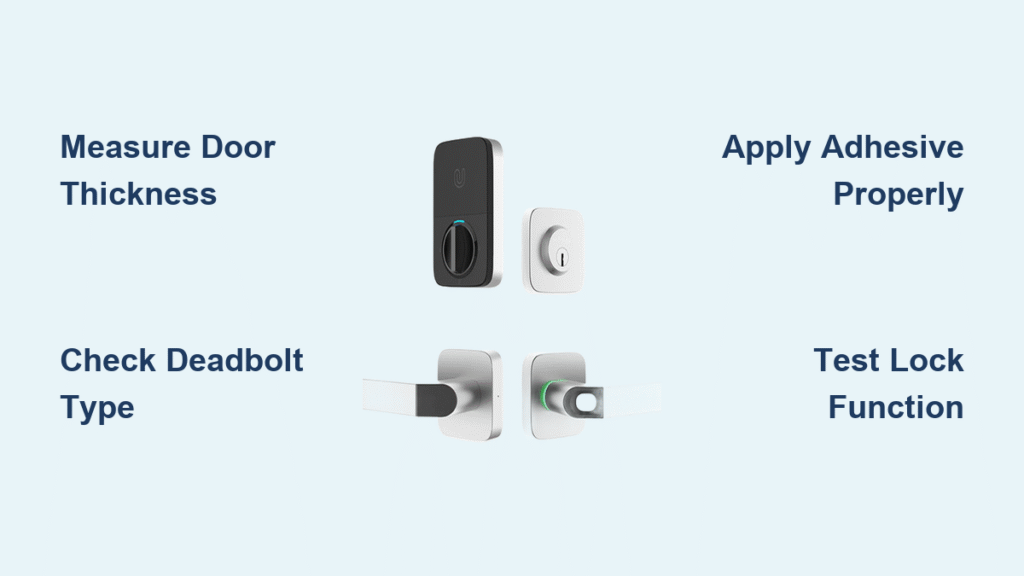
Install Deadbolt Assembly for Smooth Operation
For existing compatible holes, insert the Sifely deadbolt with the latch facing the door edge and “UP” marking visible. Test latch movement by manually turning the assembly—grinding indicates misalignment. New installations require precision: measure 2-3/8″ or 2-3/4″ from the door edge, drill a perpendicular 2-1/8″ hole, then create a 1″ edge bore for the latch. Chisel the strike plate mortise until it sits flush; protruding plates cause door warping over time.
Key mistake to avoid: Forcing the deadbolt into place. If resistance occurs, recheck your measurements—forcing cracks door edges. Use the alignment template to verify hole centers match before securing with screws.
Mount Keypad and Interior Assembly in 5 Critical Steps

Route the internal cable through the bottom of the deadbolt hole—top routing kinks wires and causes keypad failure. Align exterior components so buttons face upward and the assembly holes match the deadbolt mechanism. Hand-tighten long screws through the door first; overtightening strips threads in hollow-core doors. Connect interior components last: plug the cable firmly into the interior assembly until you hear a click, then secure with short screws.
Test immediately by rotating the turn piece both directions—it must move silently. If stiff, disconnect and check for pinched cables. Install only alkaline AA batteries (included); rechargeables cause voltage fluctuations that reset settings.
Position Strike Plate for Silent Deadbolt Action
Close the door gently and mark where the deadbolt contacts the frame—this reveals alignment issues invisible when open. Mortise the strike plate area using light chisel taps; hammering cracks door frames. Install with 2″ security screws (not standard 1″ screws) to prevent forced entry. Test by extending/retracting the deadbolt 10 times; any grinding means the strike plate is 1/16″ too high/low.
Pro tip: Apply graphite powder (never oil-based lubricant) to the deadbolt cylinder during testing. This prevents future sticking from humidity changes and ensures silent operation.
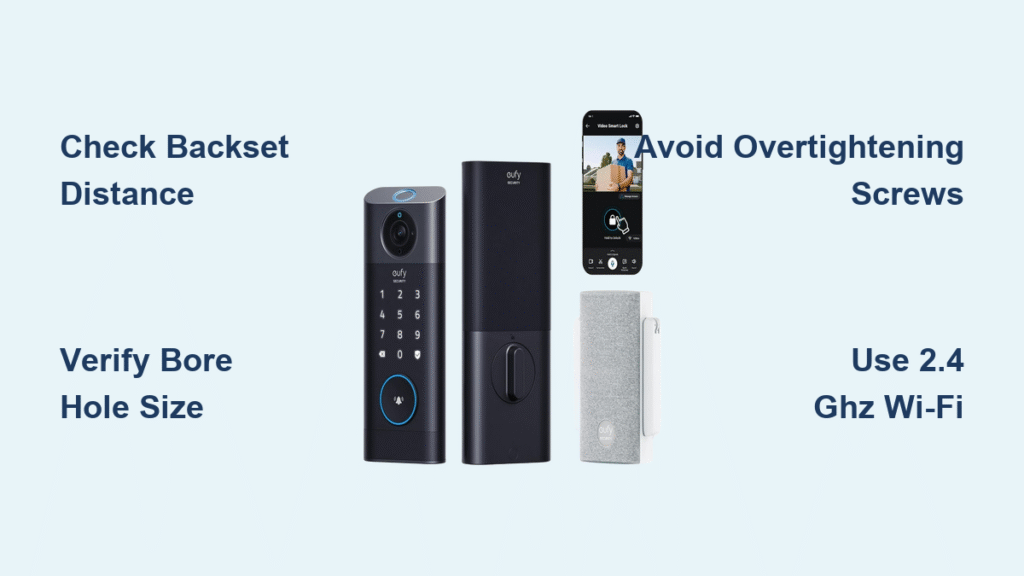
Complete App Setup Without WiFi Failures
Download the “Sifely” app before installation starts—iOS 8.0+ or Android 4.4+ required. Connect only to 2.4GHz WiFi (5GHz fails silently); rename your network if it contains special characters. Press the interior “Program” button for 3 seconds until beeping, then follow in-app prompts. Set auto-lock timing between 30-90 seconds for homes with pets/kids—longer settings risk security gaps.
Critical step: Test all access methods before finalizing setup. Verify your master passcode works, fingerprint registers cleanly, and the physical key turns smoothly. Skipping this means troubleshooting blindfolded later.
Register Fingerprints and Manage User Access Correctly
Store up to 200 fingerprints by rotating your finger slightly during each of the 6-8 required scans—this captures edge details for rainy-day accuracy. Clean the sensor with a microfiber cloth before registration; oils from hands cause 90% of recognition failures. For user management, create temporary eKeys with expiration dates for cleaners, not permanent passcodes.
Security must: Enable passcode masking in settings so shoulder surfers can’t see digits. Delete old user codes immediately after guests leave—unused codes are the #1 security vulnerability in smart locks.
Fix 3 Common Installation Emergencies
Sticking deadbolt? Don’t lubricate first—check door alignment with a level. A 1/8″ sag requires hinge adjustment, not strike plate tweaks. WiFi disconnects? Move your router within 15 feet during setup; weak signals cause pairing failures. Fingerprint errors? Re-register fingers with dry (not wet) hands and ensure full sensor contact.
Emergency power hack: When batteries die (red LED flashes), hold a 9V battery against the exterior terminals for instant power—no disassembly needed. Always keep alkaline batteries; rechargeables drain rapidly in cold weather.
Maximize Security and Maintenance for Longevity
Monthly: Test all access methods and check battery levels in the app. Quarterly: Tighten strike plate screws (vibration loosens them) and clean the fingerprint sensor. Annually: Lubricate the deadbolt with graphite powder and review access logs for anomalies.
Critical security settings: Enable the intrusion alarm (triggers after 5 failed attempts) and tamper alerts. Set auto-lock to 5-30 seconds—longer intervals invite tailgating. Export logs monthly via CSV to monitor access patterns.
Final verification: Test every access method—keypad, app, fingerprint, and physical key—before considering your sifely smart lock installation complete. Contact Sifely support at 1-855-SIFELY-1 if issues persist; their 1-year warranty covers defects but not installation errors. With proper setup, your Sifely lock delivers years of key-free convenience without compromising security.