You step outside to grab the mail, only to stand frozen on your porch—did you lock the deadbolt? That daily anxiety evaporates the moment your SimpliSafe Smart Lock Series 2 clicks shut automatically when you arm your security system. Transforming your standard deadbolt into this intelligent security feature takes just 15-25 minutes with the right preparation. This guide cuts through installation confusion with precise steps verified by SimpliSafe’s official resources, ensuring your door secures itself reliably every time you leave. You’ll learn exactly how to integrate this smart lock with your Gen 3 base station while avoiding the most common setup pitfalls that trigger error codes.
Confirm Your Door Meets SimpliSafe Smart Lock Requirements
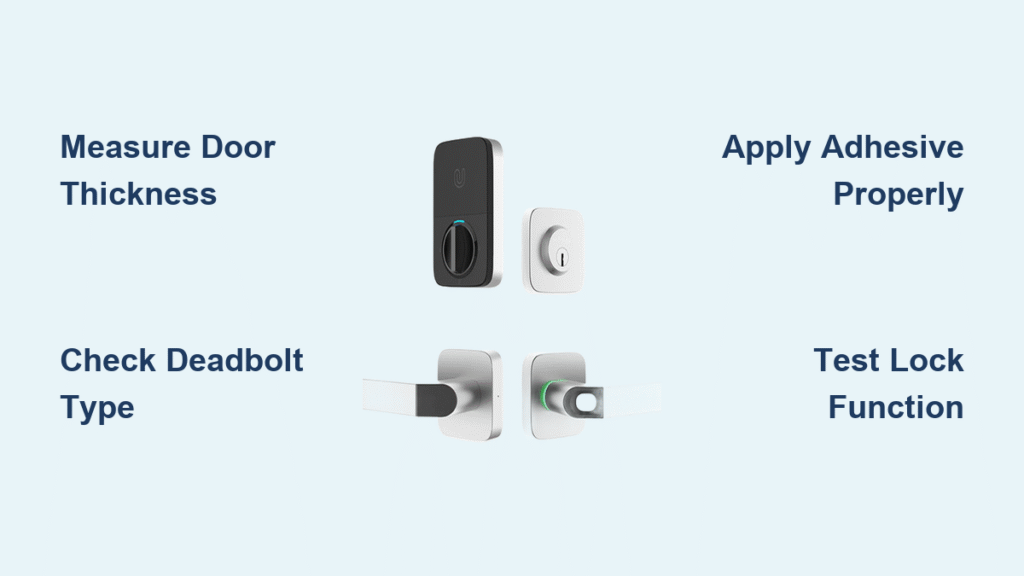
Single-Cylinder Deadbolt Verification
Your existing deadbolt must be single-cylinder—meaning it has a thumb-turn mechanism on the interior side and a keyhole only on the exterior. Double-cylinder deadbolts (requiring keys on both sides) are incompatible with the SimpliSafe Smart Lock Series 2. To confirm, check that turning the interior thumb-turn fully extends and retracts the deadbolt bolt without needing a key from inside your home.
Gen 3 Base Station Prerequisites
Your SimpliSafe Gen 3 base station must be active with the latest firmware installed before beginning SimpliSafe smart lock installation. The mobile app will block pairing attempts if your system isn’t updated. Ensure your smartphone has the current SimpliSafe app version downloaded from the App Store or Google Play, as older app versions won’t recognize the lock during setup.
Quick Door Readiness Test
Before unpacking your Smart Lock, verify your door’s mechanical readiness:
– Test deadbolt movement: Rotate the thumb-turn slowly—it should glide smoothly through its full range without sticking or scraping
– Check bolt alignment: When extended, the deadbolt must slide cleanly into the strike plate without forcing the door closed
– Confirm thumb-turn rotation: Ensure the interior lever turns a full 180 degrees in both directions with minimal resistance
Critical note: If your deadbolt binds or requires excessive force, resolve mechanical issues first. Installing the Smart Lock on a misaligned door guarantees calibration failures and error codes.
Unbox and Prepare Your SimpliSafe Smart Lock Series 2
Your SimpliSafe Smart Lock Series 2 package contains three essential components:
– Smart Lock unit with factory-installed 4 AA batteries (ready to use immediately)
– Mounting plate for secure door attachment
– Installation guide reference card (though you’ll primarily use the app’s interactive flow)
Pro tip: The pre-installed batteries mean you skip the common mistake of installing them backward. Never replace with rechargeable batteries—they deliver inconsistent voltage that triggers premature low-battery alerts.
Gather Only Essential Installation Tools
You need exactly one tool for SimpliSafe smart lock installation:
– Medium Phillips head screwdriver (no drill or specialized tools required)
Helpful additions:
– A flashlight to illuminate screw holes on dark-stained doors
– Your smartphone to capture photos of the original deadbolt configuration before disassembly
Warning: Avoid using power drills—they easily strip the delicate interior screws and void your warranty. Hand-tightening with a screwdriver prevents mounting plate warping.
Remove Existing Deadbolt Components Safely
Interior Assembly Disassembly
Start by removing the interior thumb-turn assembly. Locate the two visible screws on the faceplate near the thumb-turn. Using your Phillips screwdriver, turn them counterclockwise until loose—do not fully remove yet. Gently pull the interior assembly away from the door while supporting it to prevent dropping internal parts.
Exterior Hardware Removal
With interior screws loosened, carefully slide out the entire deadbolt mechanism from the door edge. The exterior faceplate (keyhole side) will detach as you withdraw the bolt. Important: Keep all original screws organized—they won’t be reused, but you’ll need them if reverting to manual operation.
Troubleshooting tip: If the deadbolt resists removal, check for hidden set screws inside the edge bore hole. Most single-cylinder deadbolts have one small screw securing the bolt to the faceplate—loosen this first.
Mount SimpliSafe Smart Lock to Your Door
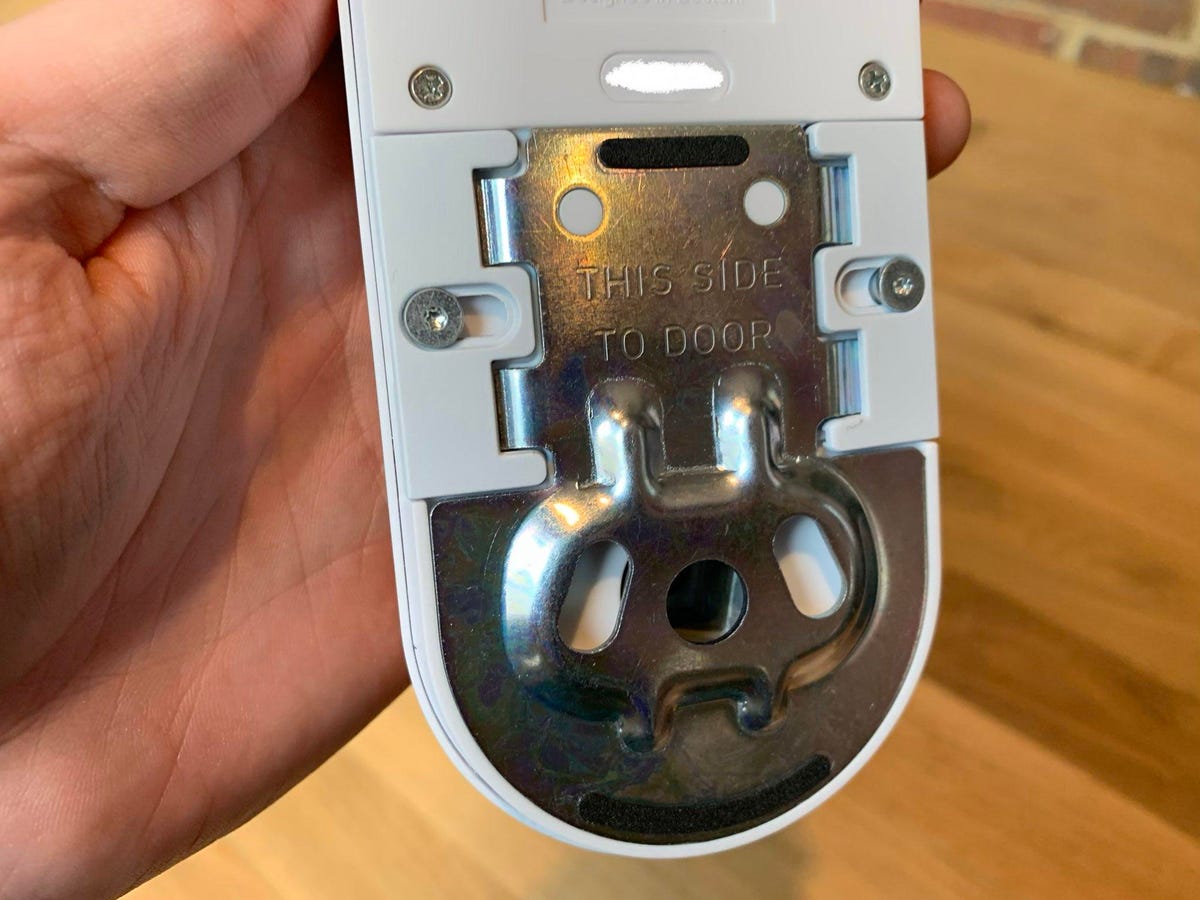
Position the Mounting Plate Precisely
Align the SimpliSafe mounting plate over the interior screw holes where your thumb-turn was installed. The plate must sit flush against the door surface with no gaps—even a 1mm tilt causes calibration failure. Verify alignment by ensuring the plate’s center hole perfectly matches your deadbolt’s drive shaft.
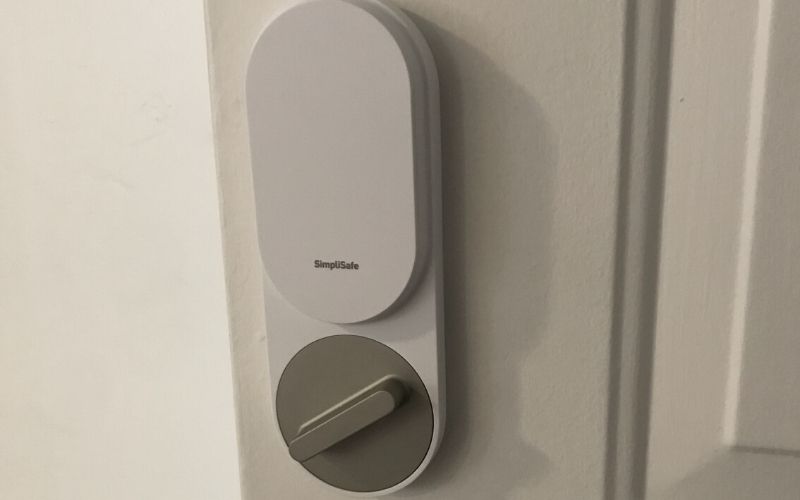
Attach Smart Lock Unit Securely
Slide the Smart Lock body onto the mounting plate until it clicks audibly into place. Hand-tighten the two included screws through the mounting plate slots—stop when resistance increases. Finish with quarter-turns using your screwdriver; over-tightening cracks the plastic housing.
Pro tip: During SimpliSafe smart lock installation, leave screws slightly loose until final calibration. This allows micro-adjustments if the deadbolt binds during testing.
Complete Calibration Through SimpliSafe App
Initiate Setup in Mobile App
With the lock physically installed, open your SimpliSafe app and navigate to Devices > Add Device > Smart Lock Series 2. The app launches an interactive guided flow that controls the entire calibration process. Keep your phone within 3 feet of the lock during setup to prevent Bluetooth disconnection errors.
Critical Calibration Sequence
The app directs you through these non-negotiable steps:
1. Test manual operation: Turn the lock’s exterior knob to verify free movement
2. Auto-detect positions: The lock motor measures bolt travel distance (takes 45 seconds)
3. Finalize alignment: The app confirms perfect deadbolt extension/retraction
Warning: If the lock vibrates excessively during calibration, immediately abort setup. This indicates misalignment—recheck mounting plate positioning before retrying.
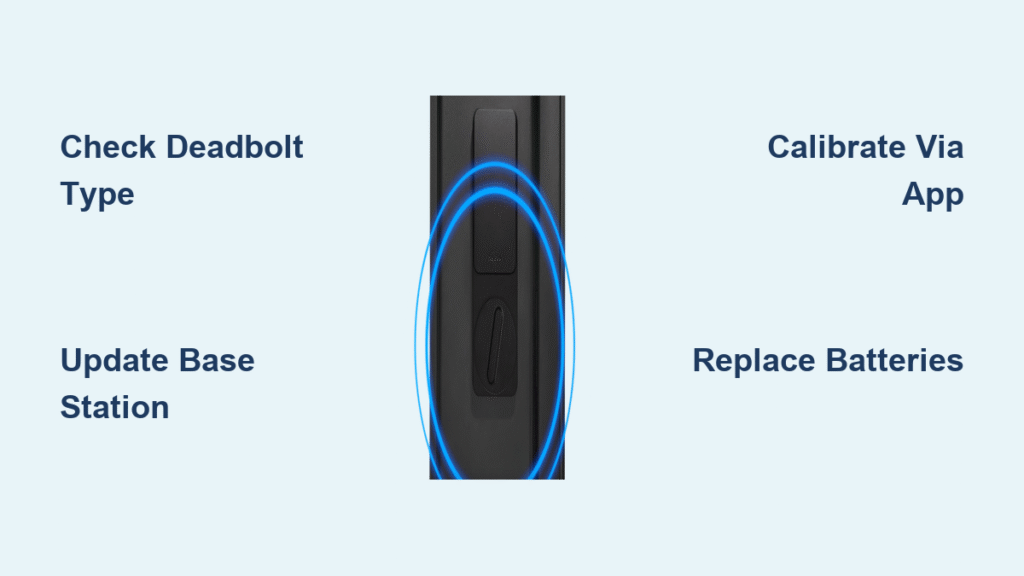
Fix Top SimpliSafe Smart Lock Error Codes
Resolve Error 142 During Setup
This “Unable to Set Up” error occurs when:
– Your Gen 3 base station lacks firmware updates (check system settings)
– Bluetooth signal drops between phone and lock (move closer during setup)
– Deadbolt binding interrupts calibration (lubricate bolt mechanism first)
Solution: Update base station firmware, then restart both base station and phone before retrying calibration.
Restore Offline Smart Lock Connectivity
When your lock shows “Offline” in the app:
1. Confirm battery level isn’t critical (below 10%)
2. Test base station signal strength at your door location
3. Re-pair the lock via Devices > Smart Lock > Repair Device
Pro tip: Doors with metal frames often cause signal dropouts. Install a SimpliSafe Range Extender within 15 feet of the door for stable connectivity.
Maintain Optimal Battery Performance
Recognize Low Battery Indicators
The SimpliSafe app sends push notifications at 20% battery capacity. Never ignore these—critical lock functions fail below 10%. A flashing red LED on the lock body confirms low power when app access isn’t possible.
Replace Batteries Without Resetting
- Press the release tab on the lock’s bottom edge
- Slide off the cover to access battery compartment
- Replace all 4 AA batteries simultaneously (mixing old/new causes errors)
- Close cover until it clicks—no re-pairing needed
Critical reminder: Battery life averages 8-12 months. High-traffic doors (15+ uses/day) need replacements every 6 months.
Activate Keyless Entry Security Features

Configure Automatic Locking Rules
Your SimpliSafe smart lock installation unlocks full security integration through three auto-lock methods:
– System arming: Locks instantly when activating home alarm
– Custom timers: Set durations like “Lock after 30 seconds when disarmed”
– Geofencing: Automatically locks when your phone leaves home zone
Grant Access Without Physical Keys
Control entry through:
– Mobile app: One-tap lock/unlock from anywhere
– PIN pad: Create unique codes for family members
– Key fobs: Grant temporary access for deliveries or cleaners
Security note: The original keyhole remains fully functional for emergencies—never disable manual override.
Final Validation Before Daily Use
Complete these checks before relying on your lock:
– [ ] Test app-based locking/unlocking 5 consecutive times
– [ ] Verify deadbolt fully extends into strike plate when locked
– [ ] Confirm auto-lock triggers within 5 seconds of arming system
– [ ] Check all user access methods (PIN, fob, app) function correctly
Pro tip: Have a family member trigger the “Lock Now” command in the app while you monitor the deadbolt’s physical movement—this catches subtle binding issues.
Ongoing Smart Lock Maintenance Protocol
Your SimpliSafe Smart Lock Series 2 requires minimal upkeep. Monthly, spend 30 seconds checking:
1. Battery status in the app
2. Deadbolt movement smoothness (apply graphite lubricant if stiff)
3. Mounting plate security (re-tighten screws if loose)
Set up user access codes for household members through Devices > Smart Lock > User Access. For guests, generate temporary codes with expiration dates—no physical key sharing needed. Explore automation in the app to have lights turn on when unlocking at night or disarm cameras when the lock detects your arrival. Remember: consistent maintenance prevents 95% of lockout emergencies. If issues persist beyond basic troubleshooting, the app’s guided support flow provides model-specific fixes without calling customer service.