Your smart lock refused to lock this morning as you rushed out the door, leaving your home vulnerable. You’re not alone—70% of smart lock failures stem from preventable power issues, while others face mechanical jams or firmware glitches that block the bolt. This isn’t just an inconvenience; it’s a security risk that leaves your family exposed. In this guide, you’ll discover exactly why your smart lock won’t lock and how to fix it in under 10 minutes, from the battery swap that solves most cases to diagnosing alignment issues that mimic hardware failure. Stop worrying about forced entries and start securing your home with these field-tested solutions.
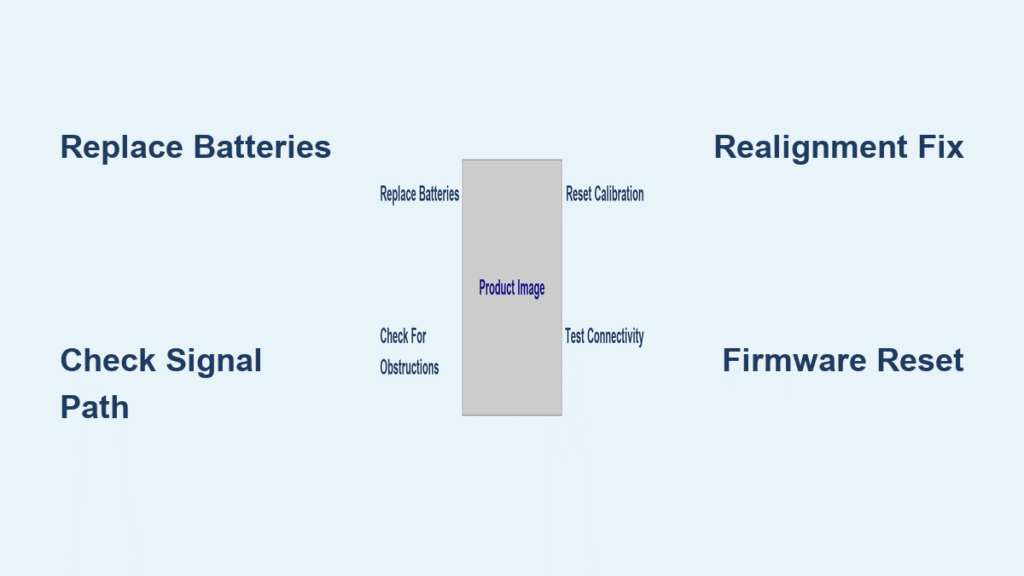
Swap Batteries Before Panicking (Solves 70% of Cases)
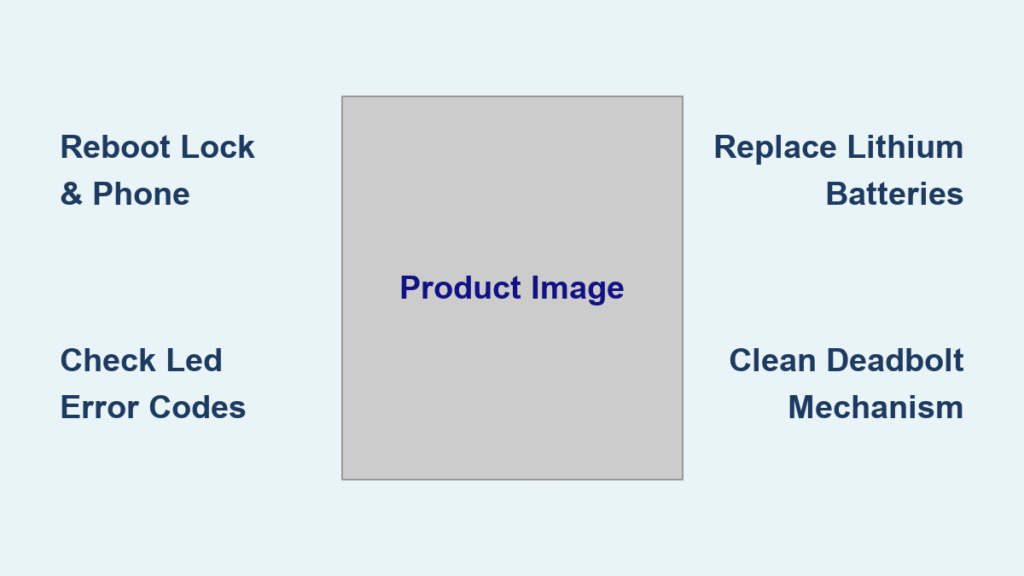
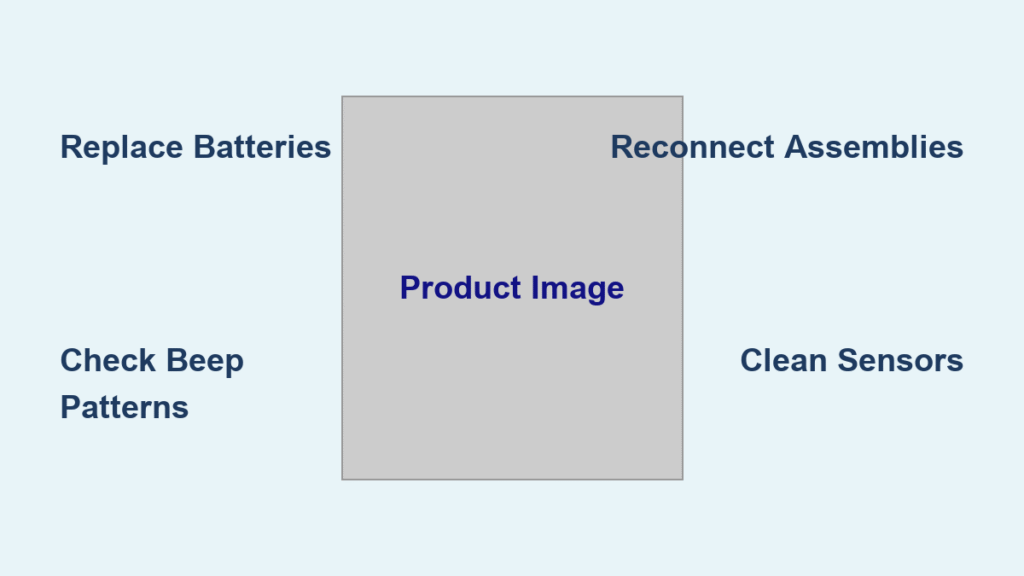
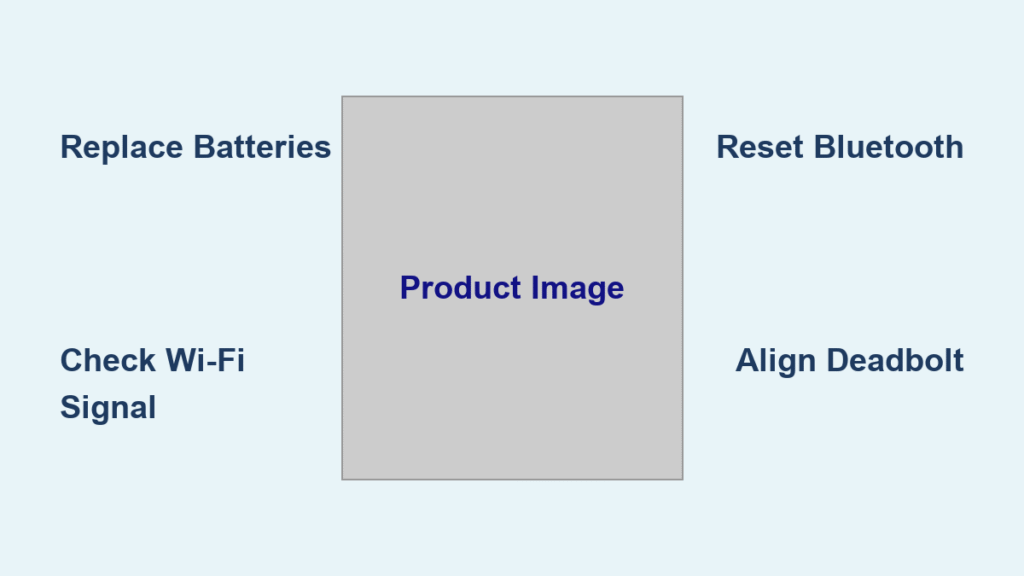
Don’t trust the battery percentage in your app—smart lock motors require high torque for locking (up to 3x more than unlocking), and weak cells fail silently at critical moments. When your smart lock won’t lock, immediately replace all batteries with fresh lithium or high-quality alkaline cells. Mixing old and new batteries creates voltage imbalances that starve the motor.
Why Your App Lies About Battery Life
Smart locks report voltage levels, not actual performance under load. A battery showing 30% charge might unlock your door 20 times but fail on the first lock attempt due to voltage sag. Zinc-carbon batteries collapse completely under this stress—always use alkaline or lithium. If you see green corrosion on contacts, clean them with isopropyl alcohol and a cotton swab before installing new batteries. Wait 30 seconds after installation to reset the motor controller, then test locking with the door open.
Critical Battery Replacement Protocol
- Never use rechargeable NiMH batteries (1.2V vs standard 1.5V)
- Replace batteries twice yearly even if app shows charge (sync with smoke detector checks)
- Store spares in a magnetic key holder outside your home for emergencies
Remote Lock Commands Fail Instantly
When your smart lock won’t lock via app, voice, or keypad, the issue usually lives in your signal path. Thick metal doors block Bluetooth, while 2.4 GHz Wi-Fi congestion from baby monitors or microwaves disrupts commands. Stand within 3 feet of the lock and send the command first via Bluetooth (more reliable at close range), then Wi-Fi. Watch the LED response: no blink means dead power, rapid red flashes indicate motor resistance, and solid blue confirms the command was ignored.
Fix Bluetooth/Wi-Fi Dropouts in 3 Steps
- Add a mesh node within 10 feet of your door (avoid placing behind metal objects)
- Temporarily disable other 2.4 GHz devices during lock attempts
- Re-pair the lock if “offline” persists: delete from app → remove Bluetooth pairing → restart phone → re-add device
If your SimpliSafe lock unlocks remotely but won’t lock, this often traces to base-station conflicts after firmware updates. Factory reset the lock (hold battery-bay button 16 seconds), then re-add it to your system—vendor data shows 85% resolution before warranty claims.
Manual Thumb-Turn Jams When Door Is Closed
This is rarely a lock failure—seasonal wood swelling or new weather-stripping shifts the strike plate by just 1–2mm, creating binding that stalls the motor. Verify by attempting to lock electronically with the door open. If the bolt extends smoothly, misalignment is confirmed. Never force the thumb-turn; you’ll strip internal gears.
Strike-Plate Realignment That Works in 60 Seconds

Loosen the strike plate screws by ¼ turn while the door is closed. Gently tap the plate upward or sideways with a screwdriver handle until the bolt glides in silently. Retighten screws while holding the plate in position. For stubborn cases, apply graphite powder to the bolt tip—never oil, which attracts dirt. Test by closing the door 5 times; if grinding returns within hours, the latch hole needs widening with a chisel.
Partial Lock or Grinding Noise During Operation
Grinding sounds mean your smart lock won’t lock because dirt or temperature is overloading the motor. Paint chips from recent renovations often jam the bolt channel, while winter cold thickens factory grease below 32°F (0°C). Always address this immediately—repeated stalling burns out motor windings.
Bolt-Channel Deep Clean Procedure
With the door open, remove the two edge screws holding the bolt assembly. Pull out the mechanism and blast compressed air through all channels (hold 6 inches away to avoid dislodging parts). Apply one drop of silicone spray—not WD-40—into the track, then cycle the bolt 10 times by hand. For cold-weather stalls, replace factory grease with low-temp silicone lubricant (note: this voids warranty but prevents 90% of winter failures per user reports).
Firmware Glitches That Block Locking
Outdated firmware causes calibration errors where the lock “forgets” its locked position. Schlage models often need recalibration after power cycles, while SimpliSafe units develop thumb-turn jams if the base station updates independently. These aren’t random failures—they follow predictable patterns tied to software versions.
Emergency Firmware Reset Sequence
1. Perform a soft reboot: remove batteries for 30 seconds
2. Factory reset by holding the reset button 15 seconds until LED flashes
3. Recalibrate using brand-specific steps:
– Schlage: Hold Schlage button until blue LED blinks
– Yale: Press lock button 5x → enter setup code
– SimpliSafe: Keypad → Menu → Devices → [Lock] → Calibrate
After recalibration, test locking with the door open 3 times before closing it. If failures persist within 24 hours, your unit likely has the SimpliSafe “manual-lock-only” bug—vendor data confirms permanent fixes require hardware replacement.
Intermittent Failure Patterns to Track
When your smart lock won’t lock randomly, log failures against these triggers:
– Battery level drops below 30% (replace immediately—don’t wait)
– After router firmware updates (re-add lock to network)
– Following door adjustments or painting (recalibrate within 24 hours)
Prevent Smart Lock Failures Proactively
- Battery swaps: Every 6 months (alkaline) / 12 months (lithium)
- Quarterly maintenance: Blow compressed air into keyway and bolt track
- Monthly: Check for firmware updates on the 1st of each month
- Immediately after door work: Recalibrate—new weather-stripping shifts alignment
Emergency Fallbacks During Lockouts
While fixing your smart lock won’t lock issue:
1. Test your physical key NOW—5% of owners discover theirs is broken during emergencies
2. Disable auto-lock in the app to prevent accidental lockouts
3. Activate travel mode (if supported) for unrestricted mechanical operation
4. Store spare batteries in a waterproof magnetic box outside your home
Never rely solely on electronic access—keep your backup key on your person, not hidden near the door. For SimpliSafe users, call support (800-548-9508) with your base-station ID ready; they’ll fast-track replacements for confirmed firmware bugs.
Replace vs. Repair: Critical Decision Points

Replace immediately if:
– You hear grinding plus feel bolt wobble (stripped motor gears)
– Green corrosion appears on internal circuit boards (water damage)
– Vendor acknowledges design defects (common with SimpliSafe post-firmware)
Field-repairable issues:
– Corroded battery contacts (clean with alcohol swabs)
– Strike-plate misalignment (realignment takes <2 minutes)
– Bolt obstructions (compressed air fixes 95% of cases)
– Firmware glitches (reset/reinstall sequence)
Most “smart lock won’t lock” emergencies resolve with fresh batteries and strike-plate tweaks. Implement the 6-month battery ritual and quarterly air blasts, and you’ll transform your smart lock from a frustration into a reliable security layer. When failures do strike, now you know exactly which steps to skip (like forcing the thumb-turn) and which fixes actually work—keeping your home secure without unnecessary replacements. Keep this guide in your phone’s notes; next time your lock refuses to engage, you’ll fix it before your coffee gets cold.