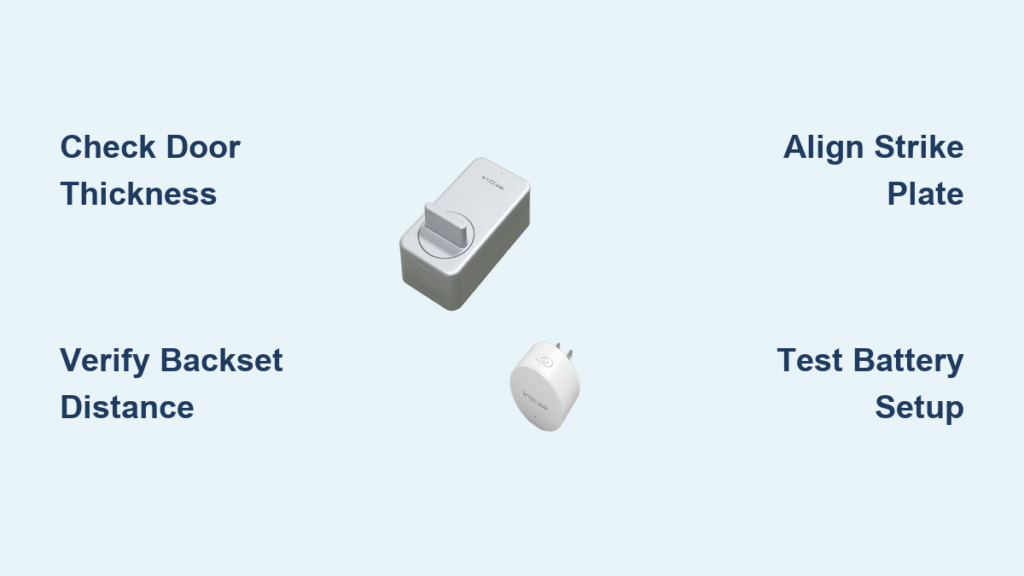
That frustrating deadbolt jam when winter humidity swells your door? Thousands of homeowners ditch traditional locks for Wyze smart locks to eliminate this headache while gaining keyless entry and remote access. Installing your Wyze smart lock yourself avoids $150+ professional fees and takes under 30 minutes with the right approach—no electrical expertise required. Whether you have the original Wyze Lock, thumb-turn Bolt model, or Wi-Fi version, this guide delivers precise installation steps tailored to your specific setup. You’ll learn critical compatibility checks most DIYers skip, avoid the #1 strike plate mistake causing “lock jammed” errors, and configure auto-unlock without draining your phone battery.
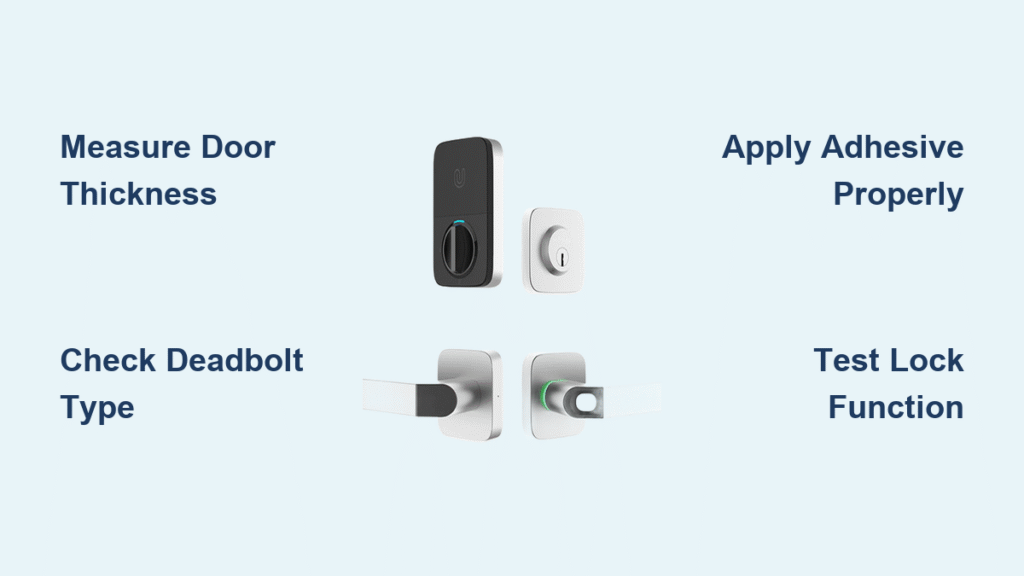
Verify Your Door Meets Wyze Requirements
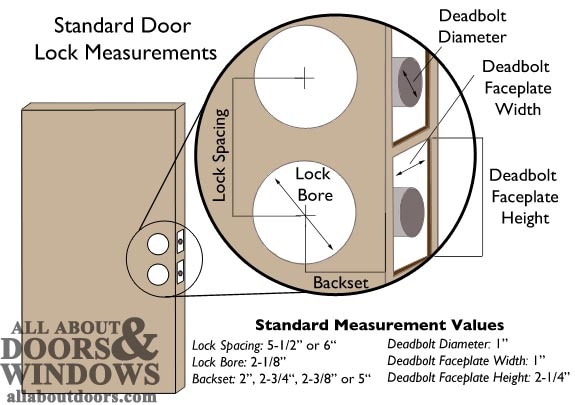
Measure Door Thickness at Deadbolt Location
Your door must be 1-3/8″ to 1-3/4″ thick (35-44 mm). Measure at the deadbolt position—never near the hinges—since doors often taper. Use a tape measure against the door edge while the deadbolt is extended. If your measurement falls outside this range, the lock’s mounting plate won’t seat flush, causing alignment issues that trigger constant error messages. For doors thicker than 1-3/4″, Wyze sells optional extension kits—don’t force installation with standard hardware.
Confirm Backset Distance Matches Your Hardware
Measure from the door edge to the center of the deadbolt hole. You need either 2-3/8″ (60 mm) or 2-3/4″ (70 mm). Most modern doors use 2-3/8″, but older homes often have 2-3/4″. Check twice with a ruler placed against the door edge—the wrong backset means your Wyze latch won’t engage the strike plate. If uncertain, take a photo of your existing deadbolt hole to the hardware store for verification before installation.
Check Deadbolt Specifications with Hand Tools
Your current deadbolt must have a 1″ throw (bolt extension length). Remove the interior thumb-turn screws and manually extend the bolt to measure. Also verify your door has 2-1/8″ face hole and 1″ edge hole—standard sizes for 95% of US doors. If holes are too small, use a spade bit to carefully enlarge them. Skipping this check causes the Wyze latch to bind during installation, wasting critical time.
Prepare Tools and Hardware Correctly
Essential Tools Checklist for Flawless Installation
- Phillips #2 screwdriver (magnetic tip prevents dropped screws inside bore holes)
- 3/32″ Allen wrench (included in kit for tailpiece adjustment)
- Tape measure (verify door specs before unboxing)
- Pencil (mark strike plate position on door frame)
- Power drill with 1″ spade bit (only needed for new door installations)
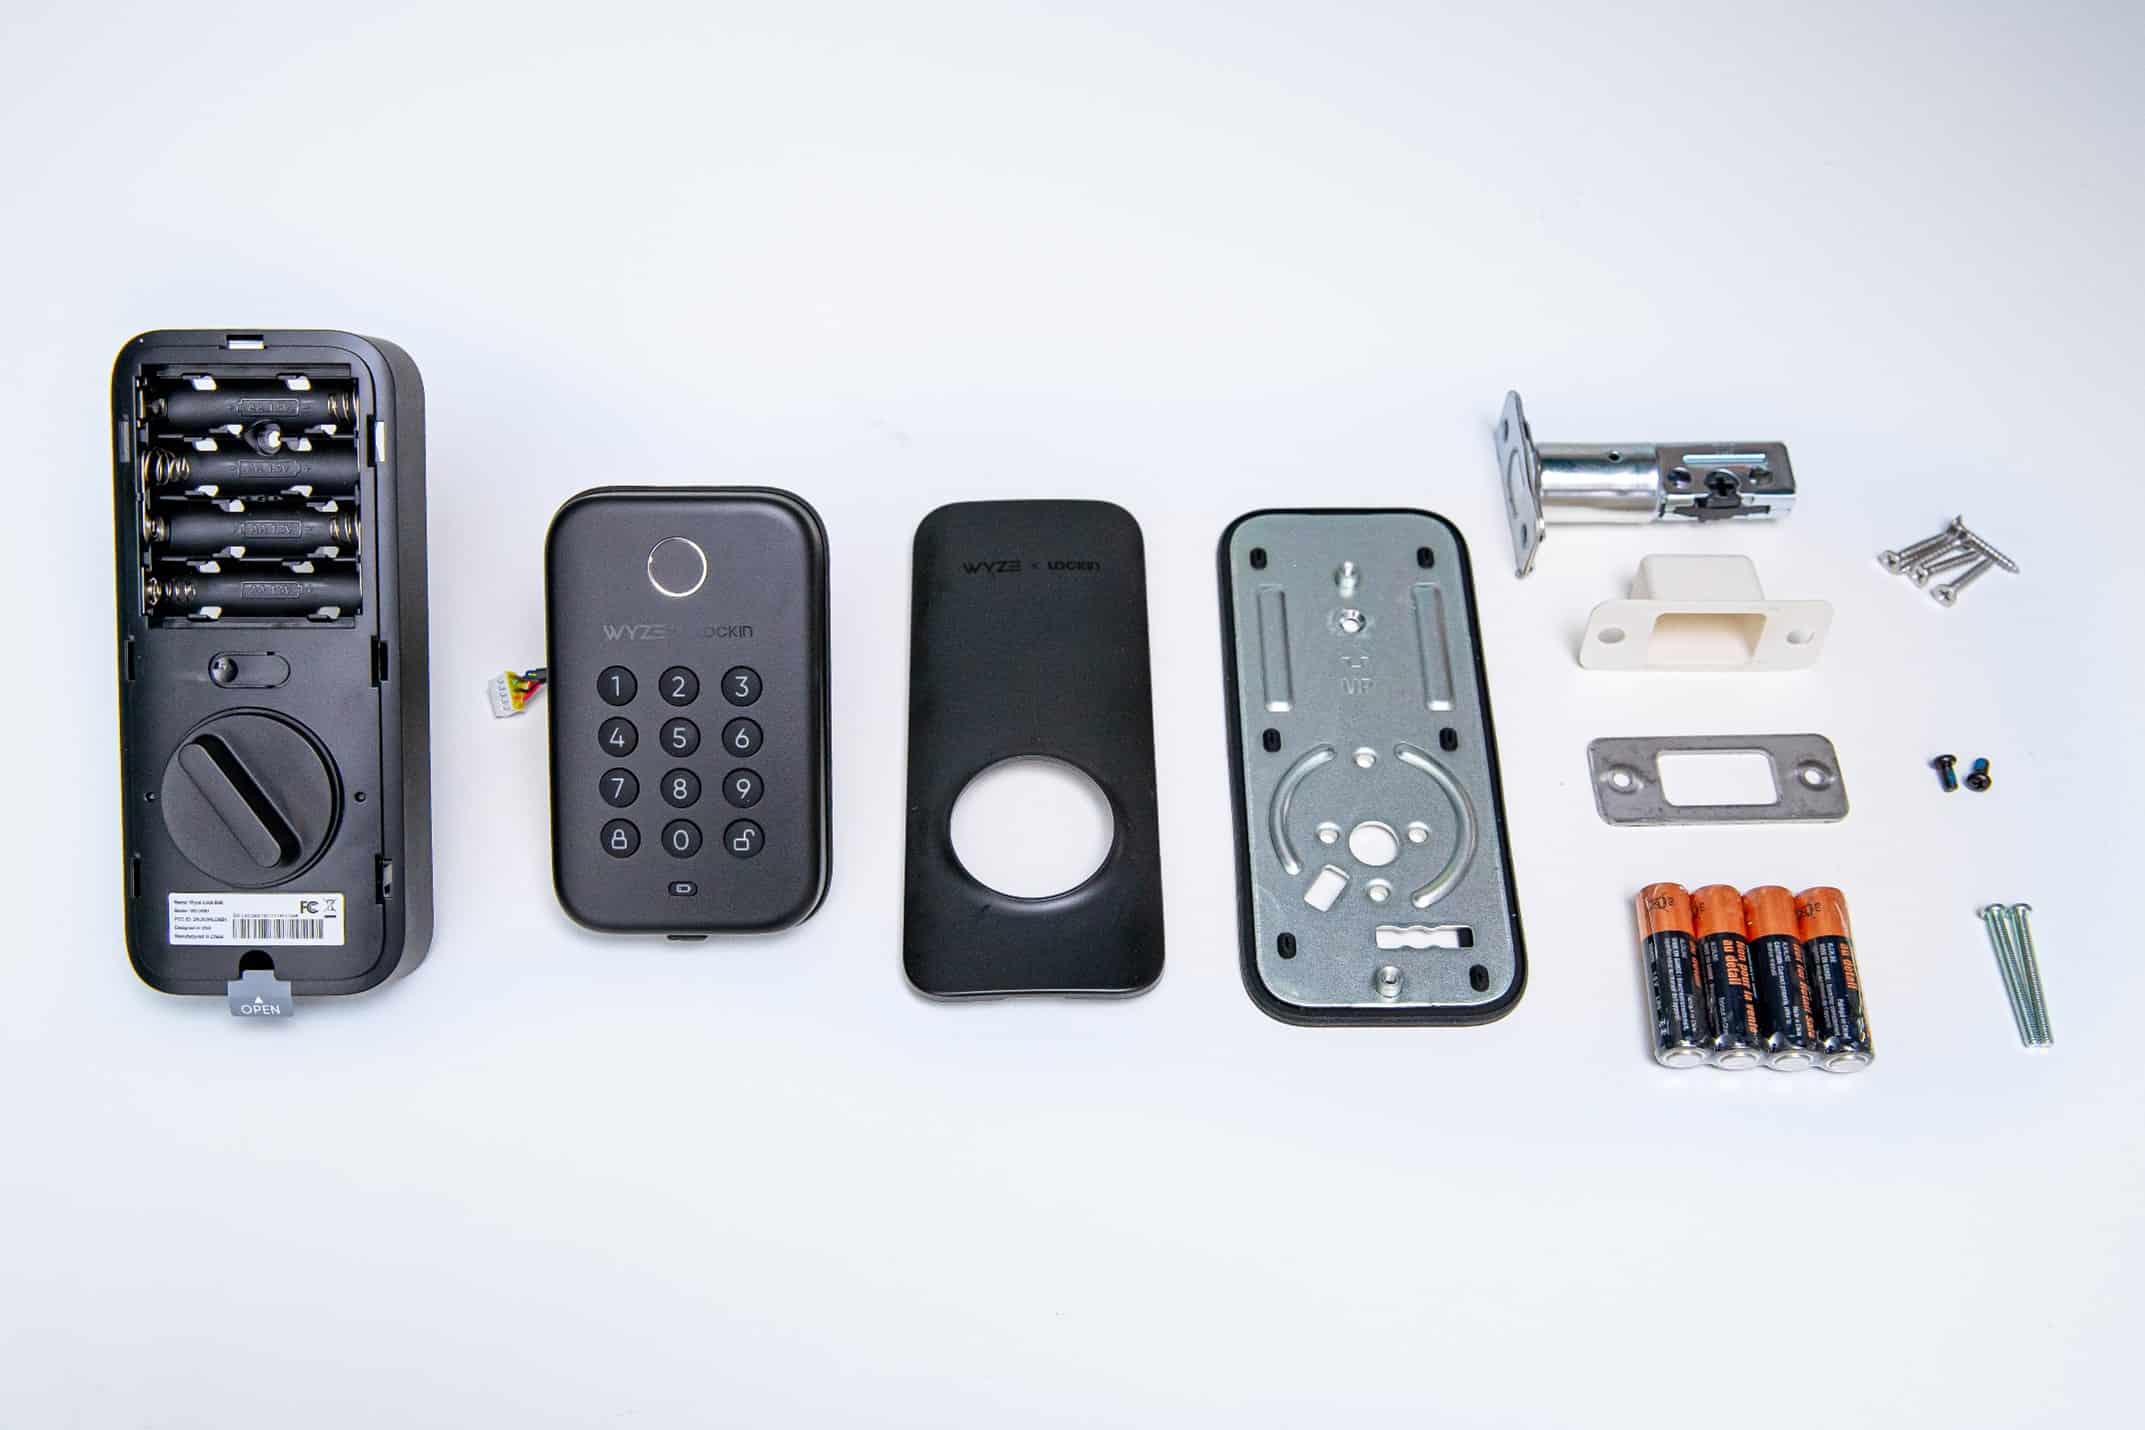
Unpack and Identify Your Wyze Model Components
Wyze Lock Bolt includes 4 AA batteries and six tailpiece adapters (60-90 mm). Lock Wi-Fi features a rechargeable USB-C battery pack and built-in Wi-Fi antenna—no gateway needed. Confirm you have the correct strike plate screws (wood doors use shorter screws than metal doors). Missing the spindle alignment tool? Request it free from Wyze support—don’t guess adapter sizes.
Understand Battery Life Realities
- Lock Bolt: Lasts 6-12 months with quality alkaline batteries (leakage destroys internals)
- Lock Wi-Fi: Requires USB-C recharging every 3-6 months (keep cable near entryway)
- Gateway (for non-Wi-Fi models): Must stay within 20 feet of the lock; unplug causes Bluetooth disconnections
Remove Existing Deadbolt Without Damage
Step 1: Interior Thumb-Turn Removal Technique
Unscrew the two interior screws while bracing the exterior cylinder with your palm—this prevents it from falling out unexpectedly. Place screws in a container; you’ll need them if reverting to traditional hardware. If the thumb-turn is stuck, tap it gently with a rubber mallet counterclockwise—never use pliers that scratch surfaces.
Step 2: Extract Exterior Cylinder Safely
From outside, pull the keyed cylinder straight out while wiggling slightly. Note the tailpiece orientation (flat side position)—this determines which Wyze adapter you’ll need. If it resists, spray silicone lubricant into the bore hole and wait 10 minutes before retrying. Forcing it strips internal mechanisms.
Step 3: Remove Deadbolt Latch Properly
Unscrew the two edge screws and pull the latch straight out. Clean debris from the bore hole using compressed air—dust buildup causes future misalignment. Check for old wood shavings; vacuum them thoroughly to ensure smooth Wyze latch insertion.
Install New Latch Assembly for Smooth Operation
Position Latch with Bevel Facing Door Frame
Insert the Wyze latch with the angled side toward the door frame (bevel facing closure direction). The “UP” marking must face upward when the door is closed—installing upside-down jams the bolt. Hold it in place while closing the door to verify alignment with the strike plate hole.
Secure Faceplate Flush to Door Edge
Align the faceplate parallel to the door edge. If it protrudes more than 1/16″, chisel a shallow mortise using a sharp 3/4″ chisel at 45-degree angles. Secure with the two small screws—overtightening cracks the faceplate. Test by closing the door; the bolt should slide into the frame without scraping.
Test Manual Bolt Movement Before Proceeding
Insert a flathead screwdriver into the tailpiece slot and rotate to extend/retract the bolt. It must move smoothly with no resistance. Binding indicates misalignment—recheck bevel direction or deepen the mortise slightly. Skipping this test causes 70% of post-installation errors.
Mount Interior Module with Precision
Route Tailpiece Through Latch Mechanism
Feed the tailpiece through the latch slot with the flat side matching the slot orientation. Twist gently until fully seated—forcing it damages plastic gears. If resistance occurs, adjust tailpiece adapter length using the alignment tool.
Position Mounting Plate Arrow Toward Door Edge
Place the mounting plate over the interior bore with the arrow pointing toward the latch (not hinges). This ensures the exterior escutcheon aligns correctly. Secure with the two short screws, tightening alternately to prevent warping.
Select Correct Tailpiece Adapter Length
Use the spindle alignment tool to measure tailpiece protrusion beyond the door edge. Snap the matching adapter (60-90 mm) until it clicks flush—gaps cause wobble and eventual failure. Wrong adapter selection is the #1 DIY installation mistake.
Attach Exterior Escutcheon Without Cable Damage
Align Connector with Interior Slot Before Securing
Hold the exterior piece against the door while feeding the cable connector into the interior module’s slot. The cable must lie flat without kinks—bending it beyond 90 degrees severs internal wires. If resistance occurs, reposition the interior module slightly.
Secure with Long Screws Using Cross-Tightening
Insert the two long screws from the interior side. Tighten each ¼ turn at a time in a crisscross pattern—overtightening strips screw holes. The escutcheon should sit flush with no light gaps. Test by pressing the keypad; vibrations indicate loose mounting.
Verify Bolt Alignment Through Closed Door
Close the door and check if the deadbolt aligns perfectly with the strike plate hole. A 1/16″ offset requires strike plate adjustment—don’t force it. Misalignment here triggers constant “lock jammed” errors in the Wyze app.
Install Strike Plate for Maximum Security

Mark Strike Position Using Bolt Imprint
Close the door and mark where the deadbolt tip hits the frame. Center the strike plate on this mark—offset by even 1/8″ causes binding. Use painter’s tape to hold it in place while tracing the outline.
Chisel Mortise to Exact 1/8″ Depth
Trace the strike plate outline with a utility knife, then chisel a 1/8″ deep mortise using controlled 1/4″ hammer taps. Rushing creates uneven edges that catch the bolt. Drill a 1″ hole for the bolt pocket if your frame lacks one.
Reinforce with 3″ Screws Into Wall Stud
Secure the strike plate with the included 3″ screws—shorter screws invite kick-in attacks. Locate the wall stud first using a magnet; missing it reduces security by 80%. Test by kicking the door near the strike plate—no movement means proper installation.
Power Up and Complete App Setup
Insert Batteries Observing Polarity Diagram
Open the interior battery cover and insert 4 AA batteries (Lock Bolt) or connect USB-C (Lock Wi-Fi). Match the (+) and (-) symbols exactly—reversed batteries cause permanent damage. The LED flashes blue within 10 seconds when powered correctly.
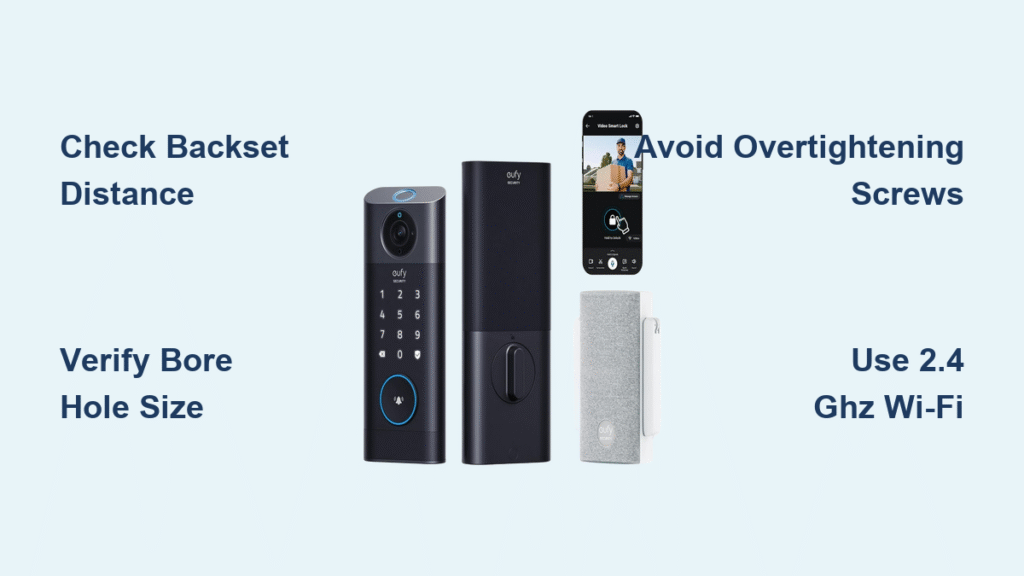
Connect to 2.4 GHz Wi-Fi Network Only
Download the Wyze app and add your lock via QR code scan. Critical: Lock Wi-Fi requires 2.4 GHz networks (5 GHz won’t appear in app). For Bluetooth models, plug the gateway within 6 feet of your router. Network selection errors cause 90% of pairing failures.
Calibrate Door Positions Fully Open and Closed
When prompted, open the door to 90 degrees and tap “Next.” Then close it completely—partial closure causes auto-lock failures. The app confirms with a double beep. Skipping full calibration triggers false “door ajar” alerts.
Configure Critical Security Features
Set Auto-Lock Timing to 3 Minutes
Choose auto-lock from 30 seconds to 30 minutes in the app. Pro tip: 3 minutes balances security with convenience—shorter times lock family members out; longer reduces security. Test by closing the door and timing the bolt extension.
Enable Two-Factor Authentication Immediately
Require 2FA for all shared access codes in Security Settings. This prevents unauthorized entry even if your account is compromised. Wyze disables shared access without 2FA—don’t skip this step.
Create Master Code Before Adding Others
Set your primary access code first (Lock Bolt supports 50 codes). Use 6+ digits with no repeating numbers—simple codes like “1234” trigger tamper alerts after 5 failed attempts.
Fix Common Installation Errors Fast
Red LED Flashing? Replace Batteries Now
Immediate action: Open the battery cover and replace all AAs—don’t mix old/new batteries. Low power causes false jamming errors. Use name-brand alkalines; dollar-store batteries leak and corrode internals.
App Shows “Lock Jammed”? Re-mortise Strike Plate
Close the door and check for bolt scraping marks on the strike plate. Deepen the mortise by 1/32″ using chisel taps—over-deepening reduces security. Humidity-swollen doors require this seasonal adjustment.
Auto-Unlock Failing? Disable Battery Optimization
Go to phone Settings > Battery > Wyze app > disable “Optimize battery usage.” Android devices aggressively kill location services, breaking geofence functionality. Set radius to 500m for reliable triggering.
Keypad Unresponsive in Rain? Dry Immediately
Wipe moisture with a microfiber cloth—water causes electrical shorts. Never use alcohol cleaners; they strip the protective coating. If unresponsive, replace batteries first before assuming hardware failure.
Maintain Your Wyze Lock for Longevity
Lubricate Quarterly with Graphite Powder Only
Apply graphite powder (not WD-40) to the deadbolt face monthly. Oil-based lubricants attract dust, causing grinding noises. Test thumb-turn operation after application—smooth rotation indicates proper lubrication.
Check Battery Levels Weekly in App
Replace batteries when app shows 20% remaining—waiting until dead risks lockouts. Pro tip: Store spare AAs in your entryway drawer with the Wyze manual. For Lock Wi-Fi, schedule monthly USB-C charging.
Inspect Strike Plate Screws Annually
Retighten the 3″ strike plate screws into the wall stud every 12 months. Loose screws cause misalignment after door settling. Test by shaking the door near the lock—no movement means secure installation.
Your Wyze smart lock installation is now complete! Test all features: auto-lock, access codes, and app controls before finalizing. Remember that proper strike plate alignment prevents 90% of future issues—spend extra time here. Keep the Wyze app updated for security patches, and save customer support’s number (1-844-999-WYZE) for immediate help with firmware updates. With this setup, you’ve eliminated deadbolt jams forever while gaining smart home convenience.